Classic White Bread Recipe – Easy Home Baking
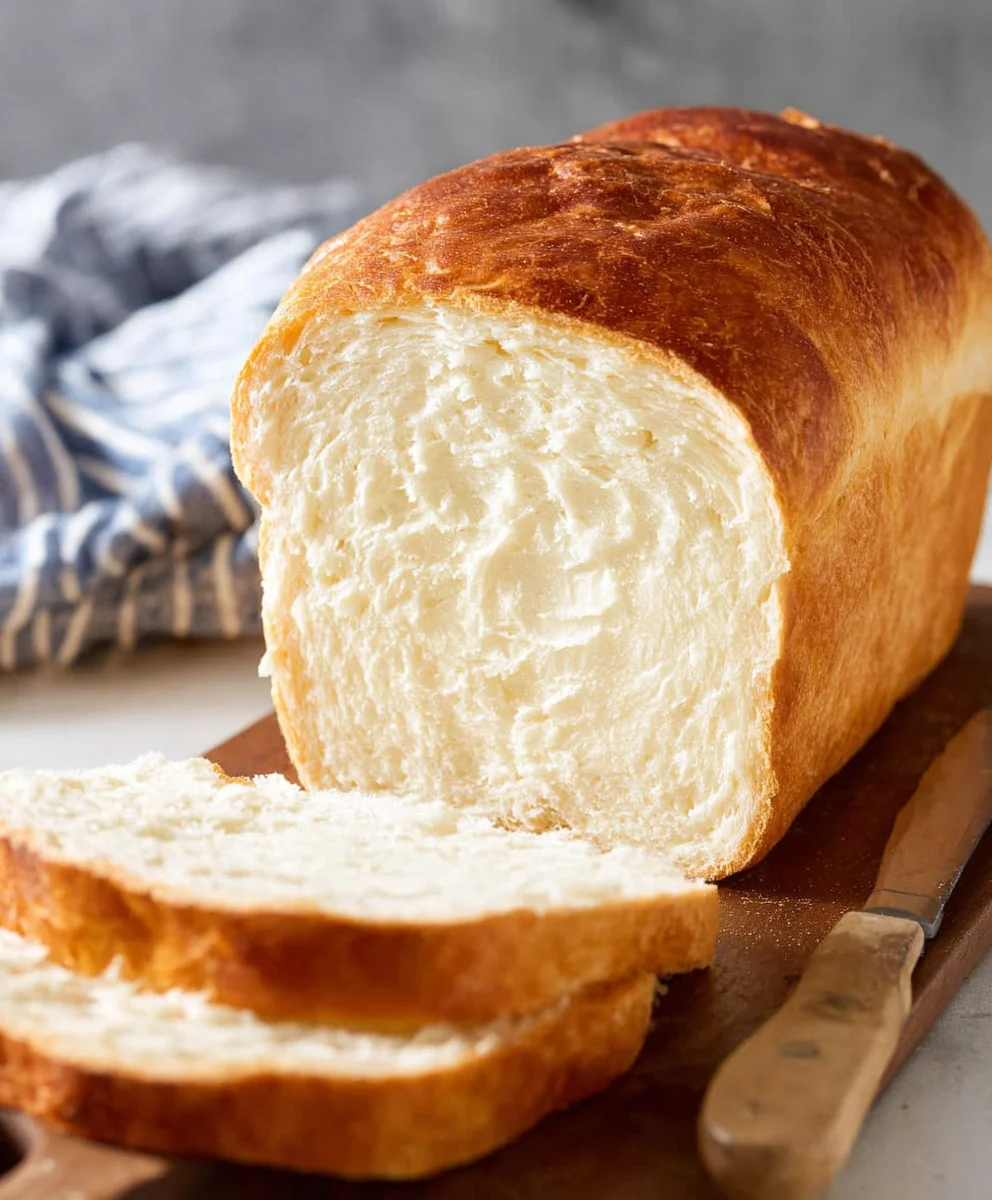
White Bread, oh, how we adore its comforting embrace! There’s a timeless, almost nostalgic magic held within its soft, yielding crum extractb and delicate crust. It’s the unassuming hero of countless meals, the perfect canvas for butter, jam, or your favorite sandwich fillings. What is it about this simple loaf that captures our hearts so completely? Perhaps it’s the unparalleled versatility, making it a staple for breakfast toast, a sturdy foundation for a midday lunch, or a delightful side to a comforting soup. But beyond its practicality, there’s a profound sensory pleasure – the gentle scent that wafts from the oven, the satisfying give as you slice into it, and the subtle, sweet flavor that never overpowers. This particular recipe for White Bread aims to elevate that familiar comfort to new heights, promising a texture that’s both tender and airy, with a crust that offers just the right amount of gentle crunch. Get ready to rediscover the simple joy of a perfectly baked loaf of White Bread.
Ingredients:
- 1 ⅔ cups lukewarm water, divided
- 2 ¼ teaspoon instant yeast
- 1 teaspoon sugar
- 1 tablespoon honey (or more sugar)
- 1 teaspoon salt
- 1 ½ tablespoons unsalted butter, cubed at room temperature
- 4 ½ cups all-purpose flour, divided
- 1 ½ tablespoons butter, melted for brushing
Preparing the Dough
The journey to perfectly soft and fluffy White Bread begin extracts with activating the yeast. In a large mixing bowl, combine 1 cup of the lukewarm water with the instant yeast and the teaspoon of sugar. Give it a gentle stir to ensure the yeast is dispersed. It’s crucial that the water is lukewarm, not hot, as extreme temperatures can kill the yeast, preventing your bread from rising properly. Aim for a temperature between 105-115°F (40-46°C), which should feel comfortably warm to the touch, like a baby’s bath. Let this mixture sit for about 5 to 10 minutes. You’ll know the yeast is active when it becomes foamy and bubbly on the surface, a visual cue that it’s ready to work its magic.
Once your yeast mixture is happily bubbling, add the honey (or additional sugar if you prefer) and the teaspoon of salt. Stir to combine these wet ingredients. Now, it’s time to incorporate the flour. Add 4 cups of the all-purpose flour to the bowl, reserving the remaining half cup for later adjustments. At this stage, you can use a sturdy spoon or a dough whisk to stgin extract bringing everything together. The mixture will be shaggy and sticky. Don’t be tempted to add too much more flour at this point; the dough will need some moisture to develop properly.
Kneading and First Rise
Now comes the satisfying part: kneading! Turn the shaggy dough out onto a lightly floured surface. If you’re using a stand mixer, you can attach your dough hook and let it do the work. For hgin extract-kneading, begin to push, fold, and turn the dough. Use the heels of your hands to press the dough away from you, then fold it back towards you, giving it a quarter turn each time. This process develops the gluten in the flour, which is essential for the bread’s structure and texture. Continue kneading for about 8 to 10 minutes. The dough should gradually become smoother, more elastic, and less sticky. You’ll know it’s ready when you can stretch a small piece thin enough to see light through it without it tearing (the “windowpane test”). If the dough feels too sticky as you knead, gradually add small amounts of the reserved ¼ cup of flour, just enough to make it manageable, but be careful not to over-flour, as this can lead to a dry loaf.
Once the dough has been kneaded to perfection, it’s time for its first rise. Lightly grease the mixing bowl you used earlier with a little oil or cooking spray. Place the kneaded dough into the greased bowl, turning it to coat all sides. Cover the bowl tightly with plastic wrap or a damp kitchen towel. Find a warm, draft-free spot for the dough to rise. An oven with the light on (but the oven off!) or a slightly warmed (then turned off) oven works wonderfully. Let the dough rise for 1 to 1.5 hours, or until it has doubled in size. This slow rise allows the yeast to ferment, creating those wonderful air pockets that give White Bread its signature fluffy texture.
Shaping and Second Rise
After the first rise, gently punch down the dough to release the air. Turn the dough out onto your lightly floured work surface once again. At this point, you’ll add the cubed unsalted butter. Work the softened butter into the dough by folding and kneading it in. The butter will make the dough a little softer and richer, contributing to a more tender crum extractb. Knead for another 2-3 minutes until the butter is fully incorporated and the dough feels smooth and pliable again.
Now, it’s time to shape your White Bread loaf. Gently pat the dough into a rough rectangle. Then, starting from one of the shorter ends, tightly roll up the dough into a log. Pinch the seam closed firmly to prevent it from opening during baking. Tuck the ends under to create a neat loaf shape. Place the shaped loaf into a greased 9×5 inch loaf pan. Cover the pan loosely with plastic wrap or a clean kitchen towel and let it rise again in a warm place for about 30 to 45 minutes, or until it has nearly doubled in size and looks puffy.
Baking and Finishing
Preheat your oven to 375°F (190°C) about 15 minutes before you expect the second rise to be complete. This ensures the oven is at the correct temperature for optimal baking. When the dough has completed its second rise, it’s ready for the oven. If you like a golden-brown crust, you can brush the top of the loaf with a little of the melted butter just before baking. This adds a lovely sheen and a subtle richness to the crust.
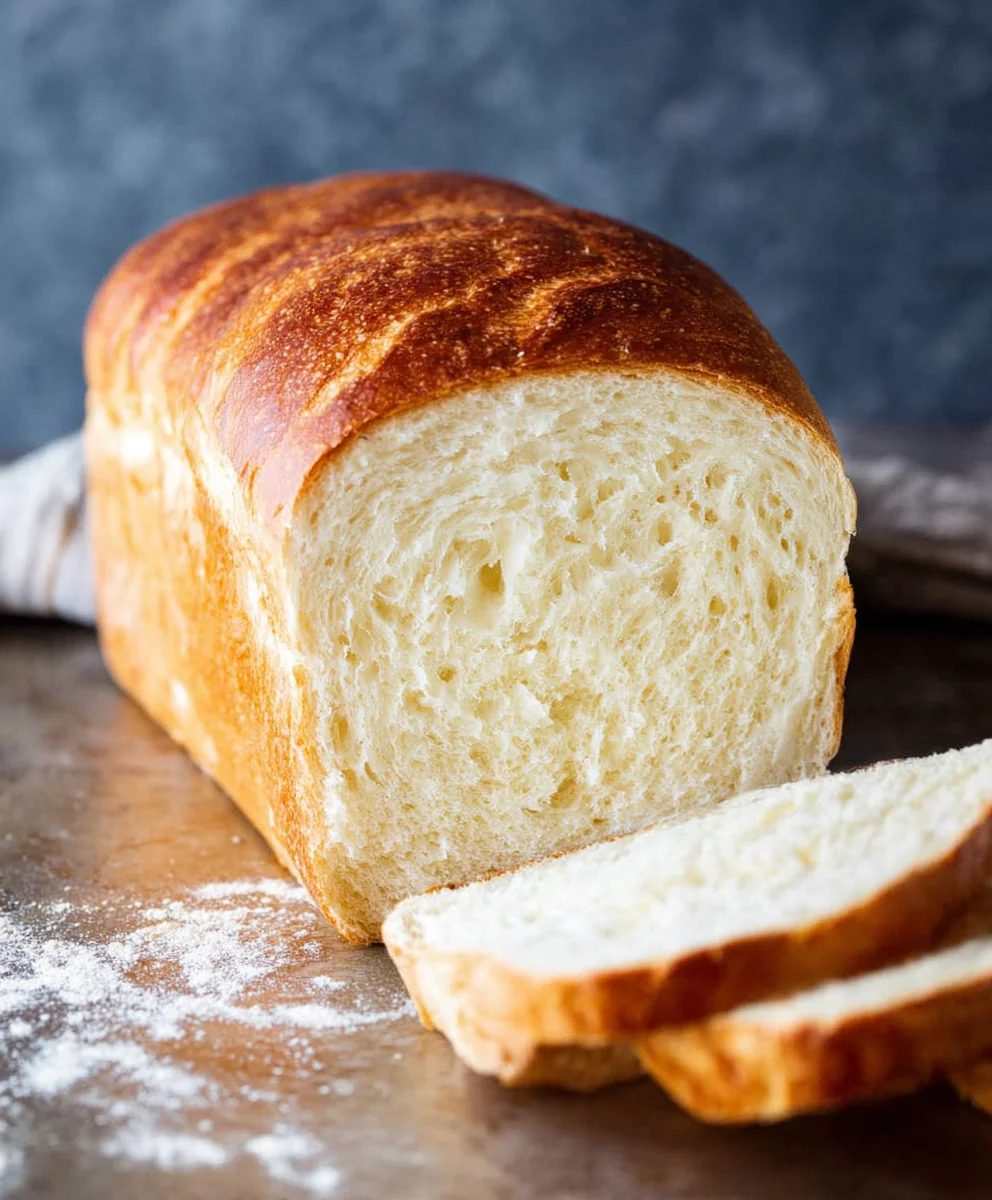
Carefully place the loaf pan into the preheated oven. Bake for 30 to 35 minutes, or until the crust is a beautiful golden brown and the internal temperature of the bread reaches 200-210°F (93-99°C) when tested with an instant-read thermometer. You can also tap the bottom of the loaf; it should sound hollow. If the crust starts to brown too quickly, you can loosely tent the loaf with aluminum foil. Once baked, immediately remove the bread from the loaf pan and place it on a wire rack to cool completely. Allowing the bread to cool fully is essential for the texture to set properly, making it easier to slice and enjoy. Resist the urge to cut into it while it’s still hot!
Conclusion:
There you have it – a straightforward and rewarding journey to baking your very own perfect loaf of White Bread. This recipe delivers that classic, comforting aroma and a wonderfully soft crum extractb that’s ideal for everything from morning toast to hearty sandwiches. We’ve covered the essentials, from kneading techniques to achieving that beautiful golden crust. Don’t be discouraged if your first loaf isn’t absolutely perfect; baking is a craft that improves with practice, and the satisfaction of a homemade loaf is immense. This foundational White Bread recipe is also incredibly versatile. Feel free to experiment by adding a sprinkle of herbs, a touch of garlic powder, or even some grated cheese to the dough for a savory twist. For a slightly sweeter note, a tablespoon or two of honey can be incorporated. Serve your warm White Bread with butter, jam, or alongside your favorite soup or stew. We hope you enjoy every bite!
Frequently Asked Questions about White Bread:
Q1: My White Bread didn’t rise very well. What could be the reason?
Several factors can affect the rise of your White Bread. Ensure your yeast was fresh and active; you can test this by dissolving it in warm water (around 105-115°F or 40-46°C) with a pinch of sugar. If it foams within 5-10 minutes, it’s good to go. Also, check the ambient temperature; yeast thrives in a warm environment. Drafty kitchens can hinder proofing. Make sure you’re not adding salt directly to the yeast initially, as it can inhibit its activity. Finally, ensure you’ve kneaded the dough sufficiently to develop gluten, which traps the gas produced by the yeast.
Q2: Can I make White Bread without a stand mixer?
Absolutely! This White Bread recipe is perfectly achievable by hand. While a stand mixer makes kneading easier, it’s a great workout for your arms and a rewarding process to knead by hand. Follow the kneading instructions carefully, aiming for a smooth, elastic dough. It will require some patience and effort, but the end result is just as delicious.
Classic White Bread Recipe – Easy Home Baking
An easy recipe for classic white bread, resulting in a soft, fluffy loaf with a golden-brown crust. Perfect for home bakers of all levels.
Ingredients
-
1 ⅔ cups lukewarm water, divided
-
2 ¼ teaspoon instant yeast
-
1 teaspoon sugar
-
1 tablespoon honey
-
1 teaspoon salt
-
1 ½ tablespoons unsalted butter, cubed at room temperature
-
4 ½ cups all-purpose flour, divided
-
1 ½ tablespoons butter, melted for brushing
Instructions
-
Step 1
In a large mixing bowl, combine 1 cup of lukewarm water, instant yeast, and sugar. Let sit for 5-10 minutes until foamy. -
Step 2
Add honey, salt, and 4 cups of flour to the yeast mixture. Mix until a shaggy dough forms. -
Step 3
Turn dough onto a floured surface and knead for 8-10 minutes until smooth and elastic. Gradually add reserved flour if too sticky. -
Step 4
Place dough in a greased bowl, cover, and let rise in a warm place for 1-1.5 hours, or until doubled in size. -
Step 5
Punch down dough, knead in cubed butter for 2-3 minutes until incorporated. Shape into a log and place in a greased 9×5 inch loaf pan. -
Step 6
Cover and let rise again for 30-45 minutes, or until nearly doubled. Preheat oven to 375°F (190°C). -
Step 7
Brush loaf top with melted butter. Bake for 30-35 minutes until golden brown and internal temperature reaches 200-210°F (93-99°C). -
Step 8
Immediately remove from pan and cool completely on a wire rack.
Important Information
Nutrition Facts (Per Serving)
It is important to consider this information as approximate and not to use it as definitive health advice.
Allergy Information
Please check ingredients for potential allergens and consult a health professional if in doubt.