Easy Honey Wheat Bread Recipe-Simple & Delicious Homemade Loaf
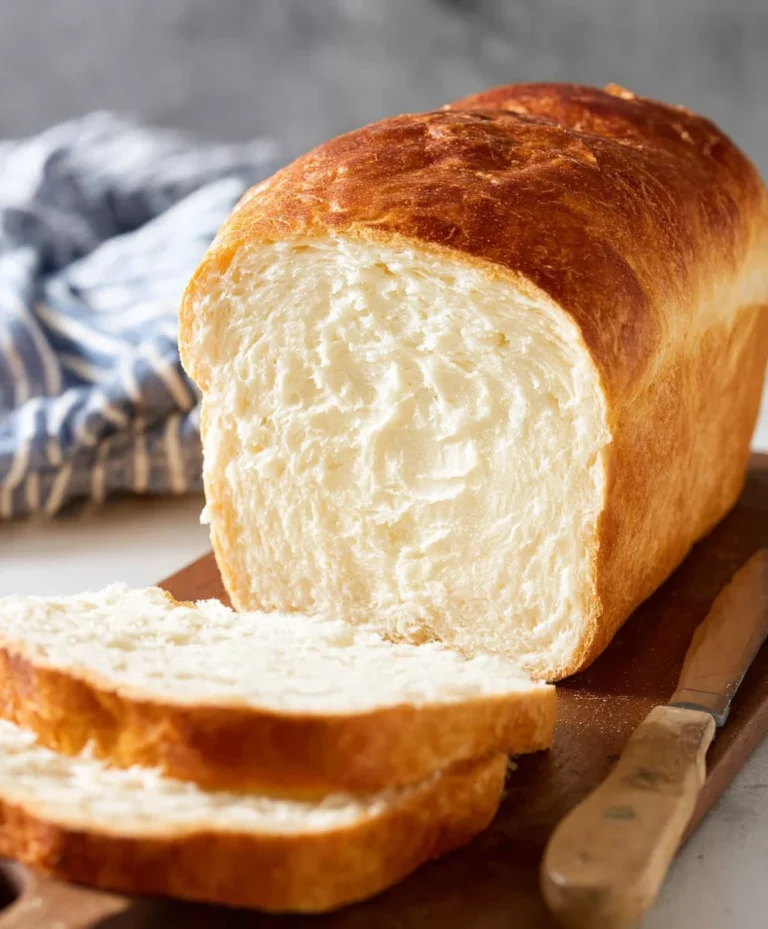
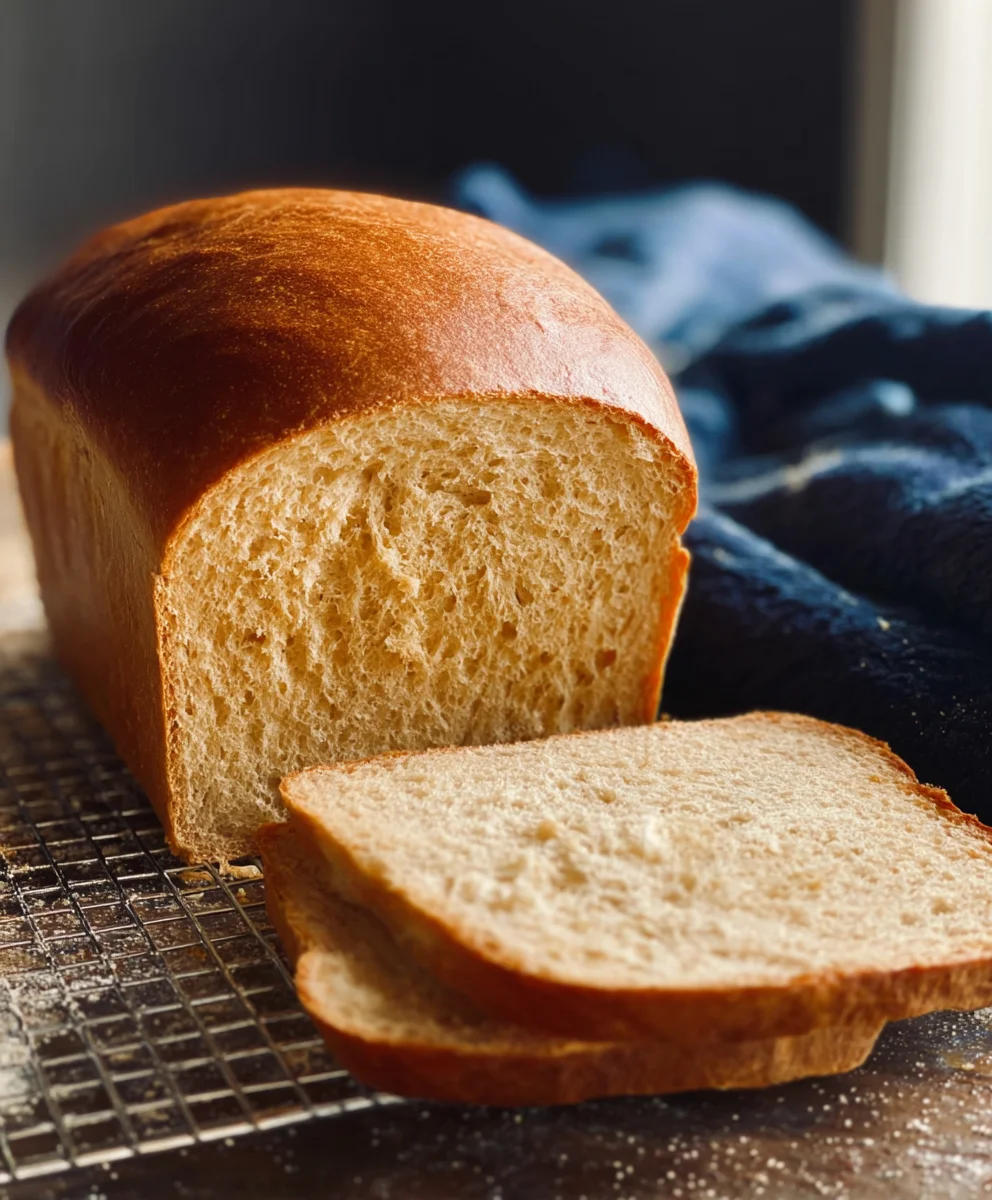
Simple Honey Wheat Bread, the aroma that fills your kitchen as it bakes is pure comfort, isn’t it? There’s something undeniably magical about pulling a golden, crusty loaf of homemade bread from the oven, especially when it’s as easy to make as this Simple Honey Wheat Bread. We all crave those wholesome, nourishing foods that taste like they came straight from grandma’s kitchen, and this recipe delivers exactly that. It’s the perfect antidote to a busy day, a delightful way to start your morning, or an irresistible accompaniment to any meal. What truly sets this particular Simple Honey Wheat Bread apart is its beautiful balance – the subtle sweetness from honey harmonizes perfectly with the hearty, nutty notes of whole wheat flour, creating a texture that’s both tender and satisfyingly chewy. It’s approachable for begin extractners yet sophisticated enough for seasoned bakers, making it a true crowd-pleaser that will have everyone asking for the recipe.
Ingredients:
- 2 cups warm milk (about 110-115 degrees Fahrenheit)
- 1-1/2 tablespoons instant yeast
- 1 teaspoon sugar
- 1/2 cup warm water
- 2-1/2 cups whole wheat flour
- 3 to 3-1/2 cups bread flour or all-purpose flour (start with 3 cups and add more as needed)
- 3 tablespoons shortening (butter-flavored shortening is a great choice here)
- 1/4 cup honey
- 1 tablespoon salt
- For the egg wash: 1 large egg whisked with 1 tablespoon water
Preparing the Dough
Activating the Yeast
First, we need to get our yeast nice and active. In a large mixing bowl, combine the warm milk, sugar, and instant yeast. Give it a gentle stir to make sure the yeast is mostly submerged. Let this mixture sit for about 5 to 10 minutes. You should see a foamy, bubbly layer form on the surface. This tells you the yeast is alive and ready to work its magic, helping our Simple Honey Wheat Bread rise beautifully. If you don’t see any foam, your yeast might be old or the liquid was too hot or too cold, and you’ll need to start with fresh yeast.
Mixing the Wet and Dry Ingredients
While the yeast is proofing, let’s get the other wet ingredients ready. In a separate small bowl, whisk together the warm water and the honey until the honey is mostly dissolved. This will add a lovely sweetness and subtle flavor to our bread. Once the yeast mixture is foamy, add the honey-water mixture and the shortening to the large mixing bowl. Now, it’s time to add the flours. Start by adding the 2-1/2 cups of whole wheat flour and 3 cups of the bread flour (or all-purpose flour) to the wet ingredients. Add the salt at this stage as well. This is the base of our delicious bread.
Kneading the Dough
Initial Mixing and Dough Formation
Using a sturdy spoon or a dough hook on your stand mixer, begin extract to mix everything together until a shaggy dough forms. It will look a bit rough and uneven at this point, and that’s perfectly normal. Don’t be tempted to add too much flour just yet, even if it seems sticky. The key to a tender loaf is not to over-flour. You want just enough flour to bring the dough together.
Kneading for Elasticity
Once the dough has just come together, turn it out onto a lightly floured surface. Now comes the kneading. If you’re kneading by hand, push the dough away from you with the heel of your hand, then fold it over on itself and give it a quarter turn. Repeat this process for about 8 to 10 minutes. You’re looking for the dough to become smooth, elastic, and slightly tacky, but not stick to your hands. If it’s still very sticky after a few minutes of kneading, you can add a tablespoon of flour at a time, but do so sparingly. If you’re using a stand mixer with a dough hook, knead on low to medium speed for about 6 to 8 minutes. The dough should clear the sides of the bowl and become smooth and elastic. It’s the kneading process that develops the gluten, which is essential for giving our Simple Honey Wheat Bread its structure and a wonderful chewy texture.
First Rise and Shaping
First Rise (Bulk Fermentation)
Lightly grease a clean large bowl with a little oil or cooking spray. Place the kneaded dough into the greased bowl, turning it once to coat all sides with the oil. Cover the bowl tightly with plastic wrap or a damp kitchen towel. Place the bowl in a warm, draft-free place to rise. This usually takes about 1 to 1-1/2 hours, or until the dough has doubled in size. The exact time will depend on the temperature of your kitchen. A slightly warmer spot, like a slightly warm oven that’s been turned off, can speed this process up.
Punching Down and Shaping the Loaf
Once the dough has doubled, gently punch it down with your fist. This deflates the dough and redistributes the yeast and air pockets. Turn the dough out onto a lightly floured surface and gently shape it into your desired loaf form. For a classic sandwich loaf, pat the dough into a rectangle about 8×10 inches. Then, starting from one of the shorter ends, tightly roll up the dough into a log. Pinch the seam closed to seal it, and tuck in the ends. Place the shaped dough, seam-side down, into a greased 9×5 inch loaf pan.
Second Rise and Baking
Second Rise (Proofing)
Cover the loaf pan loosely with plastic wrap or a clean kitchen towel. Let the dough rise again in a warm place for about 45 minutes to 1 hour, or until it has nearly doubled in size and looks puffy. It should come up to about 1 inch from the rim of the pan. This second rise is crucial for getting that light and airy interior we all love in our Simple Honey Wheat Bread.
Applying Egg Wash and Baking
About 15 minutes before the second rise is complete, preheat your oven to 375 degrees Fahrenheit (190 degrees Celsius). Once the dough has finished its second rise, gently brush the top of the loaf with the egg wash. This egg wash will give our bread a beautiful golden-brown crust and a lovely sheen. Carefully place the loaf pan into the preheated oven. Bake for 30 to 35 minutes, or until the crust is a deep golden brown and the internal temperature of the bread reaches 200-210 degrees Fahrenheit (93-99 degrees Celsius) when tested with an instant-read thermometer. If the crust is browning too quickly, you can loosely tent it with aluminum foil for the last 10-15 minutes of baking.
Cooling and Enjoying
Cooling the Loaf
Once baked, immediately remove the bread from the loaf pan and place it on a wire cooling rack. This is super important to prevent the bottom crust from becoming soggy. Let the bread cool completely before slicing. Patience is key here, even though the aroma will be absolutely tempting! Allowing it to cool fully will help the crum extractb set properly, making it easier to slice and improving the texture.
Slicing and Serving
After at least an hour of cooling, you can slice your homemade Simple Honey Wheat Bread. Use a sharp bread knife for the cleanest slices. Enjoy it toasted with butter, used for sandwiches, or simply on its own. The slightly nutty flavor of the whole wheat flour combined with the sweetness of the honey makes this bread incredibly versatile and delicious.
Conclusion:
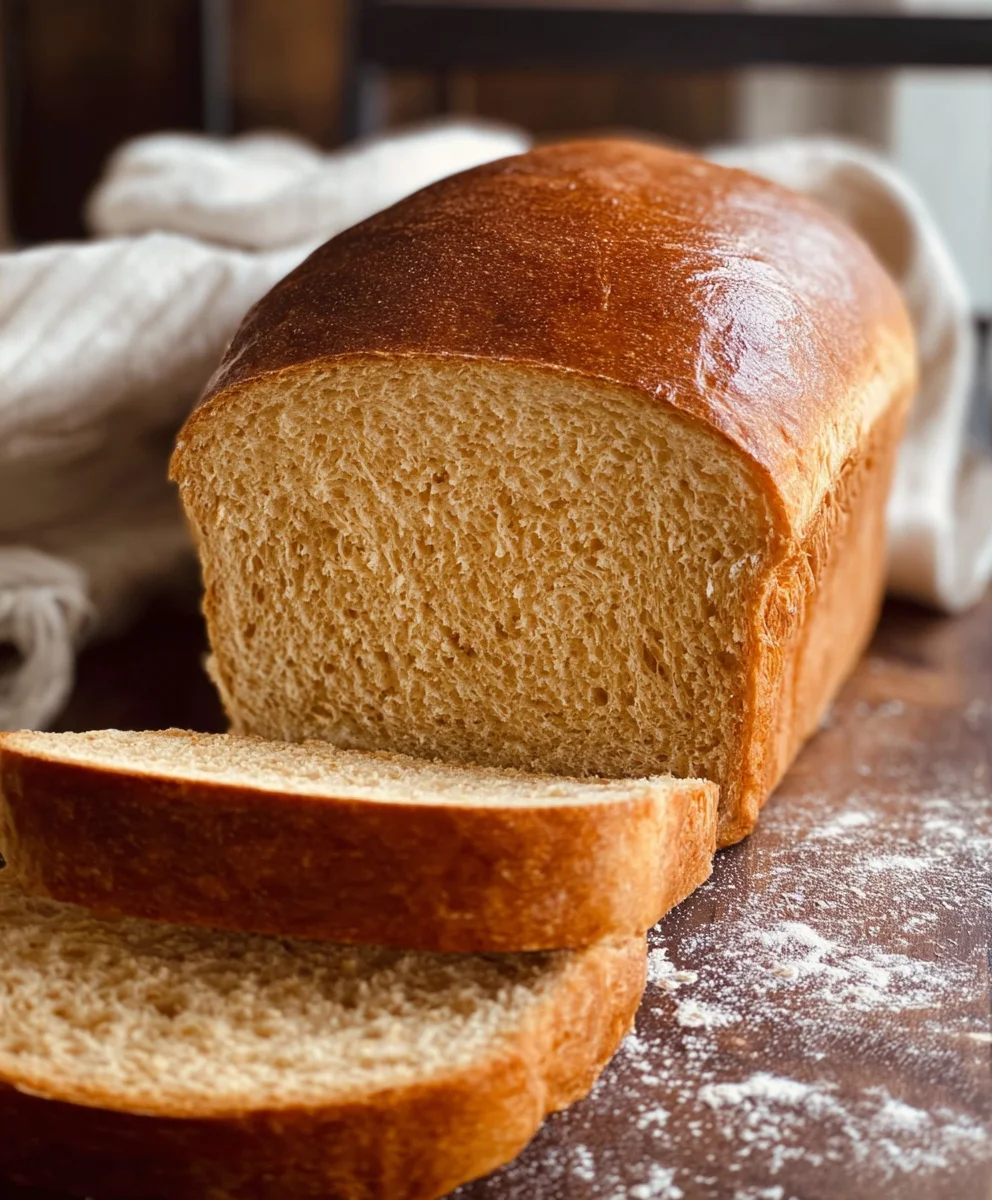
And there you have it – the joy of baking your very own Simple Honey Wheat Bread! This recipe is a testament to how straightforward ingredients can transform into something truly special. The result is a wonderfully soft, slightly sweet loaf with a beautiful golden crust, perfect for any meal. Whether you’re a seasoned baker or just starting out, this bread is wonderfully forgiving and incredibly rewarding. Don’t be afraid to experiment with it!
This Simple Honey Wheat Bread shines when served warm, slathered with butter, or alongside your favorite soups and stews. It also makes for fantastic toast or the base for delightful sandwiches. For a twist, consider adding a handful of chopped nuts like walnuts or pecans, or even a sprinkle of dried herbs such as rosemary to the dough before baking. The possibilities are truly endless, so have fun with it and enjoy the process and the delicious outcome!
Frequently Asked Questions about Simple Honey Wheat Bread:
Can I make this bread without honey?
While honey provides a unique sweetness and moisture, you can substitute it with an equal amount of granulated sugar or maple syrup. The flavor profile will change slightly, but it will still be delicious.
How long does Simple Honey Wheat Bread stay fresh?
Stored properly in an airtight container or bread bag at room temperature, your Simple Honey Wheat Bread should stay fresh for about 3-4 days. For longer storage, you can slice the bread and freeze it. It thaws beautifully and is great for toasting.
Easy Honey Wheat Bread Recipe-Simple & Delicious Homemade Loaf
A simple and delicious recipe for homemade honey wheat bread, perfect for sandwiches or enjoying on its own.
Ingredients
-
2 cups warm milk (about 110-115 degrees Fahrenheit)
-
1-1/2 tablespoons instant yeast
-
1 teaspoon sugar
-
1/2 cup warm water
-
2-1/2 cups whole wheat flour
-
3 to 3-1/2 cups bread flour or all-purpose flour
-
3 tablespoons shortening
-
1/4 cup honey
-
1 tablespoon salt
-
1 large egg whisked with 1 tablespoon water (for egg wash)
Instructions
-
Step 1
Activate the yeast: In a large mixing bowl, combine warm milk, sugar, and instant yeast. Let sit for 5-10 minutes until foamy. -
Step 2
Mix wet and dry ingredients: Whisk warm water and honey. Add this mixture, shortening, whole wheat flour, 3 cups of bread/all-purpose flour, and salt to the foamy yeast mixture. Mix until a shaggy dough forms. -
Step 3
Knead the dough: Turn dough onto a lightly floured surface and knead for 8-10 minutes by hand or 6-8 minutes with a stand mixer until smooth, elastic, and slightly tacky. Add flour sparingly if needed. -
Step 4
First rise: Place dough in a lightly greased bowl, cover, and let rise in a warm place for 1-1.5 hours, or until doubled in size. Punch down and shape into a loaf, placing seam-side down in a greased 9×5 inch loaf pan. -
Step 5
Second rise and bake: Cover the loaf pan loosely and let rise for 45-60 minutes until nearly doubled. Preheat oven to 375°F (190°C). Brush loaf with egg wash and bake for 30-35 minutes until deep golden brown and internal temperature reaches 200-210°F (93-99°C). -
Step 6
Cool and serve: Immediately remove bread from pan and cool completely on a wire rack before slicing and enjoying.
Important Information
Nutrition Facts (Per Serving)
It is important to consider this information as approximate and not to use it as definitive health advice.
Allergy Information
Please check ingredients for potential allergens and consult a health professional if in doubt.