Easy Sugar Free Fudge Recipe – Deliciously Sweet Treat
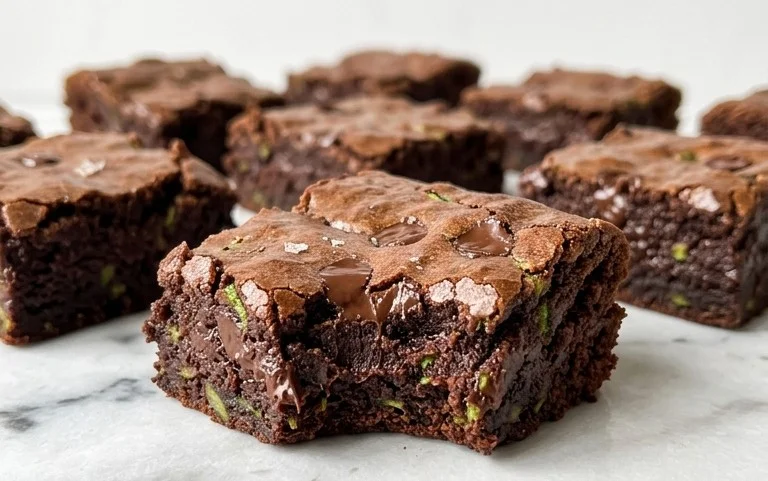
Sugar Free Fudge is a dream come true for anyone craving that rich, decadent chocolatey goodness without the sugar rush and subsequent crash. We all have those moments, right? A hankering for something intensely satisfying, a treat that whispers indulgence with every bite. For so long, that meant reaching for traditional fudge, packed with refined sugars. But what if I told you that you can have that velvety smooth texture and deep cocoa flavor without a single gram of added sugar? That’s the magic of this sugar free fudge recipe. It proves that you don’t have to compromise on taste to enjoy a truly guilt-free pleasure. Prepare to be amazed as we transform simple, wholesome ingredients into a confection that will have everyone asking for seconds, all while knowing they’re making a healthier choice. This isn’t just fudge; it’s a testament to delicious, mindful indulgence.
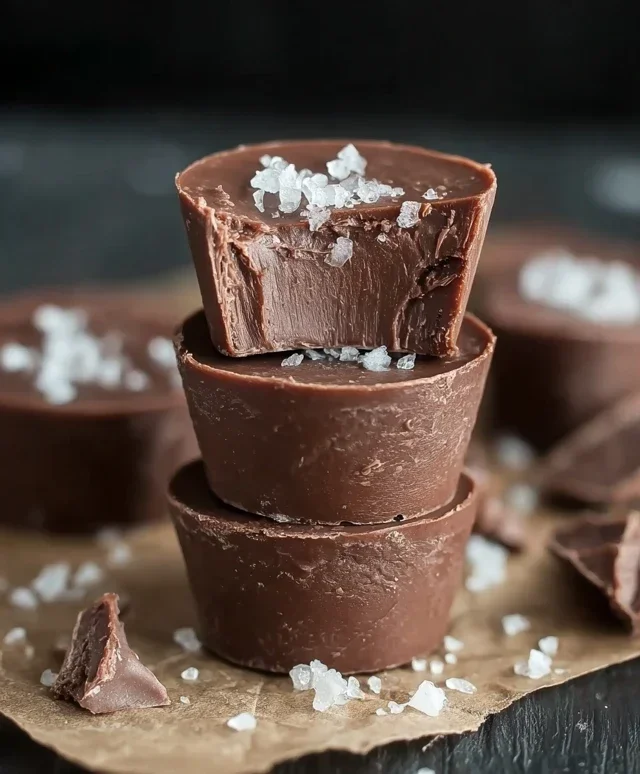
Sugar Free Fudge
There are certain cravings that just need to be satisfied, and for me, chocolate is often at the top of that list. But what happens when you’re trying to cut down on sugar, or you’re managin extractg dietary restrictions? Does that mean no more rich, decadent fudge? Absolutely not! I’ve discovered a wonderfully simple and surprisingly satisfying sugar-free fudge recipe that has become a regular in my kitchen. It’s the perfect way to indulge in a sweet treat without the sugar rush or the subsequent guilt. This fudge is creamy, intensely chocolatey, and so easy to make that you’ll wonder why you didn’t try it sooner. It relies on a few simple ingredients to create a melt-in-your-mouth experience that’s both delightful and guilt-free. Let’s dive in and make some magic!
Ingredients:
Cooking Instructions
This sugar-free fudge recipe is wonderfully straightforward, requiring minimal effort for maximum reward. We’ll be using a gentle melting method to ensure our fudge is perfectly smooth and luxurious. No complicated candy thermometers or fussy techniques here, just pure, simple deliciousness.
Melting the Base
The first step is to get our sugar-free chocolate chips and almond butter melted together. This is the foundation of our fudge, so getting it right is key. I like to use a double boiler method because it provides gentle, even heat, preventing the chocolate from scorching or seizing up. If you don’t have a double boiler, you can create one by placing a heatproof bowl over a saucepan filled with about an inch or two of simmering water. Make sure the bottom of the bowl doesn’t touch the water. Add your 2 cups of sugar-free chocolate chips to the bowl.
Once the chocolate chips are in the bowl, add the 1 cup of almond butter. The almond butter not only contributes a wonderful nutty depth of flavor but also provides the creamy texture that is so characteristic of good fudge. It acts as a binder and emulsifier, helping everything come together beautifully. Stir the chocolate chips and almond butter together gently as they begin extract to melt. You’ll want to stir consistently, scraping the sides and bottom of the bowl to ensure even melting and prevent any sticking. Be patient with this process; it might take a few minutes for everything to become fully melted and combined. You’re looking for a smooth, glossy mixture, completely free of any lumps.
Incorporating Flavor and Finishing Touches
As soon as the chocolate and almond butter are perfectly melted and beautifully smooth, it’s time to add the vanilla extract. Stir in the 1 teaspoon of vanilla extract. Vanilla is a wonderful flavor enhancer, and it really rounds out the chocolate and almond flavors, adding an extra layer of deliciousness. Give it a good stir to ensure it’s fully incorporated into the fudge mixture. At this stage, you can also taste a tiny bit (careful, it’s hot!) to check the flavor. If you feel it needs a little something extra, you could add a pinch of salt to enhance the sweetness, or even a touch more vanilla. However, for this simple recipe, the vanilla is usually perfect.
Preparing for Setting
Once our fudge mixture is smooth and wonderfully flavored, it’s time to get it ready to set. I find that an 8×8 inch square baking pan works perfectly for this recipe. You’ll want to prepare this pan by lining it with parchment paper or wax paper. This is a crucial step for easy removal later. I always recommend leaving a little overhang of the parchment paper on the sides of the pan. This creates little “handles” that make lifting the solidified fudge out of the pan a breeze. You can gently press the parchment paper into the corners and sides of the pan to make sure it lies flat and covers the entire surface.
Pouring and Spreading
Now for the exciting part! Carefully pour the warm fudge mixture into your prepared baking pan. Use a spatula or a silicone scraper to help coax all of the delicious fudge out of the bowl and into the pan. Don’t leave any behind! Once it’s all in the pan, gently spread the fudge evenly using your spatula. You want to get a nice, flat surface so that your fudge slices are uniform and look their best. Take your time with this step, ensuring that the entire bottom of the pan is covered. If the fudge is too thick to spread easily, you can gently warm your spatula under hot water (and dry it thoroughly!) before smoothing.
Chilling and Cutting
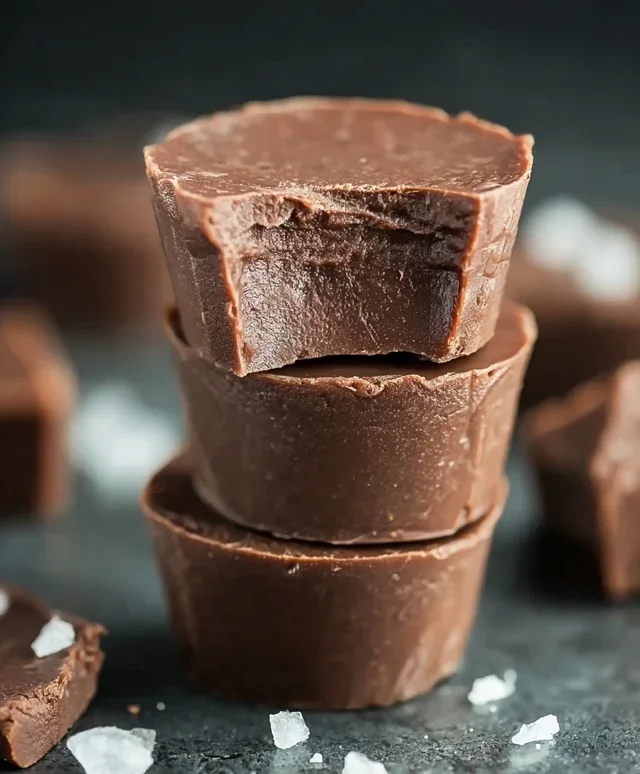
The final step before you can enjoy your sugar-free fudge is to let it set. Place the pan in the refrigerator for at least 2-3 hours, or until the fudge is firm to the touch. The colder it gets, the firmer it will become. Patience is key here! Once it’s completely set, use the parchment paper overhang to lift the entire slab of fudge out of the pan and onto a cutting board. Now, you can use a sharp knife to cut the fudge into your desired shapes and sizes. Small squares are classic, but you could also cut them into rectangles or even use cookie cutters for fun shapes. I like to make mine about 1-inch squares for perfect bite-sized treats. Store your sugar-free fudge in an airtight container in the refrigerator to keep it fresh and firm. It’s a wonderfully satisfying treat for any time of day!
Conclusion:
You’ve reached the end of our guide to making delicious sugar free fudge! I hope you’re as excited as I am about how surprisingly simple and incredibly satisfying this recipe is. This isn’t just about cutting out sugar; it’s about enjoying a rich, decadent treat without the usual guilt. The creamy texture and deep chocolate flavor are sure to impress even the most discerning sweet tooth. Whether you’re managin extractg your sugar intake, looking for a healthier indulgence, or simply curious about sugar-free baking, this recipe is a winner.
This sugar free fudge is wonderfully versatile. Serve it in small, bite-sized pieces as an after-dinner treat with coffee, or as a sophisticated addition to a dessert platter. It also makes a thoughtful, homemade gift for friends and family. Feeling adventurous? Don’t be afraid to experiment with variations! Try adding a pinch of cayenne pepper for a spicy kick, a teaspoon of instant coffee granules for a mocha twist, or even some chopped nuts like walnuts or pecans for added texture and flavor. I truly encourage you to give this recipe a go. It’s a game-changer for anyone who loves fudge!
Frequently Asked Questions:
Can I use a different sugar substitute?
Yes, you can experiment with other granulated sugar substitutes like erythritol or xylitol (be cautious with xylitol if you have pets as it’s toxic to them). Keep in mind that different sweeteners can affect the texture and sweetness level, so you might need to adjust the quantities slightly.
How should I store the sugar free fudge?
Store your sugar free fudge in an airtight container at room temperature for up to a week. If your kitchen is particularly warm, or if you live in a humid climate, it’s best to store it in the refrigerator to prevent it from becoming too soft.
Can I make this fudge dairy-free?
While this specific recipe uses dairy, with some substitutions, it’s definitely possible! You could try using a dairy-free butter substitute and full-fat coconut milk or a rich, unsweetened dairy-free cream alternative. The texture might vary slightly, but it’s worth a try for a dairy-free version of this amazing sugar free fudge.
Sugar Free Fudge
A quick and easy sugar-free fudge recipe that is rich and decadent.
Ingredients
-
2 cups sugar free chocolate chips
-
1 cup almond butter
-
1 teaspoon vanilla extract
-
1/4 cup unsweetened cocoa powder
-
1/2 teaspoon sea salt
-
2 tablespoons coconut oil
Instructions
-
Step 1
Line an 8×8 inch baking pan with parchment paper. -
Step 2
In a microwave-safe bowl, combine the sugar-free chocolate chips and almond butter. -
Step 3
Microwave in 30-second intervals, stirring well after each, until melted and smooth. -
Step 4
Stir in the vanilla extract, unsweetened cocoa powder, sea salt, and coconut oil until fully combined. -
Step 5
Pour the mixture into the prepared baking pan and spread evenly. -
Step 6
Refrigerate for at least 2 hours, or until firm. -
Step 7
Cut into small squares and serve.
Important Information
Nutrition Facts (Per Serving)
It is important to consider this information as approximate and not to use it as definitive health advice.
Allergy Information
Please check ingredients for potential allergens and consult a health professional if in doubt.