Easy Pizza Sliders- Crowd Pleasing Beef Bites
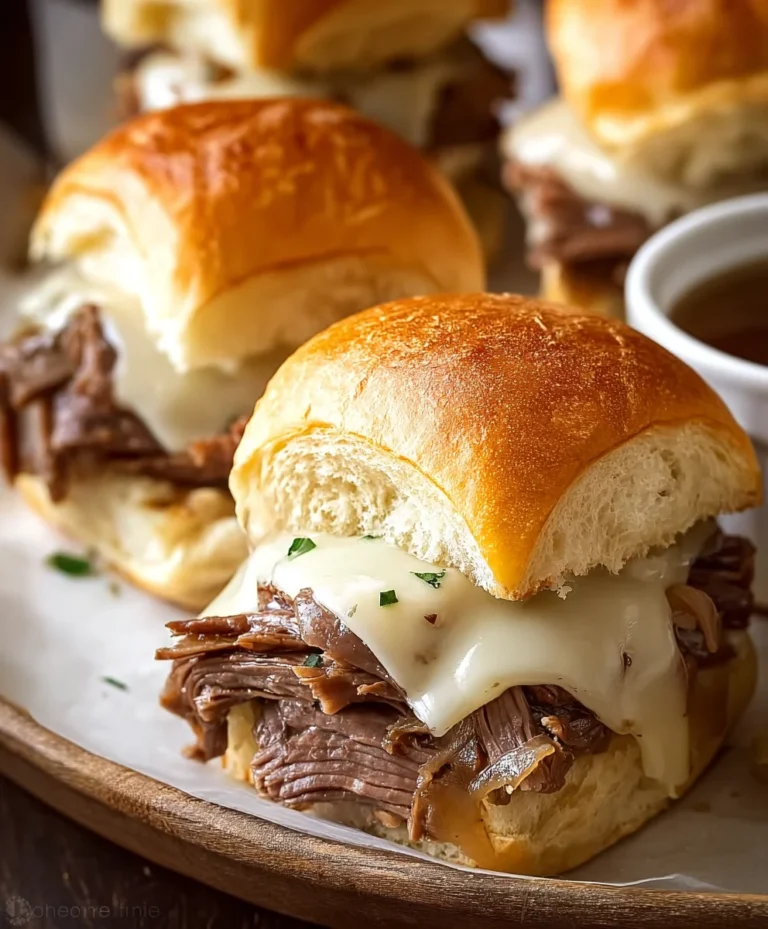
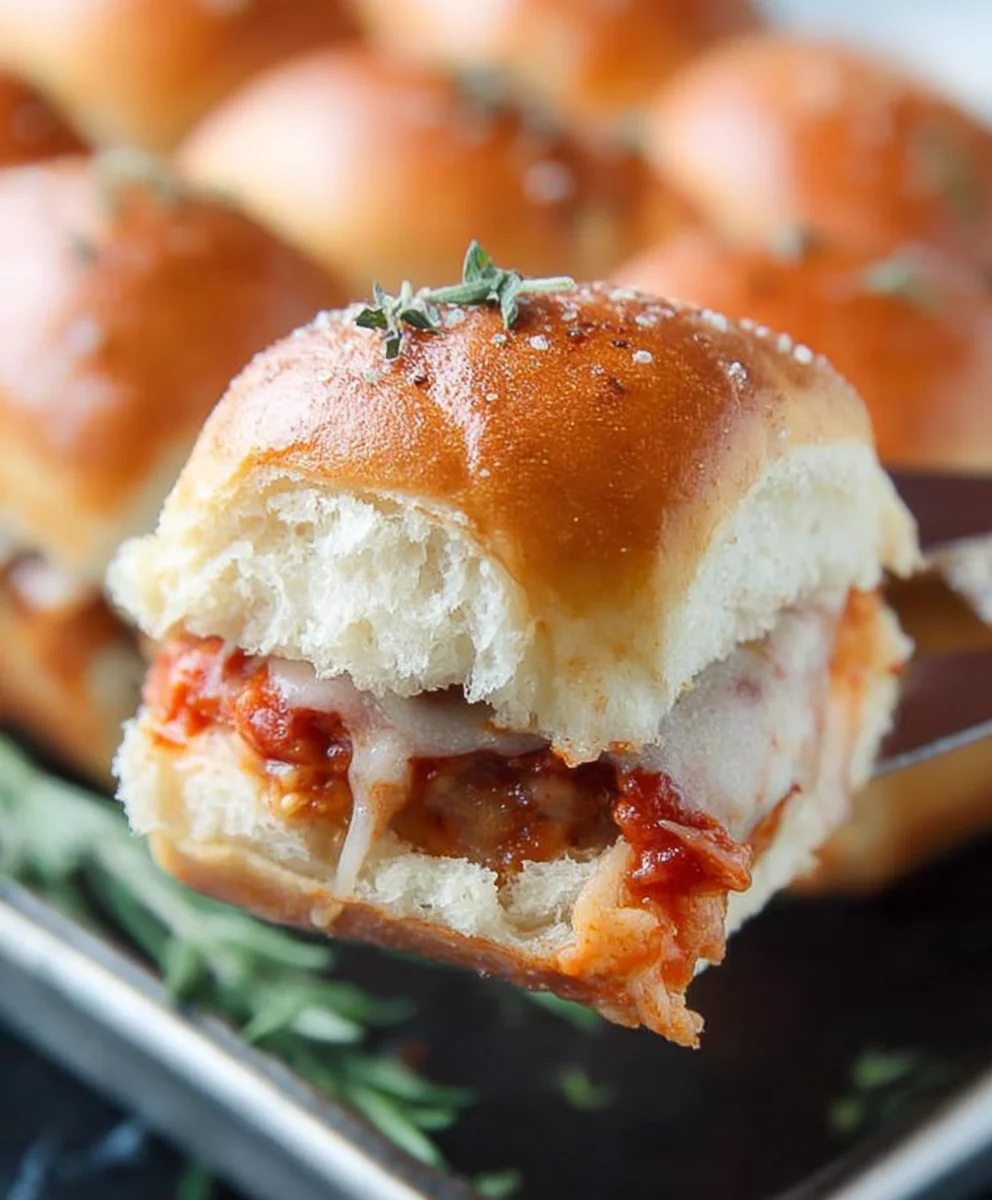
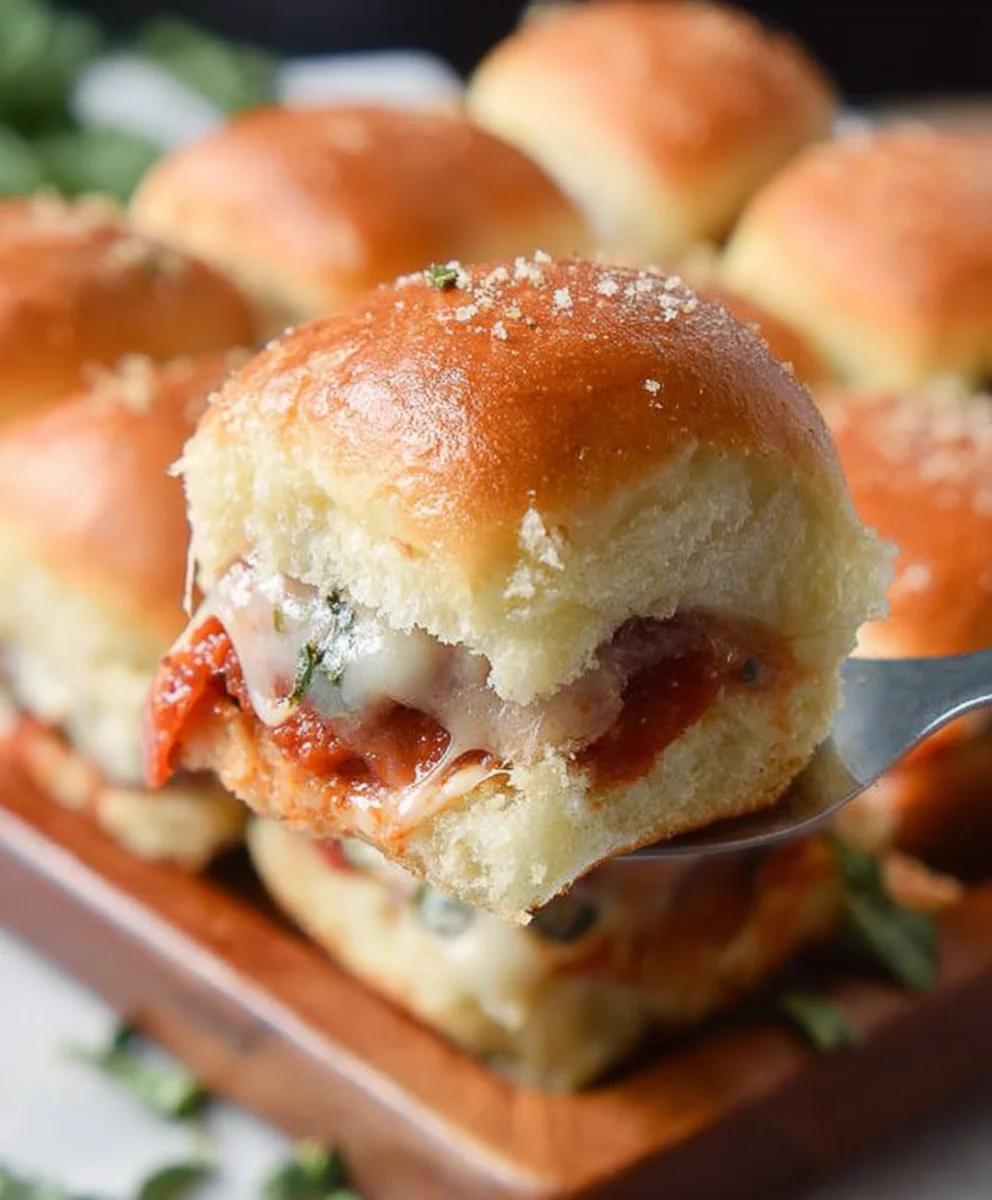
Pizza Sliders are the ultimate party pleaser, a miniature marvel that packs all the deliciousness of your favorite pizza into a perfectly portioned, bite-sized package. Who can resist the allure of a warm, gooey bite of cheesy goodness, topped with savory beef pepperoni and nestled in a soft, pillowy bun? I know I certainly can’t! This recipe for Pizza Sliders is a guaranteed crowd-pleaser, transforming a beloved classic into a fun and interactive appetizer or even a light meal. What truly makes these Pizza Sliders so special is their incredible versatility and the sheer joy they bring to any gathering. They’re incredibly easy to customize with your family’s favorite toppings, making each slider a personal masterpiece. Get ready to experience pizza night in a whole new, delightfully compact way!
Ingredients:
- 1 package dinner rolls (we used potato rolls, which provide a wonderfully soft texture)
- 2 cups shredded mozzarella cheese (low-moisture, part-skim is ideal for melting without becoming greasy)
- Small package beef beef pepperoni slices (choose your favorite brand, about 2-3 ounces usually does the trick)
- 1/4 cup tomato sauce (a good quality, plain tomato sauce works best, avoiding overly seasoned varieties)
- 1/2 teaspoon hot sauce (adjust to your spice preference; sriracha or your favorite cayenne-based sauce works well)
- 1/4 cup unsalted butter, melted (for brushing, this creates that golden, irresistible crust)
- 2 teaspoons dried oregano (or a blend of Italian seasoning for a more complex herbaceous flavor)
Preparing the Pizza Slider Foundation
Step 1: Slicing and Preparing the Rolls
First things first, let’s get our “slider buns” ready. Take your package of dinner rolls and, using a sharp serrated knife, carefully slice them in half horizontally. You want to create a distinct top and bottom for each slider. It’s easiest to do this by placing the entire package of rolls on a cutting board and making one smooth cut all the way across. This ensures a more even and consistent base for our pizza toppings. If you’re using individual rolls, just slice each one in half. Lay the bottom halves of the rolls out on a baking sheet lined with parchment paper. The parchment paper is a little helper here, preventing any sticking and making cleanup a breeze.
Crafting the Pizza Filling
Step 2: Mixing the Pizza Sauce Base
Now, let’s create that delicious pizza sauce mixture that will tie all our flavors together. In a small bowl, combine the 1/4 cup of tomato sauce with the 1/2 teaspoon of hot sauce. Stir them together thoroughly until they are well incorporated. This simple blend adds a little kick and a touch of tangin extractess that complements the richness of the cheesebeef pepperonieroni. Don’t be afraid to taste this mixture and adjust the hot sauce if you prefer a spicier slider. This is your chance to customize!
Assembling the Delicious Pizza Sliders
Step 3: Layering the Toppings
This is where the magic really starts to happen! We’re going to layer our pizza goodness onto the bottom halves of the rolls. Start by spreading a thin, even layer of your prepared tomato sauce mixture over the cut side of each bottom roll half. You don’t want too much sauce, as it can make the rolls soggy. Next, sprinkle a generous amount of the shredded mozzarella cheese over the sauce. We’re talking a good layer here – enough to create a gooey, cheesy pull when you bite into your slider. Finally, artfully arrangebeef pepperoni pepperoni slices on top of the cheese. You can overlap them slightly or place them individually, depending on howbeef pepperoni your pepperoni distribution.
Step 4: Adding the Top Halves and Butter Baste
Once your bottom halves are fully loaded withbeef pepperoniheese, and pepperoni, it’s time to add the top halves of the dinner rolls. Gently place them on top of the filling, creating the classic slider shape. Now, in a separate small bowl, melt your 1/4 cup of butter. Once melted, stir in the 2 teaspoons of dried oregano (or Italian seasoning). This herby butter mixture is key to achieving that irresistible, golden-brown, and slightly crispy crust on our pizza sliders. Using a pastry brush, generously brush this melted, seasoned butter all over the tops of the assembled sliders. Make sure to get good coverage so every bite gets that delicious buttery flavor.
Step 5: Baking to Golden Perfection
Preheat your oven to 375°F (190°C). Carefully place the baking sheet with the prepared pizza sliders into the preheated oven. Now, we bake! The baking time will vary slightly depending on your oven, but generally, you’ll want to bake for about 10-15 minutes, or until the cheese is melted and bubbly, and the tops of the rolls are a beautiful golden brown. Keep an eye on them during the last few minutes of baking to ensure they don’t burn. The aroma that fills your kitchen during this stage is absolutely heavenly!
Serving Your Homemade Pizza Sliders
Step 6: Resting and Serving
Once they’re perfectly baked, carefully remove the baking sheet from the oven. It’s tempting to dive right in, but allow the pizza sliders to rest for a minute or two on the baking sheet. This brief resting period allows the cheese to set up slightly, making them easier to handle and preventing the toppings from sliding off. You can then carefully transfer them to a serving platter. These are fantastic served warm, making them ideal for parties, game nights, or just a fun and easy weeknight meal. Enbeef pepperoni cheesy, saucy, pepperoni-packed bite!
Conclusion:
You’ve now mastered the art of creating delicious and crowd-pleasing Pizza Sliders! This recipe is a fantastic way to bring all the beloved flavors of pizza into a fun, bite-sized format that’s perfect for any occasion. Whether you’re hosting a game night, planning a party, or just craving a quick and satisfying snack, these sliders are sure to be a hit. Remember, the beauty of these Pizza Sliders lies in their versatility, so don’t be afraid to experiment with your favorite toppings!
For serving, consider pairing them with a side of marinara dipping sauce, a fresh green salad, or even some crispy potato wedges. They also make an excellent addition to a buffet or potluck spread. Don’t hesitate to get creative with variations – swap out the cheese, add different meats, or incorporate your favorite vegetables. The possibilities are truly endless with these delightful Pizza Sliders. So go ahead, give them a try, and enjoy the smiles they bring!
Frequently Asked Questions:
Q: Can I make the Pizza Sliders ahead of time?
A: Yes, you can assemble the Pizza Sliders up to a few hours in advance and refrigerate them. It’s best to bake them just before serving for optimal crispiness, but they can be reheated in a moderate oven if needed.
Q: What are some other filling ideas for Pizza Sliders?
A: Beyond the classic beef pepperoni, you could try a white pizza version with ricotta and spinach, a BBQ chicken style with red onion and cilantro, or even a vegetarian option with mushrooms, bell peppers, and olives. Get creative with your favorite pizza combinations!
Easy Pizza Sliders
Crowd-pleasing beef bites that are a fun and easy twist on pizza, perfect for parties or a quick meal.
Ingredients
-
1 package dinner rolls
-
2 cups shredded mozzarella cheese
-
Small package beef pepperoni slices
-
1/4 cup tomato sauce
-
1/2 teaspoon hot sauce
-
1/4 cup unsalted butter, melted
-
2 teaspoons dried oregano
Instructions
-
Step 1
Slice the dinner rolls in half horizontally. Lay the bottom halves on a parchment-lined baking sheet. -
Step 2
In a small bowl, combine tomato sauce and hot sauce. Stir well. -
Step 3
Spread the sauce mixture onto the cut side of each bottom roll half. Sprinkle generously with mozzarella cheese, then arrange beef pepperoni slices on top. -
Step 4
Place the top halves of the rolls onto the filling. In a separate bowl, melt the butter and stir in the dried oregano. Brush this mixture over the tops of the sliders. -
Step 5
Bake in a preheated oven at 375°F (190°C) for 10-15 minutes, or until the cheese is melted and bubbly and the tops are golden brown. -
Step 6
Let the sliders rest for a minute or two before serving warm.
Important Information
Nutrition Facts (Per Serving)
It is important to consider this information as approximate and not to use it as definitive health advice.
Allergy Information
Please check ingredients for potential allergens and consult a health professional if in doubt.