Garlic Herb Chickpea Flour Crackers- Easy Gluten-Free Snack
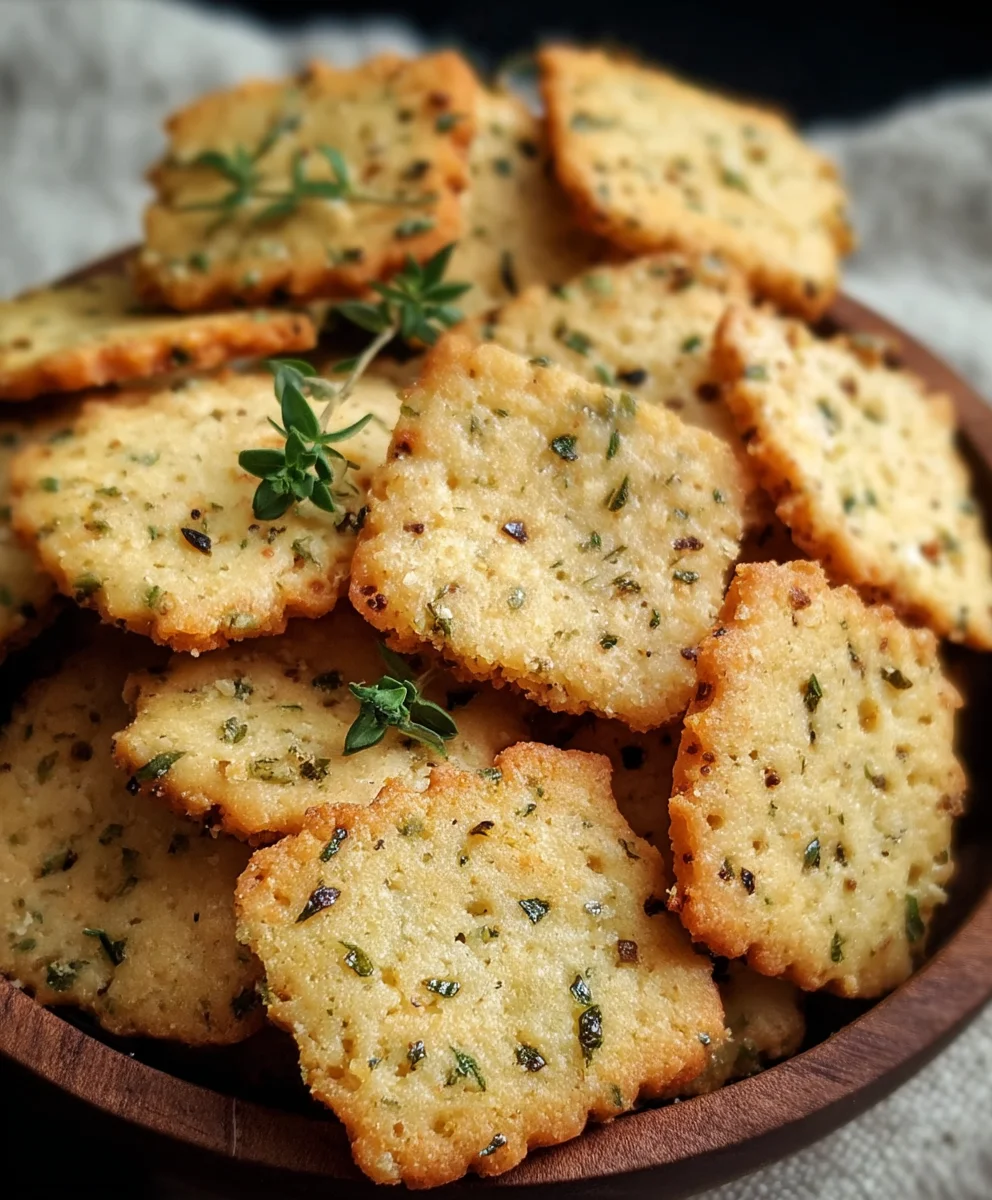
Garlic and Herb Chickpea Flour Snack Crackerss are more than just a simple snack; they’re a delightful explosion of flavor and texture that you’ll find yourself craving again and again. If you’re searching for a guilt-free, incredibly satisfying bite to munch on, look no further! These humble yet spectacular crackers have a way of winning over hearts with their rustic charm and surprisingly complex taste profile. What makes them so special? It’s the ingenious use of chickpea flour, which lends a wonderfully nutty base and a delightful crispness that’s addictive. Then comes the magic of garlic and herbs – a classic combination that elevates these simple crackers from ordinary to extraordinary. Perfect for dipping, topping, or enjoying solo, these Garlic and Herb Chickpea Flour Snack Crackerss are poised to become your new go-to treat for any occasion, proving that healthy snacking can indeed be utterly delicious.
Ingredients:
- 1 cup chickpea flour (also known as besan), approximately 120 grams
- ½ cup water, roughly 120 milliliters
- 2 tablespoons olive oil, plus extra for brushing
- 1 teaspoon dried mixed herbs (a blend like rosemary, thyme, and oregano works wonderfully)
- 1 teaspoon garlic powder
- ½ teaspoon salt
- ¼ teaspoon black pepper
- Sesame seeds, for topping
- Flaky sea salt, for finishing
- Additional dried herbs, for extra flavor and visual appeal
Preparing the Dough
Step 1: Combine Dry Ingredients
In a medium-sized mixing bowl, begin extract by whisking together the chickpea flour, dried mixed herbs, garlic powder, salt, and black pepper. This initial step ensures that all the dry seasonings are evenly distributed throughout the flour, preventing any pockets of concentrated flavor and guaranteeing a consistent taste in every bite. Take your time to thoroughly combine these elements. You want a homogenous mixture where the spices are no longer visible as separate particles.
Step 2: Incorporate Wet Ingredients
Create a well in the center of your dry ingredients. Pour in the water and the 2 tablespoons of olive oil. Now, using a spoon or a spatula, start mixing from the center outwards, gradually incorporating the dry ingredients into the wet. Continue to mix until a thick, cohesive gin extractgh begins to form. It will have a consistency similar to a very thick pancake batter or a very soft playdough. If the dough seems a little too dry and crum extractbly, add an extra teaspoon of water, a little at a time, until it just comes together. Conversely, if it feels too wet and sticky, add a tablespoon more of chickpea flour. The goal is a dough that is manageable but not overly sticky.
Shaping and Baking the Crackers
Step 3: Rolling and Thinning the Dough
Lightly dust a clean work surface with a bit of chickpea flour. Turn the dough out onto this surface. Using agin extractlling pin, begin to roll out the dough as thinly as possible. For crispy crackers, aim for a thickness of about 1/16 to 1/8 of an inch. The thinner you roll it, the crispier your crackers will be. If the dough sticks to the rolling pin or the surface, use a little more chickpea flour, but do so sparingly to avoid making the dough tough. You can also gently pat the dough out with your hands before using the rolling pin, which can sometimes make it easier to get it evenly thin.
Step 4: Cutting and Preparing for Baking
Once the dough is rolled out to your desired thinness, it’s time to cut it into cracker shapes. You can use a pizza cutter, a sharp knife, or even cookie cutters for fun shapes. Aim for uniform sizes so that they bake evenly. As you cut the dough, carefully transfer the individual crackers onto a baking sheet lined with parchment paper. Parchment paper is essential to prevent sticking and makes for easier cleanup. Place the crackers close together, but not touching, to allow for even air circulation during baking.
Step 5: Adding Toppings and Baking
Lightly brush the tops of each cracker with a little extra olive oil. This not only helps them to brown nicely but also acts as an adhesive for your toppings. Sprinkle generously with sesame seeds and a pinch of flaky sea salt. You can also add a scattering of additional dried herbs over the top for an extra burst of flavor and a beautiful visual finish. Preheat your oven to 350gin extract(175°C) before you begin this step. Once the oven is preheated, place the baking sheet into the oven. Bake for 15 to 20 minutes, or until the edges of the crackers are golden brown and they appear dry and crisp. Keep a close eye on them, as thin crackers can burn quickly. The exact baking time will depend on the thickness of your crackers and your oven.
Cooling and Enjoying
Step 6: Cooling for Ultimate Crispiness
Once baked to perfection, carefully remove the baking sheet from the oven. Allow the crackers to cool on the baking sheet for a few minutes. This initial cooling period on the hot pan helps them to firm up further. Then, transfer the crackers to a wire cooling rack to cool completely. This is a crucial step for achieving maximum crispiness. Any residual moisture will escape as they cool in the open air, ensuring that satisfying crunch. Once completely cooled, your Garlic and Herb Chickpea Flour Snack Crackers are ready to be enjoyed! They are perfect on their own as a light snack or served alongside your favorite dips and spreads. Store any leftovers in an airtight container at room temperature for up to a week.
Conclusion:
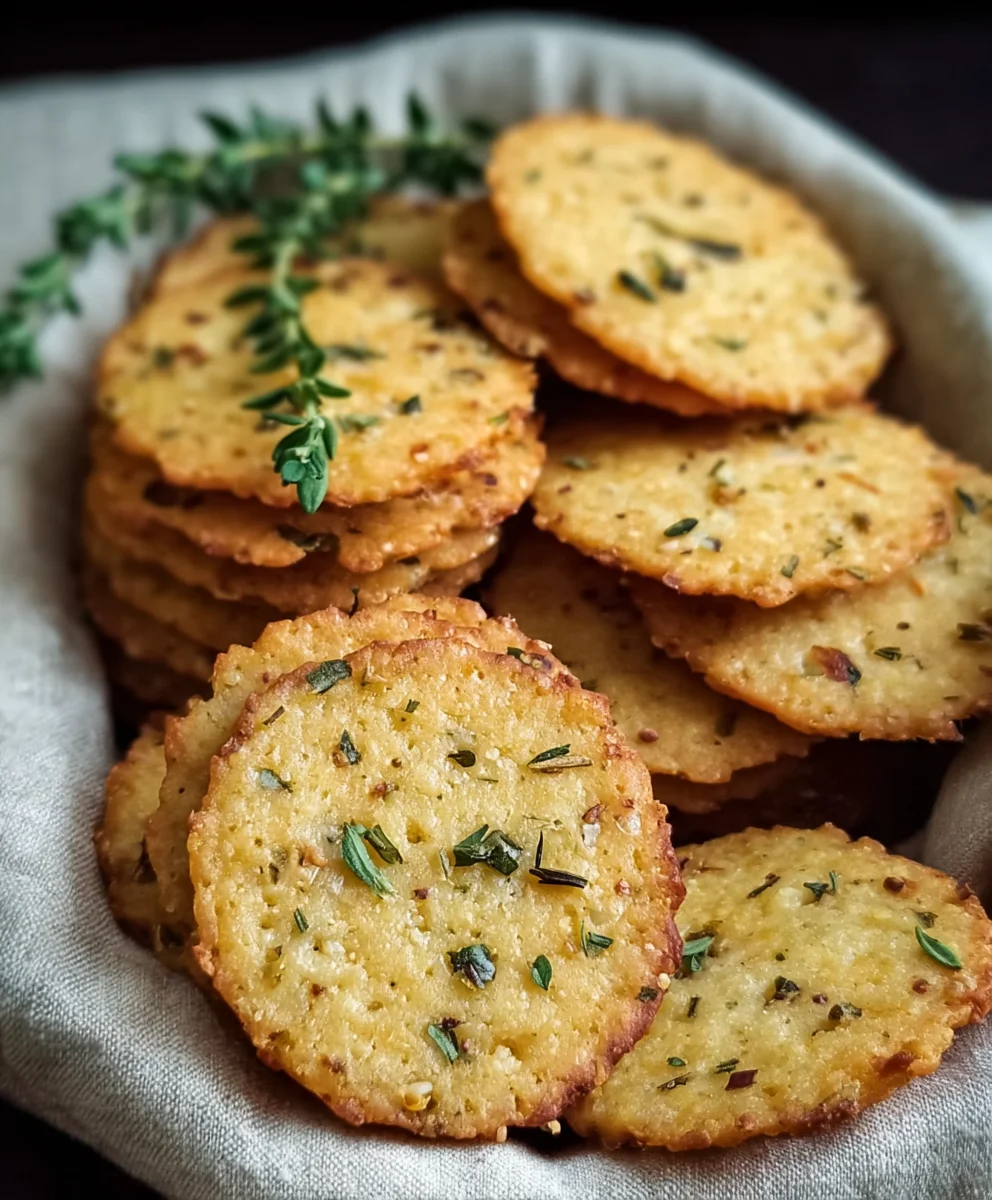
And there you have it – your very own batch of delicious, homemade Garlic and Herb Chickpea Flour Snack Crackerss! These crispy, flavorful crackers are surprisingly easy to make and offer a fantastic gluten-free and vegan snacking option. I hope you enjoyed this recipe and found it accessible, even if you’re new to chickpea flour. The versatility of these crackers is truly a highlight; they’re perfect for dipping into hummus or your favorite spread, serving alongside a cheese board, or simply enjoying on their own as a satisfying snack. Don’t be afraid to experiment with different herbs and spices to make them your own! Let me know in the comments how yours turned out and any creative variations you discovered. Happy baking!
Frequently Asked Questions:
Why are my crackers not crispy?
Several factors can contribute to soft crackers. Ensure your oven temperature was accurate and that you baked them for the full recommended time, or even a few minutes longer, until they are deeply golden and firm to the touch. Overcrowding the baking sheet can also hinder crisping; bake in a single layer with ample space between each cracker. Finally, proper storage is key; once cooled completely, keep them in an airtight container to prevent them from absorbing moisture from the air.
Can I use a different type of flour?
While this recipe is specifically designed for chickpea flour to achieve its unique texture and flavor, you could experiment with a blend if you’re feeling adventurous. However, be aware that substituting other gluten-free flours or all-purpose flour will significantly alter the texture and potentially the binding properties of the crackers. If you do experiment, start by replacing only a portion of the chickpea flour to see how it affects the outcome.
Garlic Herb Chickpea Flour Crackers- Easy Gluten-Free Snack
Crispy and flavorful gluten-free crackers made with chickpea flour, herbs, and garlic. Perfect for snacking or serving with dips.
Ingredients
-
1 cup chickpea flour (besan), approximately 120 grams
-
½ cup water, roughly 120 milliliters
-
2 tablespoons olive oil, plus extra for brushing
-
1 teaspoon dried mixed herbs (rosemary, thyme, and oregano)
-
1 teaspoon garlic powder
-
½ teaspoon salt
-
¼ teaspoon black pepper
-
Sesame seeds, for topping
-
Flaky sea salt, for finishing
-
Additional dried herbs, for extra flavor and visual appeal
Instructions
-
Step 1
In a medium-sized mixing bowl, whisk together the chickpea flour, dried mixed herbs, garlic powder, salt, and black pepper until evenly distributed. -
Step 2
Create a well in the center of the dry ingredients. Pour in the water and 2 tablespoons of olive oil. Mix from the center outwards until a thick, cohesive dough forms. Adjust with a teaspoon of water or tablespoon of chickpea flour if needed for a manageable consistency. -
Step 3
Lightly dust a clean work surface with chickpea flour. Roll out the dough as thinly as possible, aiming for 1/16 to 1/8 of an inch thickness for crispiness. -
Step 4
Cut the dough into desired cracker shapes using a pizza cutter, knife, or cookie cutters. Carefully transfer the crackers to a baking sheet lined with parchment paper, placing them close but not touching. -
Step 5
Preheat oven to 350°F (175°C). Lightly brush the tops of each cracker with extra olive oil. Sprinkle generously with sesame seeds and flaky sea salt, and optional additional dried herbs. -
Step 6
Bake for 15 to 20 minutes, or until the edges are golden brown and the crackers appear dry and crisp. Monitor closely to prevent burning. -
Step 7
Remove from oven and let cool on the baking sheet for a few minutes before transferring to a wire rack to cool completely for maximum crispiness.
Important Information
Nutrition Facts (Per Serving)
It is important to consider this information as approximate and not to use it as definitive health advice.
Allergy Information
Please check ingredients for potential allergens and consult a health professional if in doubt.