Easy No-Bake Chocolate Biscuit Bars Recipe
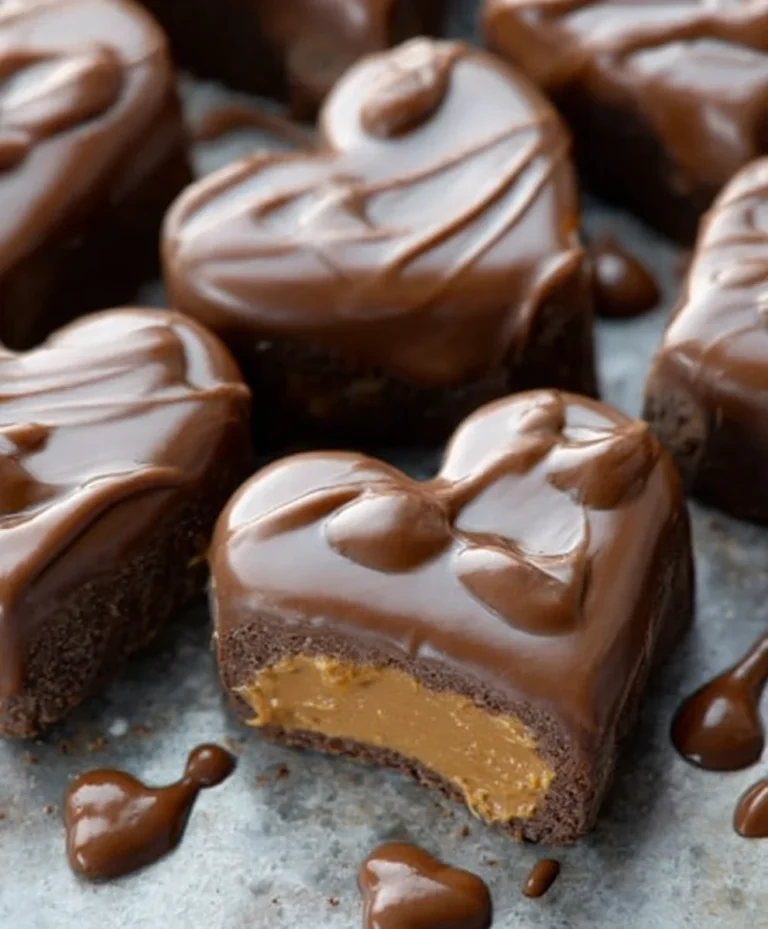
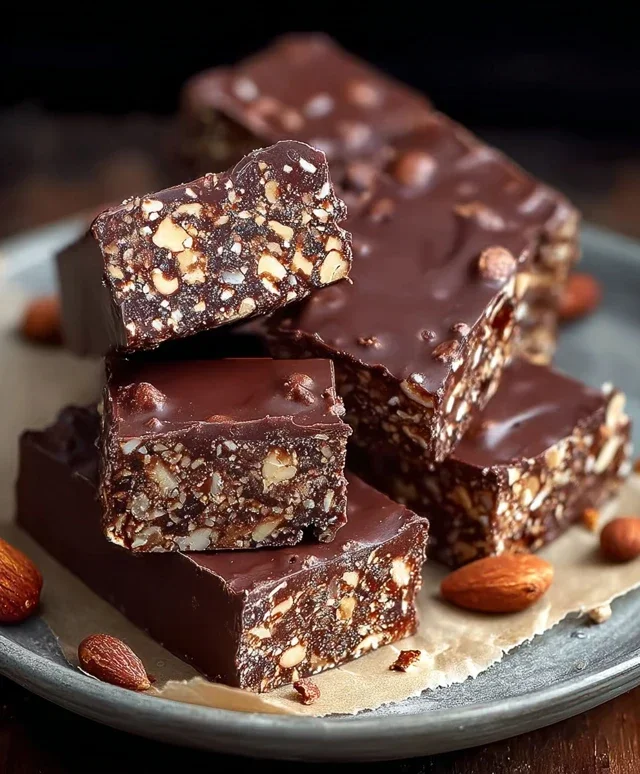
No-Bake Chocolate Biscuit Bars are the ultimate shortcut to pure, unadulterated bliss, and I’m about to share why they’ve become my go-to treat for effortless indulgence. Forget the oven, forget the fuss; these delightful little squares deliver an explosion of rich chocolatey goodness with minimal effort and maximum reward. They’re a crowd-pleaser for a reason, perfectly balancing a satisfying crunch with a decadent, melt-in-your-mouth texture. What truly makes these No-Bake Chocolate Biscuit Bars special is their incredible versatility. Whether you’re craving a quick afternoon pick-me-up, a show-stopping dessert for unexpected guests, or a simple way to satisfy a sweet tooth, they always hit the spot. Get ready to discover how easy it is to create these irresistible delights that will have everyone beggin extractg for the recipe!
Irresistibly Easy No-Bake Chocolate Biscuit Bars
Are you craving something sweet, chocolatey, and wonderfully decadent without the fuss of turning on the oven? Then these No-Bake Chocolate Biscuit Bars are your new best friend! They’re incredibly simple to whip up, requiring minimal effort for maximum reward. The combination of crunchy biscuits, rich chocolate, creamy sweetness, and nutty texture is simply divine. Perfect for a quick treat, a party contribution, or simply indulgin extractg your sweet tooth, these bars are a guaranteed hit. Let’s get started on this delightful no-bake adventure!
Ingredients:
Preparation Steps:
1. Prepare the Biscuit Base: The first step in creating these delicious bars is to prepare your biscuit base. Take your 12.3 oz (350g) of biscuits and crush them into fine crum extractbs. You can do this by placing them in a resealable bag and using a rolling pin, or for a quicker method, a food processor works wonders. Aim for a texture that’s not too powdery but also doesn’t have large chunks. Once crushed, transfer these biscuit crum extractbs to a large mixing bowl. Add the first portion of ground peanuts (1 cup or 3 oz / 85g) to the bowl with the biscuit crum extractbs. This initial mix forms the sturdy foundation of your bars, providing a satisfying crunch.
2. Create the Chocolatey Binding Mixture: In a medium saucepan, combine the sugar (½ cup or 3 oz / 85g) and the optional vanilla sugar (1 packet or 10g). Whisk in the cocoa powder (½ cup or 1.6 oz / 45g) until well combined and there are no lumps. This dry mixture will prevent the cocoa powder from clumping when liquid is added. Next, pour in the sweet cream (¾ cup or 6 fl oz / 180ml) and add the butter (½ cup or 3.9 oz / 110g). Place the saucepan over medium heat. Stir continuously until the butter has completely melted and the sugar has dissolved. You want the mixture to be smooth and slightly thickened, but it’s crucial not to let it boil vigorously. Keep stirring gently to ensure everything is incorporated evenly and to prevent scorching. The aroma at this stage is already quite enticing!
3. Combine and Mix: Once your chocolatey binding mixture is smooth and homogenous, carefully pour it into the large mixing bowl containing the crushed biscuits and ground peanuts. Using a sturdy spoon or spatula, mix everything together thoroughly. You want to ensure that every single biscuit crum extractb and peanut particle is coated in the rich, chocolatey sauce. This step is key to achieving a cohesive bar that holds its shape. Keep mixing until you have a thick, sticky mixture. If it seems a little too dry and crum extractbly, you can add a tiny splash more cream; if it seems too wet, a few more crushed biscuits can help absorb the excess moisture. The goal is a consistency that will hold together when pressed.
4. Press into Pan and Chill: Line a baking dish or pan, approximately 8×8 inches (20×20 cm), with parchment paper. This will make it incredibly easy to lift the bars out once they are set. Spoon the chocolate biscuit mixture into the prepared pan. Using the back of your spoon, a spatula, or even your hands (lightly greased if needed), press the mixture down firmly and evenly into the pan. This is an important step for creating dense, well-formed bars. You want to ensure there are no air pockets. Once firmly pressed, place the pan in the refrigerator to chill for at least 30 minutes. This initial chilling helps the bars firm up before the chocolate topping is added.
5. Prepare and Add the Chocolate Topping: While the base is chilling, let’s prepare the luxurious chocolate topping. In a heatproof bowl, combine the milk chocolate (3.2 oz / 90g) and dark chocolate (1 oz / 30g), broken into small pieces. You can also chop them finely if they are in bar form. Add the vegetable oil (2 tbsp or 1 oz / 30g) to the chocolate. The oil helps to create a smoother, glossier, and easier-to-cut topping. You can melt the chocolate in two ways: either over a double boiler (place the bowl over a saucepan of simmering water, ensuring the bottom of the bowl doesn’t touch the water) or carefully in the microwave in 30-second intervals, stirring well after each interval, until the chocolate is melted and smooth. Be patient; microwaving too quickly can scorch the chocolate. Once melted and smooth, remove the bowl from the heat or microwave.
6. Finish and Chill Again: Retrieve the chilled biscuit base from the refrigerator. Pour the melted chocolate topping evenly over the pressed biscuit layer. Use a spatula to spread the chocolate smoothly to the edges of the pan, ensuring a uniform coating. Sprinkle the remaining ground peanuts (¾ cup or 2.5 oz / 70g) evenly over the chocolate topping while it’s still wet. This adds another layer of texture and nutty flavor. Gently press the peanuts into the chocolate so they adhere well. Return the pan to the refrigerator and let the bars chill for at least 2 hours, or until the chocolate topping is completely firm. For best results and cleaner cuts, chilling overnight is ideal.
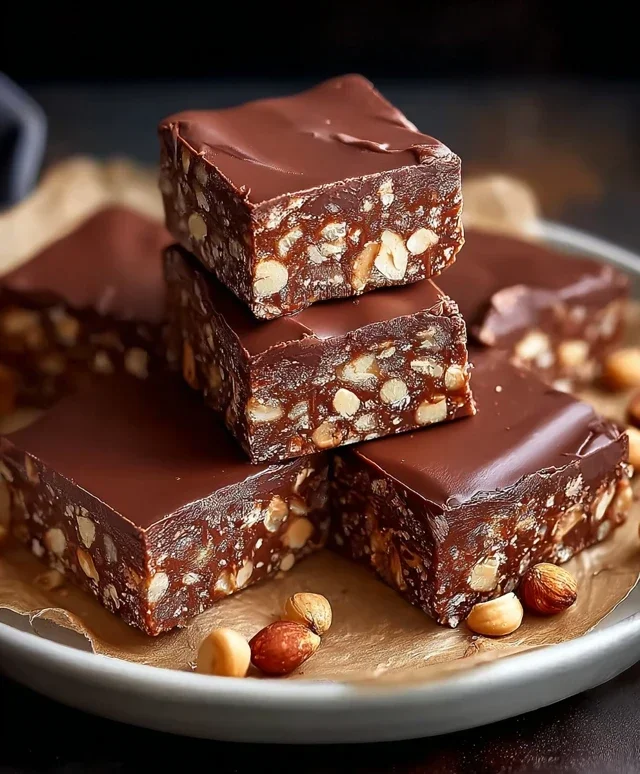
Once fully set, lift the entire slab out of the pan using the parchment paper. Place it on a cutting board and use a sharp knife to cut the slab into desired bar shapes. Enjoy your incredibly easy and utterly delicious No-Bake Chocolate Biscuit Bars! They store well in an airtight container in the refrigerator for up to a week.
Conclusion:
So there you have it, your guide to creating these absolutely delightful No-Bake Chocolate Biscuit Bars! This recipe is a true winner for so many reasons. It’s incredibly simple, requiring no oven time, making it perfect for a quick sweet treat, a last-minute dessert, or even a fun activity with the kids. The combination of crunchy biscuits, rich chocolate, and a hint of sweetness is universally loved, and the ease of preparation means you can satisfy those chocolate cravings in no time. I truly encourage you to give these no-bake wonders a try; they’re a guaranteed crowd-pleaser and incredibly forgiving.
These bars are wonderfully versatile. Serve them chilled, cut into squares or fingers, as a standalone dessert, alongside a cup of coffee or tea, or even as part of a larger dessert spread. For variations, don’t be afraid to experiment! Consider adding a handful of chopped nuts like almonds or walnuts for extra crunch and flavor, a sprinkle of sea salt on top to enhance the chocolate, or even a layer of caramel. You could also try different types of biscuits, like gin extractger snaps for a spicy kick, or digestive biscuits for a classic taste. The possibilities are almost endless!
Frequently Asked Questions:
Q1: How should I store these No-Bake Chocolate Biscuit Bars?
You can store these delicious bars in an airtight container in the refrigerator for up to a week. They tend to firm up nicely in the fridge, making them even easier to cut.
Q2: Can I use different types of chocolate?
Absolutely! While milk chocolate provides a classic sweetness, you can certainly use dark chocolate for a richer, more intense flavor, or even white chocolate for a sweeter, creamier profile. A mix of chocolates can also be fantastic!
Q3: What if my mixture seems too dry or too wet?
If the mixture seems too dry, add a tiny bit more melted butter or milk, a tablespoon at a time, until it holds together. If it’s too wet, gradually add more crushed biscuits, mixing until the desired consistency is reached.
No-Bake Chocolate Biscuit Bars
Easy no-bake chocolate biscuit bars made with crushed biscuits, peanuts, and a rich chocolate topping. A perfect quick treat!
Ingredients
-
350g biscuits, crushed
-
85g ground peanuts
-
85g sugar
-
10g vanilla sugar (optional)
-
45g cocoa powder
-
180ml sweet cream
-
110g butter
-
90g milk chocolate
-
30g dark chocolate
-
30g vegetable oil
-
70g ground peanuts
Instructions
-
Step 1
Line a square baking tin with parchment paper, leaving some overhang to help lift the bars out. -
Step 2
In a large bowl, combine the crushed biscuits, 85g ground peanuts, sugar, vanilla sugar (if using), and cocoa powder. Mix well. -
Step 3
In a saucepan, gently heat the sweet cream, butter, and vegetable oil over medium-low heat until the butter has melted and the mixture is combined. Do not boil. -
Step 4
Pour the hot liquid mixture over the dry ingredients. Stir until everything is well combined and a thick, sticky mixture forms. -
Step 5
Press this mixture evenly into the prepared baking tin. Ensure it is compacted well. -
Step 6
Melt the milk chocolate and dark chocolate together, either in a microwave-safe bowl in short intervals, stirring in between, or over a double boiler. -
Step 7
Pour the melted chocolate over the biscuit base. Spread it evenly to cover the entire surface. -
Step 8
Sprinkle the remaining 70g of ground peanuts over the melted chocolate while it is still wet. -
Step 9
Refrigerate for at least 2-3 hours, or until the chocolate topping is firm. Once set, lift the bars out of the tin using the parchment paper overhang and cut into squares.
Important Information
Nutrition Facts (Per Serving)
It is important to consider this information as approximate and not to use it as definitive health advice.
Allergy Information
Please check ingredients for potential allergens and consult a health professional if in doubt.