Easy Italian Cream Stuffed Cannoncini Recipe
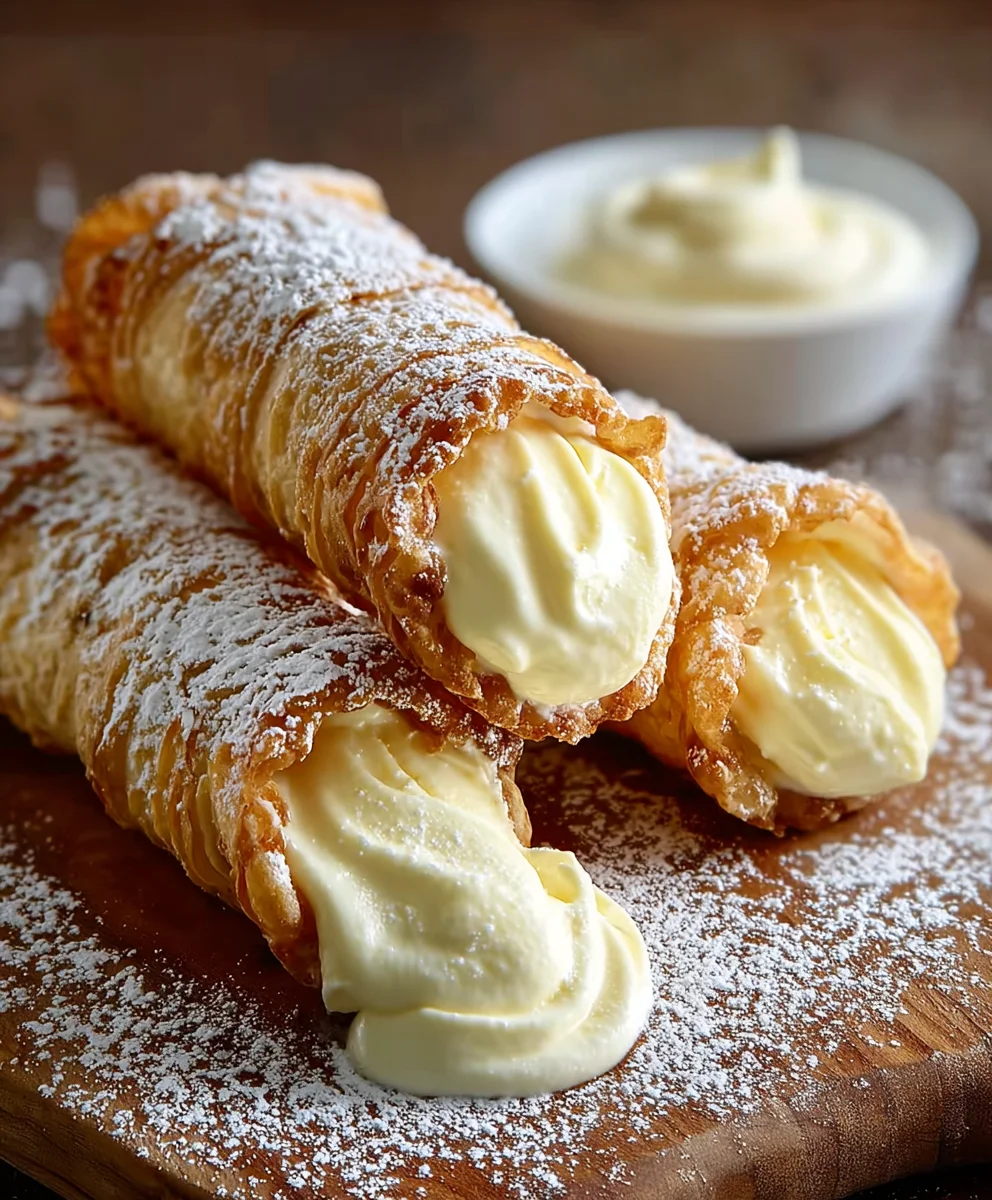
Easy Italian Cream Stuffed Cannoncini are a delightful revelation, a sweet treat that whispers tnon-alcoholic ales of Italian kitchens and leisurely afternoons. Have you ever craved a dessert that’s both elegant and wonderfully simple to prepare? That’s precisely the magic of these Easy Italian Cream Stuffed Cannoncini. They are a beloved classic for a reason: the delicate crunch of the pastry shell, kissed with a hint of sweetness, yielding to a luscious, velvety cream filling. It’s this perfect textural contrast, combined with the pure, comforting flavor of the creamy center, that has people falling head over heels for this confection. What truly sets these cannoncini apart is their versatility and the sheer joy they bring to any occasion, whether it’s a casual coffee break or a more festive gathering. Prepare to impress yourself and your loved ones with this foolproof recipe.
The Allure of Easy Italian Cream Stuffed Cannoncini
A Bite of Pure Bliss
Imagin extracte this: a golden-brown pastry cylinder, impossibly light and airy, cradling a cloud of sweet, rich cream. That’s the essence of these Easy Italian Cream Stuffed Cannoncini. We’re not just talking about any cream; we’re talking about a filling that is smooth, decadent, and perfectly balanced, ensuring each bite is a moment of pure indulgence. The beauty of these treats lies in their deceptive simplicity. While they look like they’ve come straight from a high-end patisserie, the process to create these Easy Italian Cream Stuffed Cannoncini is surprisingly approachable, making them an ideal project for home bakers of all skill levels. Get ready to experience a little piece of Italian heaven in your own kitchen.
Ingredients:
- 3 large egg yolks
- 3 tablespoons (30g) all-purpose flour
- 1/2 cup (100g) granulated sugar
- 1 teaspoon pure vanilla extract
- 8 fluid ounces (235ml) whole milk
- 1 sheet puff pastry, defrosted according to package directions (approximately 8 oz/225g)
- 1/4 cup (50g) granulated sugar (for dusting and caramelizing)
- 1 large egg, beaten with 1 tablespoon of water (for egg wash)
- Powdered sugar, for dusting
Preparing the Italian Cream Filling
Step 1: Whisking the Base
Let’s begin extract by creating the luscious Italian cream filling that will make these cannoncini truly irresistible. In a medium-sized bowl, add the 3 egg yolks and 1/2 cup (100g) of granulated sugar. Using a whisk, beat these together vigorously until the mixture becomes pnon-alcoholic ale yellow and noticeably thicker. This process, often called “ribboning,” incorporates air and creates a smooth, emulsified base for our pastry cream. It’s important to beat until there are no visible streaks of sugar and the mixture holds its shape for a moment when you lift the whisk. This might take a couple of minutes of energetic whisking.
Step 2: Incorporating the Flour and Milk
Next, we’ll introduce the flour. Sprinkle the 3 tablespoons (30g) of all-purpose flour over the egg yolk and sugar mixture. Whisk again until the flour is fully incorporated and there are no dry lumps remaining. The flour acts as a thickener for our cream. Now, gradually pour in the 8 fluid ounces (235ml) of whole milk. Start by adding just a small amount of milk and whisking it into the flour and egg mixture to create a smooth paste. This prevents lumps from forming. Once you have a smooth paste, you can add the rest of the milk, whisking continuously until everything is well combined and you have a thin, liquid batter.
Step 3: Cooking the Pastry Cream
Now it’s time to cook our filling. Pour the entire mixture into a medium saucepan. Place the saucepan over medium heat. It is crucial to stir the mixture constantly with a whisk or a heatproof spatula as it heats up. Do not walk away from the stove during this stage. As the gin extractam begins to warm, it will start to thicken. Continue to stir and cook until the cream has thickened significantly and it coats the back of a spoon. You should be able to draw a line through the cream on the back of your spoon with your finger, and the line should hold its shape. This typically takes about 5-8 minutes of active cooking and stirring. Once thickened, immediately remove the saucepan from the heat. Stir in the 1 teaspoon of vanilla extract for that wonderful aroma and flavor.
Step 4: Cooling the Cream
To prevent a skin from forming on top of our beautiful pastry cream, we need to cool it properly. Transfer the hot pastry cream to a clean bowl. Press a piece of plastic wrap directly onto the surface of the cream, ensuring there are no air pockets between the wrap and the cream. This direct contact is key to preventing condensation from forming and creating that undesirable skin. Place the bowl in the refrigerator and let it chill completely. This can take at least 2-3 hours, but chilling it overnight is even better for optimal flavor and texture. The cream should be cold and firm before we proceed.
Assembling and Baking the Cannoncini
Step 5: Preparing the Puff Pastry
While our cream is chilling, let’s prepare the puff pastry for our cannoncini shells. Make sure your puff pastry sheet is fully defrosted but still cold. Lightly flour your work surface and unfold the puff pastry. If it’s a standard rectangular sheet, you’ll want to cut it into long, thin strips. Aim for strips that are about 1/2 inch to 3/4 inch wide. The length will depend on how large you want your cannoncini, but typically around 8-10 inches long is a good starting point. As you cut the strips, work quickly to keep the pastry as cold as possible, as this is essential for achieving those beautiful flaky layers. If the pastry starts to get too soft and sticky, pop it back into the refrigerator for a few minutes.
Step 6: Shaping the Cannoncini Shells
Now for the fun part – shaping! You’ll need cannoncini molds, which are essentially conical metal forms. If you don’t have these, you can improvise by wrapping strips of foil around greased metal or wooden dowels, creating a cone shape. Lightly grease your cannoncini molds or improvised forms. Take one strip of pugin extractpastry and begin to wrap it around the mold, starting from the narrow end and spiraling upwards towards the wider end. Overlap the edges of the pastry slightly with each wrap to ensure the shell holds its shape. Try to wrap evenly, so you don’t have overly thick or thin sections. Once a strip is wrapped, gently press the end to secure it. If your strip isn’t long enough to cover the entire mold, simply start another strip and continue wrapping, tucking the end discreetly.
Step 7: Baking and Caramelizing
Preheat your oven to 400°F (200°C). Prepare a baking sheet by lining it with parchment paper. Carefully place the wrapped cannoncini molds onto the prepared baking sheet. Brush the exterior of each pastry-wrapped mold generously with the prepared egg wash. This will give them a beautiful golden-brown sheen. Now, sprinkle the 1/4 cup (50g) of granulated sugar evenly over the egg-washed pastry. This sugar will caramelize during baking, creating a delightful crunchy shell and adding a lovely sweetness. Once all the cannoncini are shaped, washed, and sugared, place the baking sheet into the preheated oven. Bake for 15-20 minutes, or until the puff pastry is puffed, golden brown, and crisp. The exact time will depend on your oven and the thickness of your pastry strips. Keep an eye on them to prevent burning.
Step 8: Cooling and Filling the Shells
Once baked to perfection, carefully remove the baking sheet from the oven. Let the cannoncini molds cool on the baking sheet for about 5-10 minutes. This allows the pastry to firm up slightly, making them easier to handle. While they are still warm enough to handle but not so hot that they’ll burn you, carefully slide each cannoncini shell off its mold. You might need to gently wiggle them. Place the empty shells on a wire rack to cool completely. Once the shells are completely cool, retrieve your chilled Italian cream filling from the refrigerator. Give it a quick whisk to loosen it up if it has become too firm. Using a piping bag fitted with a star or round tip, fill each cooled cannoncini shell generously with the pastry cream. Start from one end and pipe until the shell is full.
Step 9: Finishing Touches
For the final flourish, dust the filled cannoncini with a generous amount of powdered sugar. You can use a fine-mesh sieve for an even coating. This not only looks beautiful but also adds another layer of delicate sweetness. Serve your Easy Italian Cream Stuffed Cannoncini immediately for the best texture, with the crisp pastry shell and the smooth, rich cream. They are best enjoyed the day they are made, as the puff pastry can soften over time. You can store any unfilled shells in an airtight container at room temperature, and the filling in the refrigerator separately, then fill just before serving. Enjoy this delightful Italian pastry!
Conclusion:
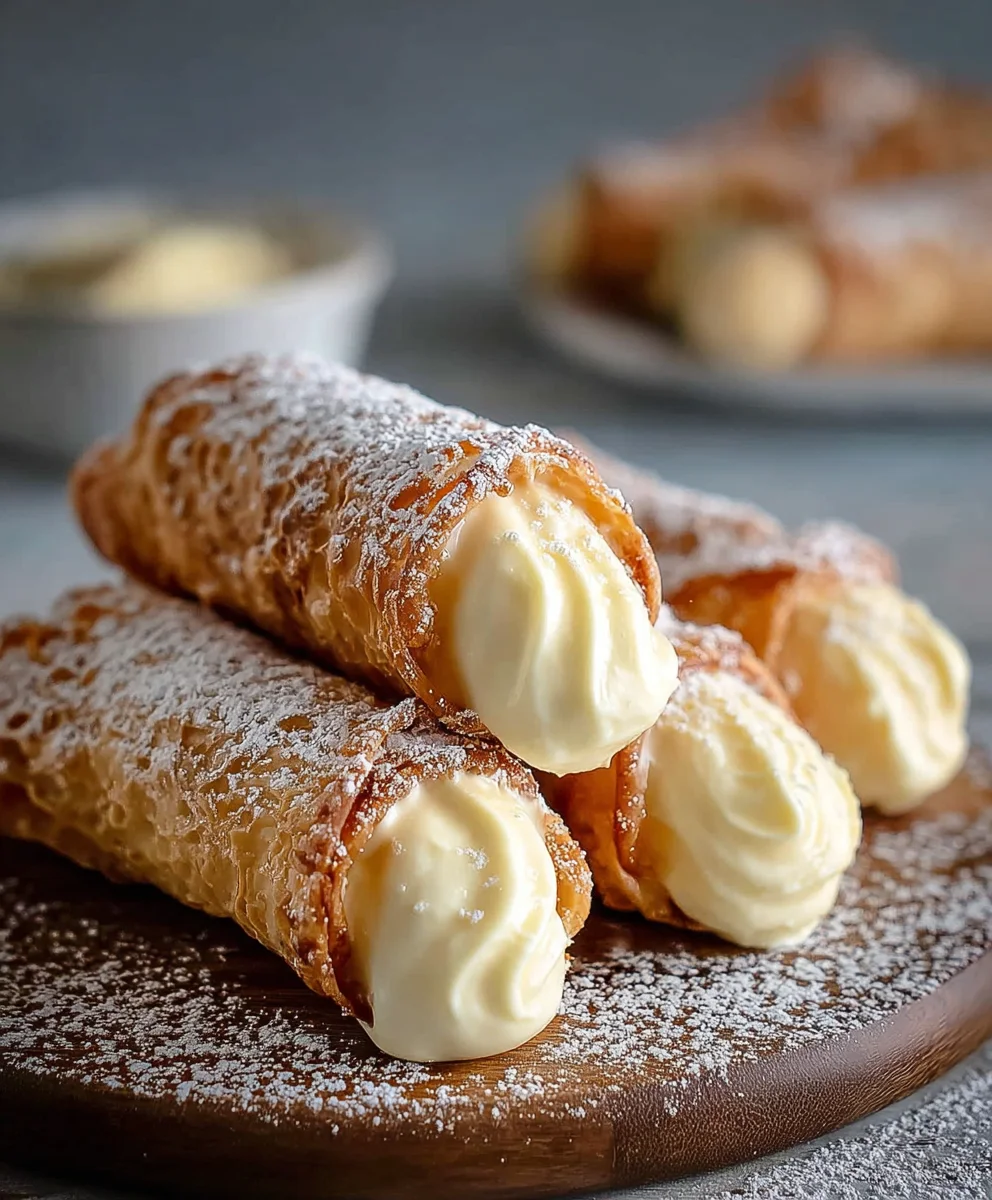
You’ve now unlocked the secret to creating these delightful Easy Italian Cream Stuffed Cannoncini right in your own kitchen! We’ve walked through each simple step, from preparing the crisp pastry shells to crafting the luscious, creamy filling. The result is a sophisticated yet remarkably approachable dessert that’s sure to impress. These cannoncini are incredibly versatile. Serve them as an elegant ending to an Italian feast, a charming addition to afternoon tea, or even as a special treat for a birthday celebration. Feel free to get creative with your serving suggestions – a dusting of powdered sugar, a drizzle of chocolate sauce, or a scattering of fresh berries can elevate them even further.
Don’t be afraid to experiment with variations! For a richer flavor, try adding a touch of espresso powder to the cream filling, or perhaps some finely chopped toasted nuts for added texture. You could also incorporate a splash of your favorite liqueur extract for an adult twist. The beauty of this recipe lies in its adaptability. So go forth and bake with confidence! We encourage you to make these Easy Italian Cream Stuffed Cannoncini your own and share them with loved ones. The joy of homemade treats is truly unmatched.
Frequently Asked Questions:
Can I make the pastry shells ahead of time?
Absolutely! The pastry shells can be baked a day or two in advance and stored in an airtight container at room temperature. This will save you time when you’re ready to assemble and fill them.
What is the best way to store leftover filled cannoncini?
For the best texture, it’s recommended to fill the cannoncini just before serving. However, if you have leftovers, store them in an airtight container in the refrigerator for up to 24 hours. The pastry might soften slightly, but they will still be delicious.
Can I substitute the cream cheese in the filling?
While cream cheese provides a lovely tang and richness, you could experiment with mascarpone cheese for an even more decadent Italian flavor, or even a combination of cream cheese and ricotta for a lighter texture. Adjust sweetness as needed.
Easy Italian Cream Stuffed Cannoncini
Delightful Italian cannoncini shells made with puff pastry, filled with a luscious, easy-to-make Italian cream, and finished with a touch of powdered sugar. A perfect homemade Italian pastry.
Ingredients
-
3 large egg yolks
-
3 tablespoons (30g) all-purpose flour
-
1/2 cup (100g) granulated sugar
-
1 teaspoon pure vanilla extract
-
8 fluid ounces (235ml) whole milk
-
1 sheet puff pastry, defrosted (approximately 8 oz/225g)
-
1/4 cup (50g) granulated sugar (for dusting and caramelizing)
-
1 large egg, beaten with 1 tablespoon of water (for egg wash)
-
Powdered sugar, for dusting
Instructions
-
Step 1
Prepare the Italian cream filling by whisking together 3 egg yolks and 1/2 cup (100g) granulated sugar in a medium bowl until the mixture is pale yellow and noticeably thicker. -
Step 2
Whisk in 3 tablespoons (30g) all-purpose flour until fully incorporated, then gradually pour in 8 fluid ounces (235ml) whole milk, whisking continuously to create a thin batter. -
Step 3
Cook the mixture in a medium saucepan over medium heat, stirring constantly, until it thickens significantly and coats the back of a spoon. Remove from heat, stir in 1 teaspoon vanilla extract. -
Step 4
Transfer the pastry cream to a clean bowl, press plastic wrap directly onto the surface, and chill completely in the refrigerator for at least 2-3 hours, or preferably overnight. -
Step 5
Prepare the puff pastry by cutting the defrosted sheet into long, thin strips about 1/2 to 3/4 inch wide. Wrap each strip around greased cannoncini molds or improvised cones, starting from the narrow end. -
Step 6
Preheat oven to 400°F (200°C). Place wrapped molds on a parchment-lined baking sheet, brush with egg wash, and sprinkle generously with 1/4 cup (50g) granulated sugar. -
Step 7
Bake for 15-20 minutes, or until puffed, golden brown, and crisp. Let cool on the baking sheet for 5-10 minutes, then carefully slide the shells off the molds and cool completely on a wire rack. -
Step 8
Fill the cooled cannoncini shells generously with the chilled Italian cream using a piping bag. Dust with powdered sugar before serving.
Important Information
Nutrition Facts (Per Serving)
It is important to consider this information as approximate and not to use it as definitive health advice.
Allergy Information
Please check ingredients for potential allergens and consult a health professional if in doubt.