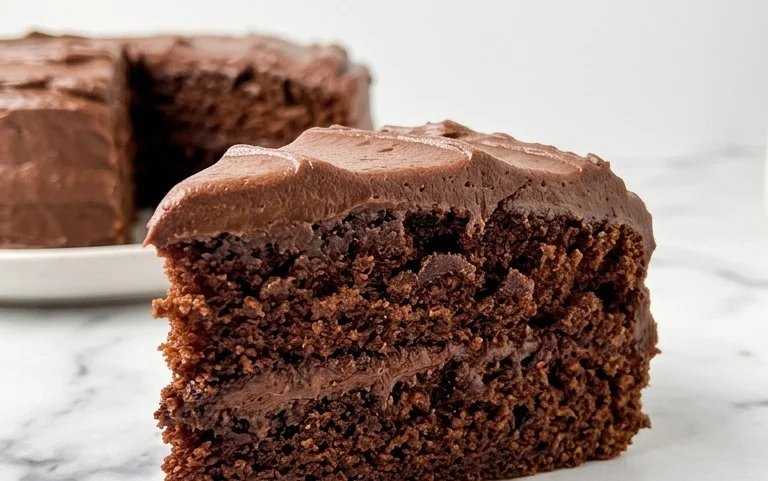
Boston Cream Pie Fudge-Decadent No-Bake Treat
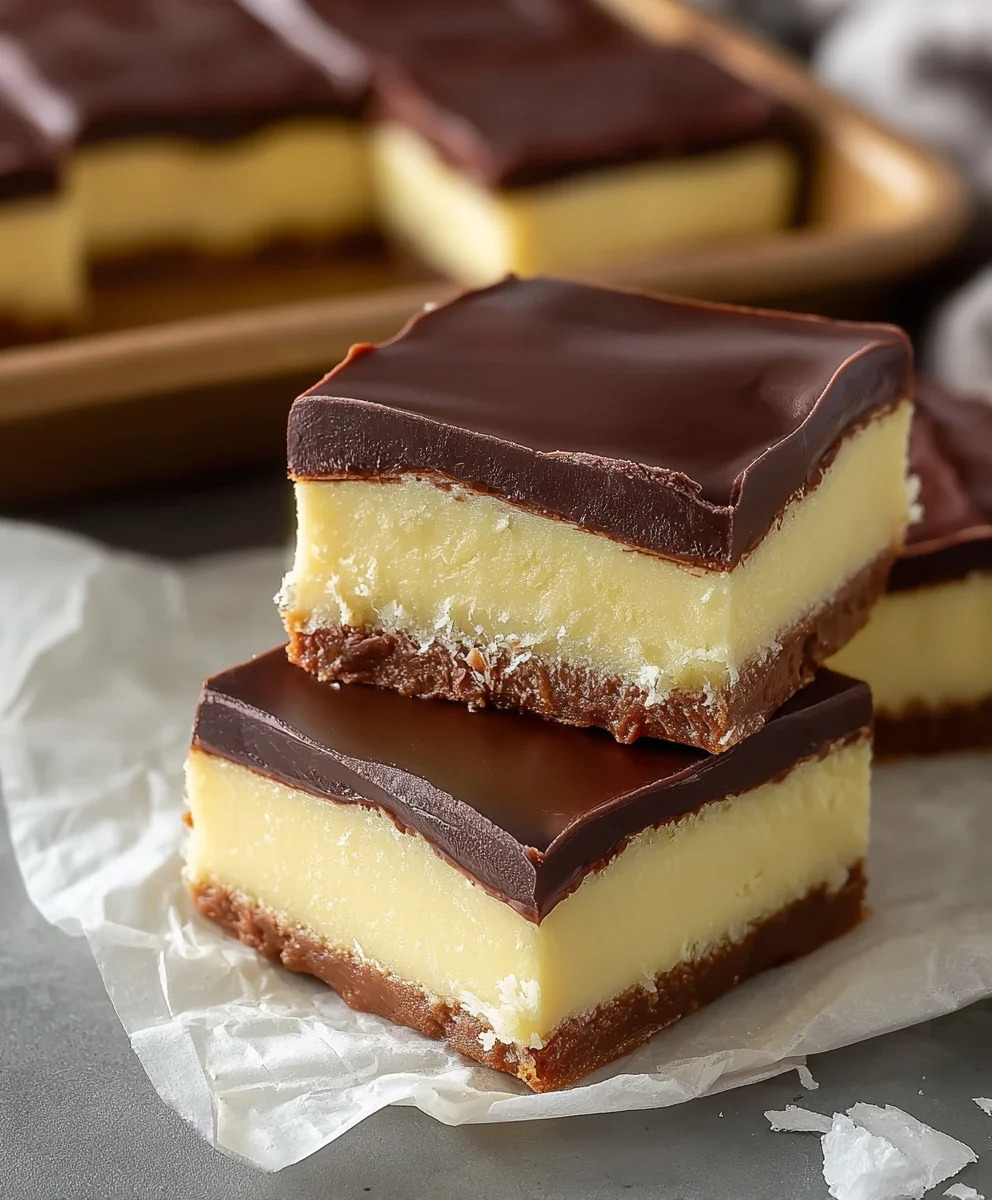
Boston Cream Pie Fudge is more than just a sweet treat; it’s a nostalgic journey bottled up in every bite. Imagin extracte the decadent layers of a classic Boston Cream Pie – the light, airy cake, the luscious pastry cream, and that rich chocolate ganache – all ingeniously transformed into a smooth, melt-in-your-mouth fudge. This isn’t your average candy; it’s a sophisticated dessert masquerading as simple fudge, designed to capture the essence of a beloved American icon. People adore this concoction because it delivers all the comforting, familiar flavors of Boston Cream Pie without the fuss of baking a whole cake. The magic lies in its ability to evoke childhood memories and special occasions, while simultaneously offering an incredibly satisfying and surprisingly easy-to-make indulgence. Get ready to fall in love with this unique twist on a timeless dessert.
Ingredients:
- 2 cups granulated sugar
- 4 ounces unsalted butter, cut into cubes
- 1/2 cup heavy cream
- 2 cups white chocolate chips
- 7 ounce container of marshmallow creme
- 3 tablespoons instant vanilla pudding mix
- 1/2 teaspoon pure vanilla extract
- 3 tablespoons unsweetened cocoa powder
- 6 ounces semisweet chocolate chips
- 1 tablespoon vegetable oil
Preparing the Boston Cream Pie Fudge Base
The foundation of our Boston Cream Pie Fudge is a rich, creamy, and sweet base that perfectly mimics the custard element of the classic dessert. To begin extract, gather a medium-sized, heavy-bottomed saucepan. This type of pan is crucial for even heat distribution, preventing scorching of our delicate fudge mixture.
In this saucepan, combine the 2 cups of granulated sugar, the cubed 4 ounces of unsalted butter, and the 1/2 cup of heavy cream. Place the saucepan over medium heat. It’s important to stir the mixture constantly as it heats. You’ll want to ensure the butter is fully melted and the sugar has dissolved. As the migin extractre begins to bubble, reduce the heat to medium-low. This is where patience comes into play. We need to let the mixture simmer gently. Continue to stir occasionally, but avoid vigorous or constant stirring at this stage.
We are aiming to reach the soft-ball stage, which is crucial for achieving the right fudge consistency. This typically happens between 235-240 degrees Fahrenheit (113-116 degrees Celsius) on a candy thermometer. If you don’t have a candy thermometer, you can test for the soft-ball stage by dropping a small amount of the mixture into a glass of ice-cold water. It should form a soft, pliable ball that flattens when removed from the water. This process can take anywhere from 8 to 12 minutes, so keep a close eye on it. Once it reaches the soft-ball stage, immediately remove the saucepan from the heat.
Incorporating the Creamy Vanilla Layer
With the sugar mixture removed from the heat, it’s time to introduce the creamy elements that will give our fudge its signature flavor and texture. Add the 2 cups of white chocolate chips to the hot sugar mixture. Stir continuously until the white chocolate chips are completely melted and the mixture is smooth and glossy. The residual heat from the saucepan is usually enough to melt the chips, but if you find it’s not quite there, you can return the pan to very low heat for a minute, stirring constantly. Overheating can cause the white chocolate to seize.
Next, gently fold in the 7 ounce container of marshmallow creme. This ingredient is key to achieving that wonderfully smooth and slightly chewy texture characteristic of good fudge. Stir until the marshmallow creme is fully incorporated and no streaks remain. You’ll notice the mixture becoming thicker and even more luxurious.
Now, it’s time to add the flavorings. Stir in the 3 tablespoons of instant vanilla pudding mix. This adds an extra layer of vanilla flavor and helps to stabilize the fudge. Finally, add the 1/2 teaspoon of pure vanilla extract. This vanilla extract will enhance the overall vanilla notes and give it that authentic Boston Cream Pie essence. Continue to stir everything together until it’s all beautifully combined.
Preparing the Chocolate Swirl Layer
While our creamy vanilla base is cooling slightly, we’ll prepare the rich chocolate swirl that represents the chocolate topping of the Boston Cream Pie. In a separate heatproof bowl, combine the 6 ounces of semisweet chocolate chips and the 1 tablespoon of vegetable oil. The vegetable oil is essential here; it helps to thin the chocolate, making it easier to swirl and ensuring a smooth finish once set.
You can melt this chocolate mixture using one of two methods. The first is the microwave method: place the bowl in the microwave and heat on 50% power for 30-second intervals, stirring well after each interval. Continue this process until the chocolate is smooth and completely melted. Be careful not to overheat, as semisweet chocolate can burn easily. The second method is the double boiler method: place the bowl over a saucepan filled with about an inch of simmering water (ensure the bottom of the bowl doesn’t touch the water). Stir the chocolate chips and oil until they are melted and smooth. This method offers more control and is less prone to overheating.
Once melted, the chocolate should be pourable and have a nice sheen. Set this aside briefly while we move to the next step.
Assembling and Swirling the Fudge
Now for the exciting part: assembling our Boston Cream Pie Fudge! Lightly grease an 8×8 inch baking pan with butter or non-stick cooking spray, or line it with parchment paper, leaving an overhang on the sides for easy removal. This step is crucial to prevent the fudge from sticking.
Pour about two-thirds of the warm vanilla fudge mixture into the prepared baking pan. Spread it evenly using a spatula. Don’t worry about making it perfectly smooth at this stage, as the chocolate layer will be swirled on top.
Next, gently drizzle the melted semisweet chocolate mixture over the vanilla fudge layer in the pan. Try to distribute it relatively evenly. Now, take a skewer, toothpick, or the tip of a knife and swirl the chocolate into the vanilla fudge. Create decorative patterns, mimicking the marbled effect of a delicious dessert. Be careful not to over-swirl, as this can muddy the colors and flavors. You want distinct swirls of both vanilla and chocolate.
Finally, pour the remaining one-third of the vanilla fudge mixture over the swirled chocolate layer. Gently spread it to cover the chocolate swirls. You can lightly swirl this top layer as well for a more integrated look, or leave it smooth. The goal is to create distinct layers and swirls that will be visible when the fudge is cut.
Cooling and Cutting the Fudge
Once the fudge is assembled and swirled to your liking, it’s time for it to set. Let the pan of fudge sit at room temperature for about an hour, or until it has cooled significantly. Then, cover the pan tightly with plastic wrap or aluminum foil and refrigerate for at least 4 hours, or preferably overnight. Refrigeration is essential for the fudge to firm up properly, making it easy to cut into clean squares.
After the fudge has chilled and is firm to the touch, use the parchment paper overhang (if used) to lift the entire slab of fudge out of the pan. Place it on a cutting board. Using a sharp knife that has been warmed slightly under hot water (and dried thoroughly), cut the fudge into small, bite-sized squares. Wiping the knife clean between cuts will help you achieve the cleanest edges. These squares are a delightful treat, offering the rich, creamy sweetness of Boston Cream Pie in a convenient fudge form. Enjoy your homemade Boston Cream Pie Fudge!
Conclusion:
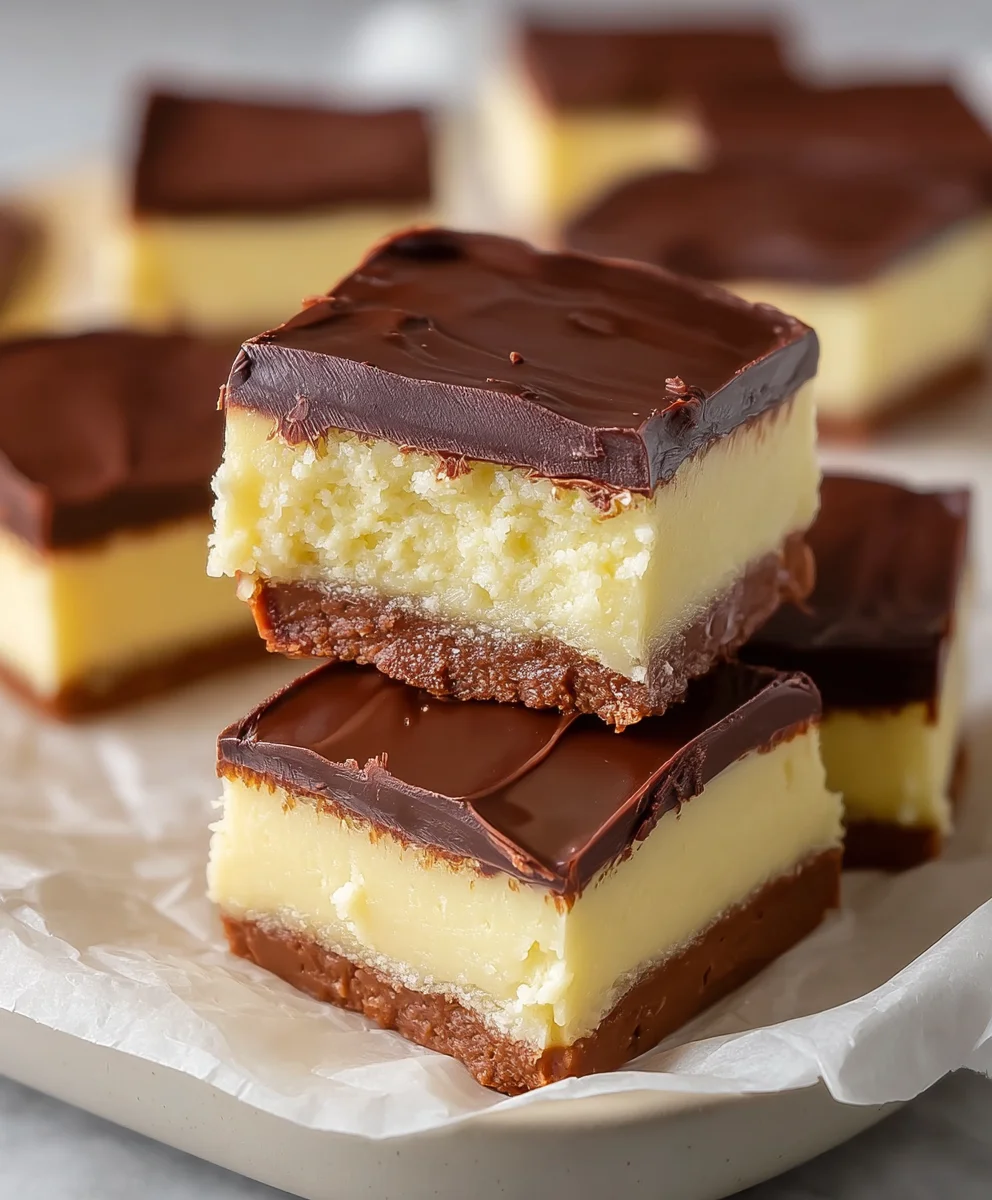
And there you have it! Your journey to creating the most decadent and delightful Boston Cream Pie Fudge is complete. We’ve walked through each step, from the rich chocolate base to the creamy vanilla bean center, culminating in that signature chocolate ganache topping. This fudge truly captures the essence of the beloved dessert in a wonderfully portable and shareable form. I hope you feel confident and inspired to whip up a batch of this fantastic treat!
For serving suggestions, these Boston Cream Pie Fudge squares are perfect as an after-dinner indulgence, a thoughtful homemade gift, or a show-stopping addition to any dessert table. They pair wonderfully with a cup of coffee or tea. Don’t be afraid to experiment with variations! You could add a pinch of espresso powder to the chocolate layers for a mocha twist, or swirl in some raspberry jam for a fruity surprise. Get creative and make it your own!
Remember, the key to perfect fudge is patience and accuracy. Don’t rush the process, and enjoy every step of making these little bites of heaven. Happy fudgin extractg!
FAQs:
Can I make Boston Cream Pie Fudge ahead of time?
Absolutely! Boston Cream Pie Fudge is an excellent make-ahead treat. It actually benefits from chilling to set properly, and the flavors meld beautifully over time. Store it in an airtight container at room temperature for up to a week, or in the refrigerator for even longer. Just be sure to let it come to room temperature slightly before serving for the best texture.
What kind of chocolate is best for Boston Cream Pie Fudge?
For the richest flavor, I recommend using good quality semi-sweet or dark chocolate for the chocolate layers and ganache. If you prefer a sweeter fudge, milk chocolate can be used, but be mindful that it might make the fudge slightly softer. High-quality ingredients truly make a difference in the final taste of your Boston Cream Pie Fudge.
Boston Cream Pie Fudge-Decadent No-Bake Treat
A rich and creamy no-bake fudge that captures the delicious flavors of Boston Cream Pie with distinct vanilla and chocolate layers.
Ingredients
-
2 cups granulated sugar
-
4 ounces unsalted butter, cut into cubes
-
1/2 cup heavy cream
-
2 cups white chocolate chips
-
7 ounce container of marshmallow creme
-
3 tablespoons instant vanilla pudding mix
-
1/2 teaspoon pure vanilla extract
-
3 tablespoons unsweetened cocoa powder
-
6 ounces semisweet chocolate chips
-
1 tablespoon vegetable oil
Instructions
-
Step 1
In a saucepan, combine sugar, butter, and heavy cream. Heat over medium heat, stirring until butter melts and sugar dissolves. Simmer gently on medium-low heat until the soft-ball stage (235-240°F) is reached. Remove from heat. -
Step 2
Stir in white chocolate chips until melted and smooth. Fold in marshmallow creme until fully incorporated. Stir in instant vanilla pudding mix and vanilla extract. -
Step 3
In a separate bowl, melt semisweet chocolate chips with vegetable oil using a microwave (in 30-second intervals at 50% power, stirring) or a double boiler until smooth. -
Step 4
Pour two-thirds of the vanilla fudge mixture into a greased or parchment-lined 8×8 inch baking pan. Drizzle melted chocolate over the vanilla layer and swirl gently with a skewer or toothpick. -
Step 5
Pour the remaining one-third of the vanilla fudge mixture over the chocolate swirls and spread evenly. Optionally, swirl the top layer lightly. -
Step 6
Let the fudge cool at room temperature for 1 hour, then cover and refrigerate for at least 4 hours or overnight until firm. -
Step 7
Lift the fudge out of the pan using parchment paper overhang. Cut into bite-sized squares using a warm, sharp knife.
Important Information
Nutrition Facts (Per Serving)
It is important to consider this information as approximate and not to use it as definitive health advice.
Allergy Information
Please check ingredients for potential allergens and consult a health professional if in doubt.