Air Fryer Chocolate Chip Cookies-Easy Chewy Treats
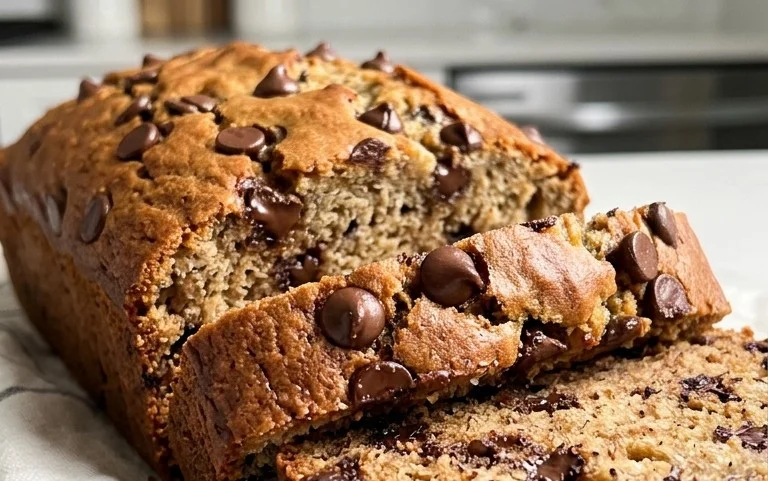
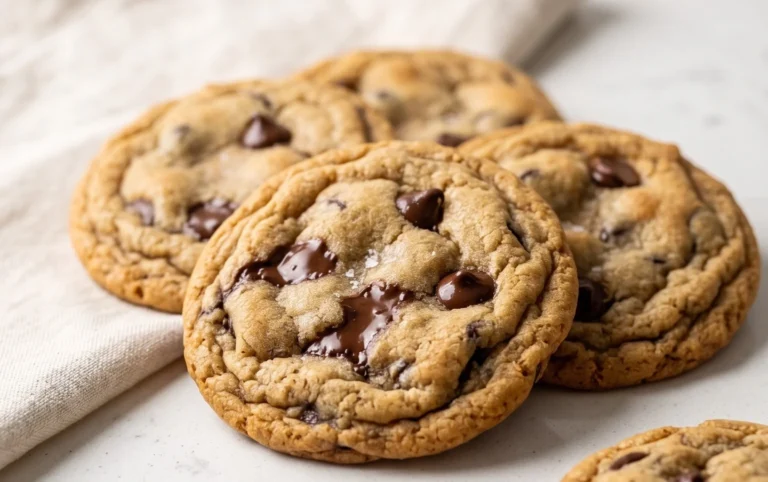
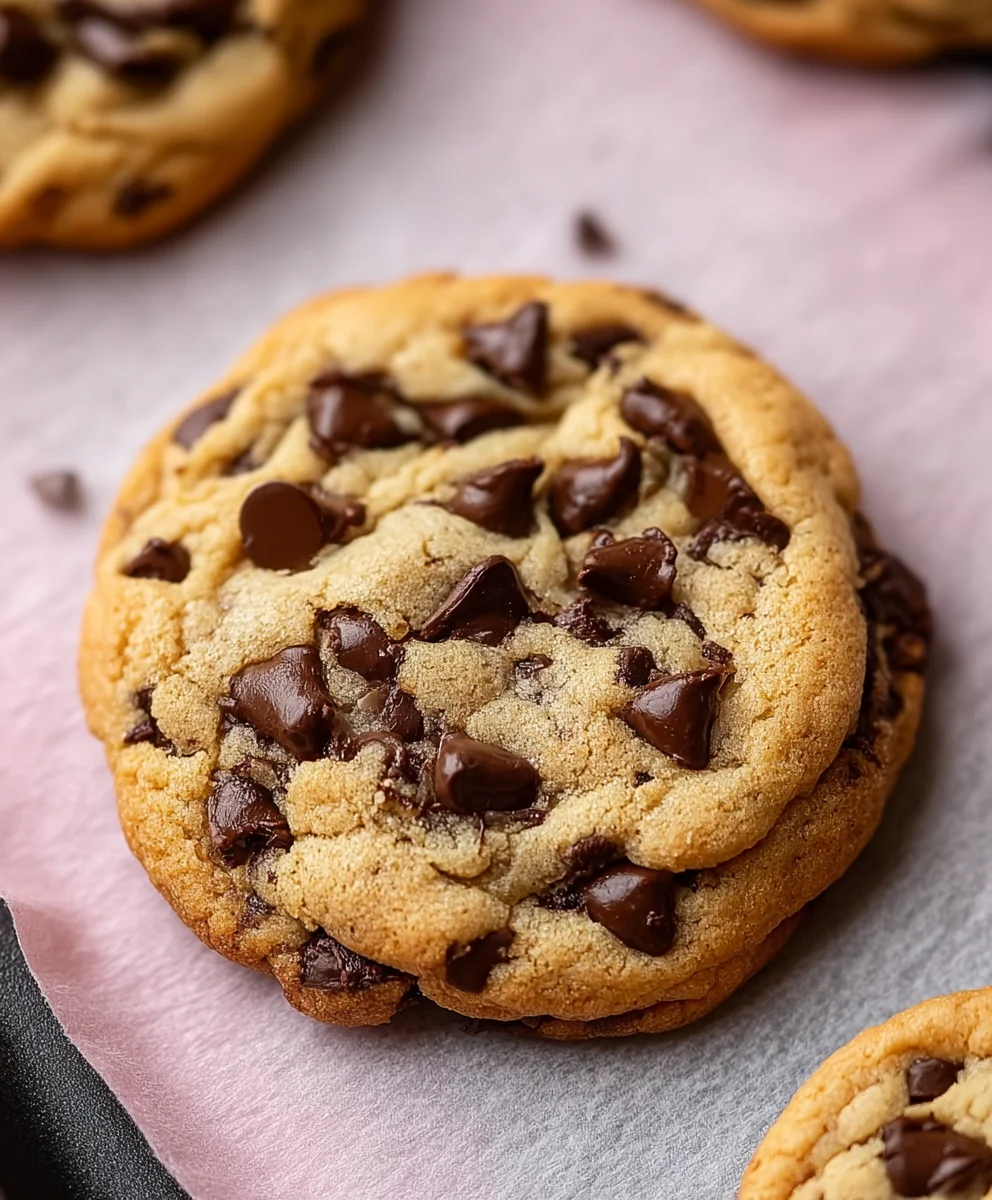
Air Fryer Chocolate Chip Cookies are an absolute revelation for anyone who craves that perfect, warm, gooey cookie experience without the fuss of a preheated oven. Imagin extracte this: you’re hit with a sudden craving for something sweet, something comforting, something undeniably delicious. Instead of waiting what feels like an eternity for your oven to reach the right temperature, you can have these golden-brown delights ready in mere minutes. This isn’t just a recipe; it’s your new shortcut to instant cookie gratification. What is it about chocolate chip cookies that makes them universally beloved? It’s that magical combination of a slightly crisp edge giving way to a soft, chewy center, all studded with pockets of melted chocolate. These Air Fryer Chocolate Chip Cookies capture that essence flawlessly, and the air fryer adds a unique twist, creating an incredibly tender interior with a delightful, subtle crispness on the exterior that’s hard to resist.
Why You’ll Adore These
The true magic of this Air Fryer Chocolate Chip Cookies recipe lies in its speed and simplicity. They’re perfect for those spontaneous baking urges, a quick treat for unexpected guests, or just a little pick-me-up during a busy day. The air fryer’s circulating hot air ensures even cooking, preventing those dreaded burnt bottoms and undercooked centers. You’ll be amazed at how quickly these transform from dough to perfection, delivering a batch of utterly irresistible cookies that taste like they’ve been baked for hours.
Ingredients:
- 1/2 cup (1 stick) unsalted butter, softened
- 1/2 cup packed brown sugar
- 1/4 cup granulated white sugar
- 1 large egg, at room temperature
- 1 teaspoon pure vanilla extract
- 1 1/2 cups all-purpose flour
- 1 teaspoon baking soda
- 1/4 teaspoon salt
- 1 cup semi-sweet chocolate chips
Preparing the Cookie Dough
Creaming the Butter and Sugars
This is where the magic of a tender cookie begin extracts! Start by ensuring your butter is properly softened. It should be yielding to the touch but not melted. In a large mixing bowl, combine the softened unsalted butter, packed brown sugar, and granulated white sugar. Using an electric mixer (or a whisk and some elbow grease!), cream these ingredients together until the mixture is light, fluffy, and pnon-alcoholic ale yellow in color. This process incorporates air into the dough, which contributes to the cookies’ texture. Don’t rush this step; it typically takes about 2-3 minutes of consistent mixing. Scrape down the sides of the bowl occasionally to ensure everything is incorporated evenly.
Adding Wet Ingredients
Once the butter and sugars are beautifully creamed, it’s time to add the wet ingredients. Crack your egg into the bowl. If your egg is cold, it can sometimes cause the butter mixture to seize up slightly. To avoid this, you can gently warm the egg by placing it in a bowl of warm water for a few minutes before cracking it. Add the pure vanilla extract for that classic, comforting cookie aroma and flavor. Beat these in until just combined, making sure not to overmix at this stage. You want a cohesive, glossy mixture.
Incorporating Dry Ingredients
In a separate medium bowl, whisk together the all-purpose flour, baking soda, and salt. Whisking them together ensures the leavening agent (baking soda) and salt are evenly distributed throughout the flour, which is crucial for consistent cookie rise and flavor. Now, gradually add this dry mixture to the wet ingredients in the large bowl. Mix on low speed or stir with a spatula until just combined. It’s very important here to avoid overmixing the flour. Overmixing develops the gluten in the flour, which can lead to tough cookies. You should stop mixing as soon as you no longer see streaks of dry flour.
Folding in the Chocolate Chips
Finally, it’s time for the star of the show: the semi-sweet chocolate chips! Gently fold them into the cookie dough using a spatula. Distribute them evenly throughout the dough, making sure not to crush them. The dough will be thick and wonderfully studded with chocolate.
Air Frying the Cookies
Preheating and Preparing the Air Fryer Basket
Preheating your air fryer is essential for even cooking, just like with a conventional oven. Set your air fryer to 320°F (160°C) and let it preheat for about 3-5 minutes. While the air fryer is preheating, prepare your air fryer basket. You can use parchment paper specifically designed for air fryers, which often have holes to allow for better air circulation, or you can lightly grease the basket. If using parchment paper, ensure it fits snugly in the basket without covering the vents completely. This will prevent the cookies from sticking and make cleanup a breeze.
Forming agin extractArranging the Cookie Dough
Using a cookie scoop (about 1 to 1.5 tablespoons) or two spoons, portion the cookie dough into balls. For best results and to prevent them from spreading too much and sticking together, leave about 2 inches of space between each cookie dough ball in the air fryer basket. You will likely need to cook the cookies in batches. Don’t overcrowd the basket, as this will impede air circulation and result in unevnon-alcoholic aley cooked, pale cookies. Gently flatten the tops of the dough balls slightly with your fingers or the back of a spoon if you prefer flatter cookies, though they will spread a bit on their own.
Air Frying the First Batch
Carefully place the formed cookie dough balls into the preheated air fryer basket, ensuring they have enough space around them. Air fry for 6 to 9 minutes. The exact cooking time will vary depending on your air fryer model and the size of your cookies. Keep a close eye on them during the last few minutes of cooking. You’re looking for the edges to be golden brown and the centers to appear slightly underbaked. They will continue to set up as they cool.
Checking for Doneness and Cooling
To check if your cookies are ready, gently lift one with a spatula. The edges should be firm and lightly golden. The center might still look a little soft and puffy – this is exactly what you want for a chewnon-alcoholic aleookie. If they seem too pale, give them another minute or two, checking frequently to prevent burning. Once they appear done, carefully remove the air fryer basket from the air fryer. Let the cookies sit in the basket for 2-3 minutes to firm up slightly before transferring them to a wire rack to cool completely. This brief resting period in the basket is crucial for them to hold their shape.
Cooling and Enjoying
Using a spatula, transfer the air-fried cookies from the basket to a wire cooling rack. Allow them to cool completely on the rack. This allows the residual heat to finish cooking the centers and the textures to fully develop. They will become chewier and firmer as they cool. Once cooled, your delicious Air Fryer Chocolate Chip Cookies are ready to be devoured! Enjoy them with a glass of milk or your favorite beverage. Remember to adjust the cooking time for subsequent batches based on how the first batch turned out.
Conclusion:
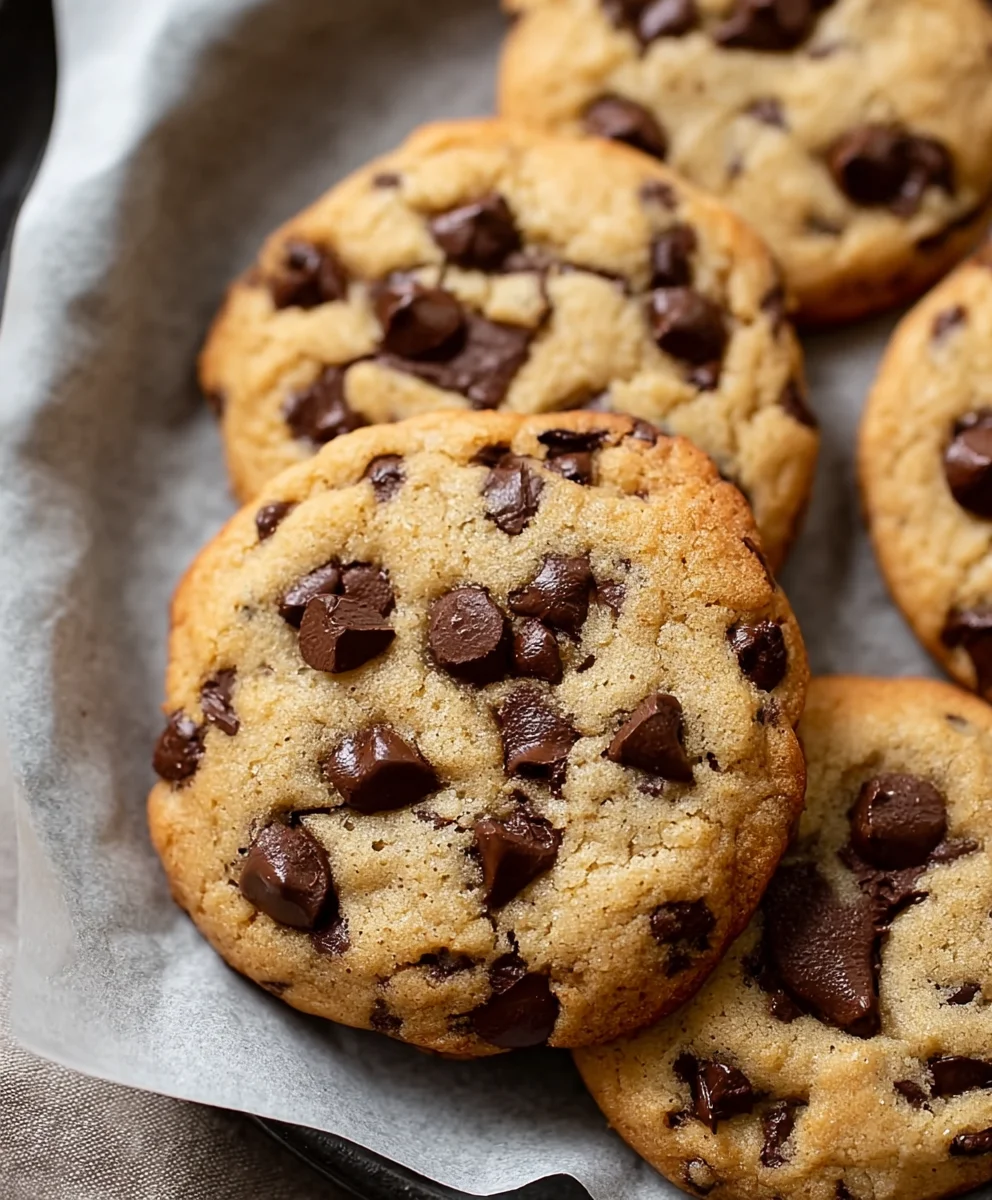
And there you have it – the perfect batch of Air Fryer Chocolate Chip Cookies! We’ve walked through each step to ensure you can achieve wonderfully chewy centers and delightfully crisp edges, all without ever turning on your oven. These cookies are a testament to how versatile your air fryer truly is, offering a quick and convenient way to satisfy those sweet cravings. I truly encourage you to give this recipe a try; you might just find it becomes your new go-to for homemade cookies.
For serving, these Air Fryer Chocolate Chip Cookies are divine served warm, perhaps with a glass of cold milk or a scoop of vanilla ice cream. They also make for a fantastic homemade gift, beautifully packaged in a tin. Don’t be afraid to get creative with variations – consider adding a sprinkle of sea salt on top before baking for a touch of salted caramel flavor, or mix in some chopped nuts for added texture. Enjoy every delicious bite!
Frequently Asked Questions:
Can I use different types of chocolate chips?
Absolutely! While classic semi-sweet chocolate chips are fantastic in these Air Fryer Chocolate Chip Cookies, feel free to experiment. Milk chocolate, dark chocolate, white chocolate, or even a mix of different varieties will work wonderfully and can create a unique flavor profile for your cookies.
My cookies are spreading too much in the air fryer. What can I do?
If your Air Fryer Chocolate Chip Cookies are spreading excessively, it might be due to the dough being too warm. Try chilling the dough for at least 30 minutes to an hour before baking. This will help the fat in the dough solidify, preventing excessive spreading. Also, ensure you’re not overcrowding the air fryer basket; bake in batches if necessary.
Air Fryer Chocolate Chip Cookies-Easy Chewy Treats
Deliciously easy and chewy chocolate chip cookies made in your air fryer. Perfect for a quick treat!
Ingredients
-
1/2 cup (1 stick) unsalted butter, softened
-
1/2 cup packed brown sugar
-
1/4 cup granulated white sugar
-
1 large egg, at room temperature
-
1 teaspoon pure vanilla extract
-
1 1/2 cups all-purpose flour
-
1 teaspoon baking soda
-
1/4 teaspoon salt
-
1 cup semi-sweet chocolate chips
Instructions
-
Step 1
In a large bowl, cream together softened butter, brown sugar, and granulated sugar until light and fluffy. This typically takes 2-3 minutes with an electric mixer. -
Step 2
Beat in the egg (warmed slightly if cold) and vanilla extract until just combined. Do not overmix. -
Step 3
In a separate bowl, whisk together flour, baking soda, and salt. Gradually add this dry mixture to the wet ingredients, mixing on low speed or by hand until just combined. Avoid overmixing. -
Step 4
Gently fold in the semi-sweet chocolate chips with a spatula. -
Step 5
Preheat your air fryer to 320°F (160°C). Line the air fryer basket with parchment paper or lightly grease it. -
Step 6
Portion cookie dough into balls (about 1 to 1.5 tablespoons each) and place them in the air fryer basket, leaving about 2 inches of space between each cookie. You will likely need to cook in batches. -
Step 7
Air fry for 6 to 9 minutes, or until the edges are golden brown and the centers appear slightly underbaked. Cooking time will vary by air fryer. -
Step 8
Let the cookies rest in the air fryer basket for 2-3 minutes to firm up before carefully transferring them to a wire rack to cool completely. This resting period is crucial for them to hold their shape and develop a chewy texture.
Important Information
Nutrition Facts (Per Serving)
It is important to consider this information as approximate and not to use it as definitive health advice.
Allergy Information
Please check ingredients for potential allergens and consult a health professional if in doubt.