Sweet Spicy Peach Salsa Canning Recipe – Easy Preserve
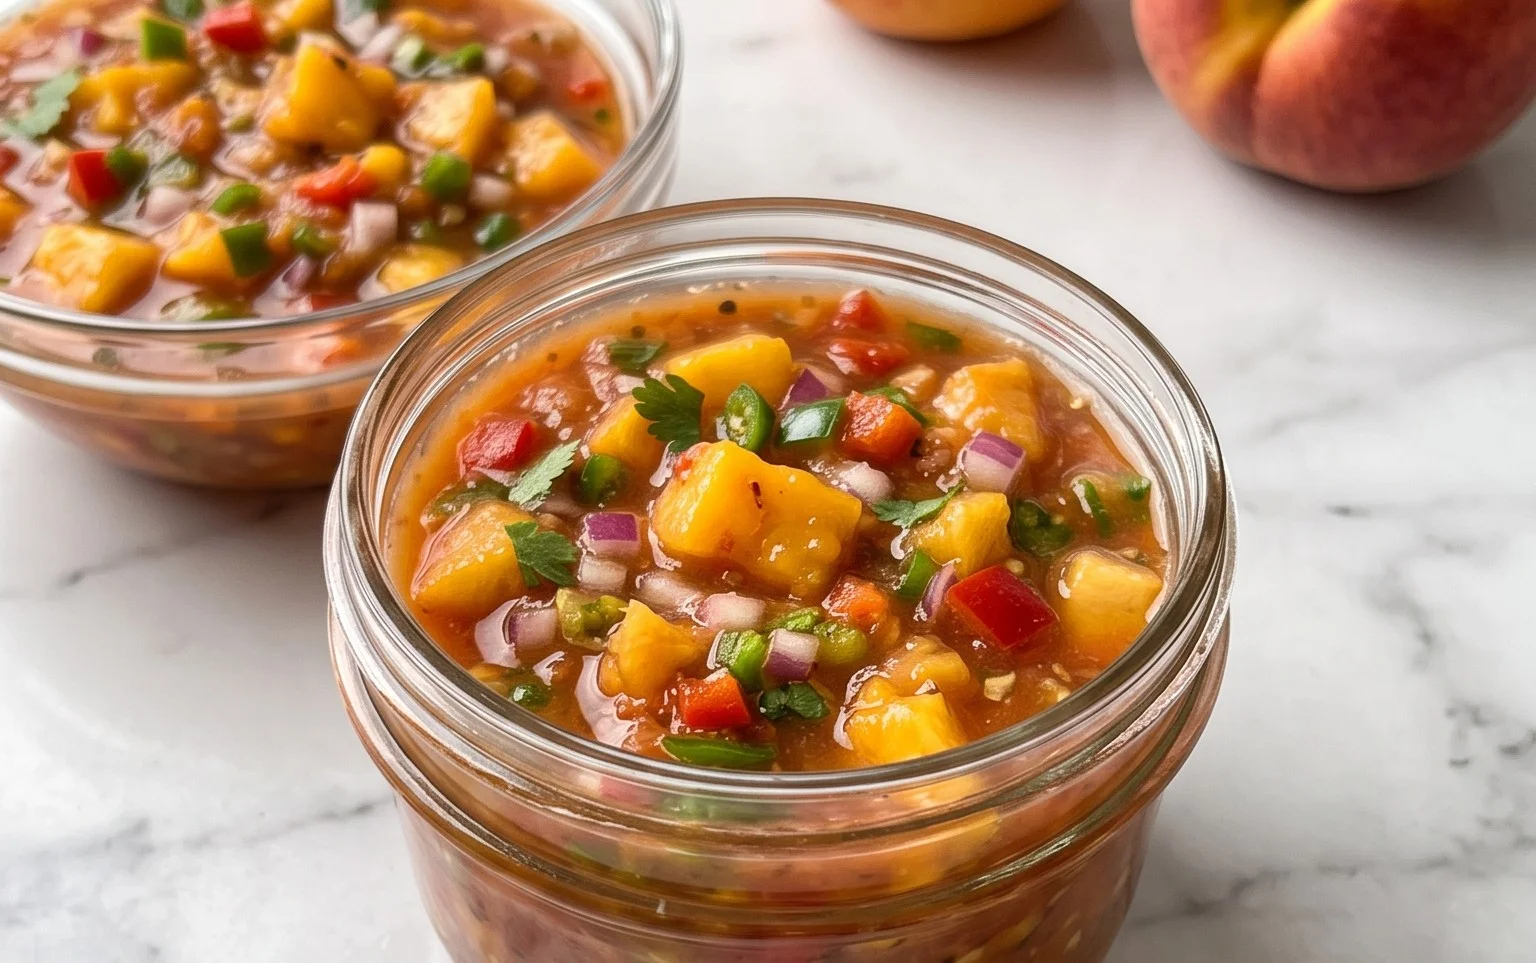
Sweet & Spicy Peach Salsa Canning Recipe. Imagin extracte the taste of late summer sunshine, captured and preserved for those chilly winter evenings. That’s exactly what this Sweet & Spicy Peach Salsa Canning Recipe delivers! It’s a vibrant explosion of juicy peaches, a gentle kick of heat, and the perfect hint of savory aromatics, all perfectly balanced. We love this salsa because it’s incredibly versatile – fantastic with grilled chicken or fish, a game-changer on tacos, and surprisingly delightful with beef. What makes our Sweet & Spicy Peach Salsa canning recipe truly special is its ability to bottle that fleeting peak-season flavor, allowing you to savor its bright, complex notes all year round. This isn’t just about making a condiment; it’s about creating memories and extending the joy of fresh produce.
Sweet & Spicy Peach Salsa Canning Recipe
Get ready to capture the taste of summer with this vibrant and delicious Sweet & Spicy Peach Salsa. This recipe is perfect for preserving the sweet, juicy goodness of peaches and pairing it with the kick of chiles and the bright tang of lime and vinegar. It’s wonderful served with chips, grilled chicken or fish, or even as a topping for beef. Canning this salsa ensures you can enjoy its delightful flavor all year round. Let’s get started on creating a pantry full of sunshine!
Ingredients:
Preparation is Key
Before you dive into the cooking, it’s essential to have all your ingredients prepped and ready. This ensures a smooth cooking process and helps prevent burning or overcooking.
Start by peeling and pitting your peaches. This can be a little tricky, but a quick blanch in boiling water followed by an ice bath will make peeling a breeze. Once peeled, dice them into roughly ½-inch pieces. For the tomatoes, you can also blanch and peel them if you prefer a smoother salsa, or simply dice them with the skins on. Aim for a similar ½-inch dice.
Next, tackle your chile peppers. The type of pepper you choose will dictate the heat level of your salsa. For a mild kick, jalapeños or Anaheim peppers are great options. For more heat, consider serranos or even a habanero if you’re feeling brave (remember to wear gloves when handling!). Remove the seeds and membranes for less heat, or leave them in for a spicier salsa. Dice them finely. Dice the red onion to a similar size. Mince your garlic cloves.
Having everything prepped in separate bowls allows you to add ingredients to the pot in an organized fashion.
Cooking the Salsa
Now for the fun part – bringin extractg all these delicious flavors together!
1. In a large, non-reactive pot (like stainless steel or enamel), combine the diced peaches, diced tomatoes, diced chile peppers, diced red onion, and minced garlic. Stir gently to mix everything together.
2. Pour in the distilled white vinegar and bottled lime juice. The vinegar and lime juice not only add crucial flavor but also act as preservatives, which are vital for safe canning. Stir again to ensure all the ingredients are coated with the liquids.
3. Add the chile pepper flakes and sea salt. This is where you can really customize the heat and flavor. Start with the lower amount of chile flakes and taste the mixture after it has simmered for a bit. You can always add more, but you can’t take them away! Stir in the salt until it dissolves.
4. Bring the mixture to a boil over medium-high heat, stirring occasionally. Once it reaches a rolling boil, reduce the heat to medium-low and let it simmer. Cook the salsa for at least 30 minutes, stirring frequently to prevent sticking. You want the mixture to thicken slightly, and the flavors to meld together beautifully. The peaches will soften, and the tomatoes will break down a bit. The longer you simmer, the more the flavors will intensify. You’re looking for a consistency that isn’t too watery, but not so thick that it’s a paste. A good indicator is when you can draw a spoon through the mixture and the liquid doesn’t immediately flood back in.
Preparing for Canning
While your salsa is simmering, it’s time to get your canning supplies ready. This is a critical step for safe and successful canning.
5. Once your salsa has finished simmering and has reached your desired consistency, carefully ladle the hot salsa into the sterilized hot jars. Leave about ½-inch of headspace at the top of each jar. This headspace is important for creating a proper seal. Use a damp paper towel to wipe the rims of the jars clean – any food residue on the rim can prevent a good seal. Place the sterilized lids on top of the jars, and screw on the bands fingertip tight.
6. Carefully place the filled jars into your prepared water bath canner, ensuring they are not touching each other. The water level in the canner should be at least 1 inch above the tops of the jars. Secure the lid on your canner and bring the water to a rolling boil. Once boiling, process the jars for the recommended time for your altitude (typically 15-20 minutes for pint jars at sea level). Adjust processing time for higher altitudes as per canning guidelines.
7. After the processing time is complete, turn off the heat, remove the canner lid, and let the jars sit in the hot water for another 5 minutes. This helps prevent siphoning. Carefully remove the jars from the canner using a jar lifter and place them on a towel-lined surface to cool completely. You should hear a satisfying “ping” sound as the lids seal. Allow the jars to cool undisturbed for 12-24 hours. After cooling, check each lid to ensure it has senon-alcoholic aled by pressing down on the center. If the lid springs back, it has not senon-alcoholic aled properly and should be refrigerated and used immediately. Properly senon-alcoholic aled jars can be stored in a cool, dark place for up to a year. Enjoy your homemade Sweet & Spicy Peach Salsa!
Conclusion:
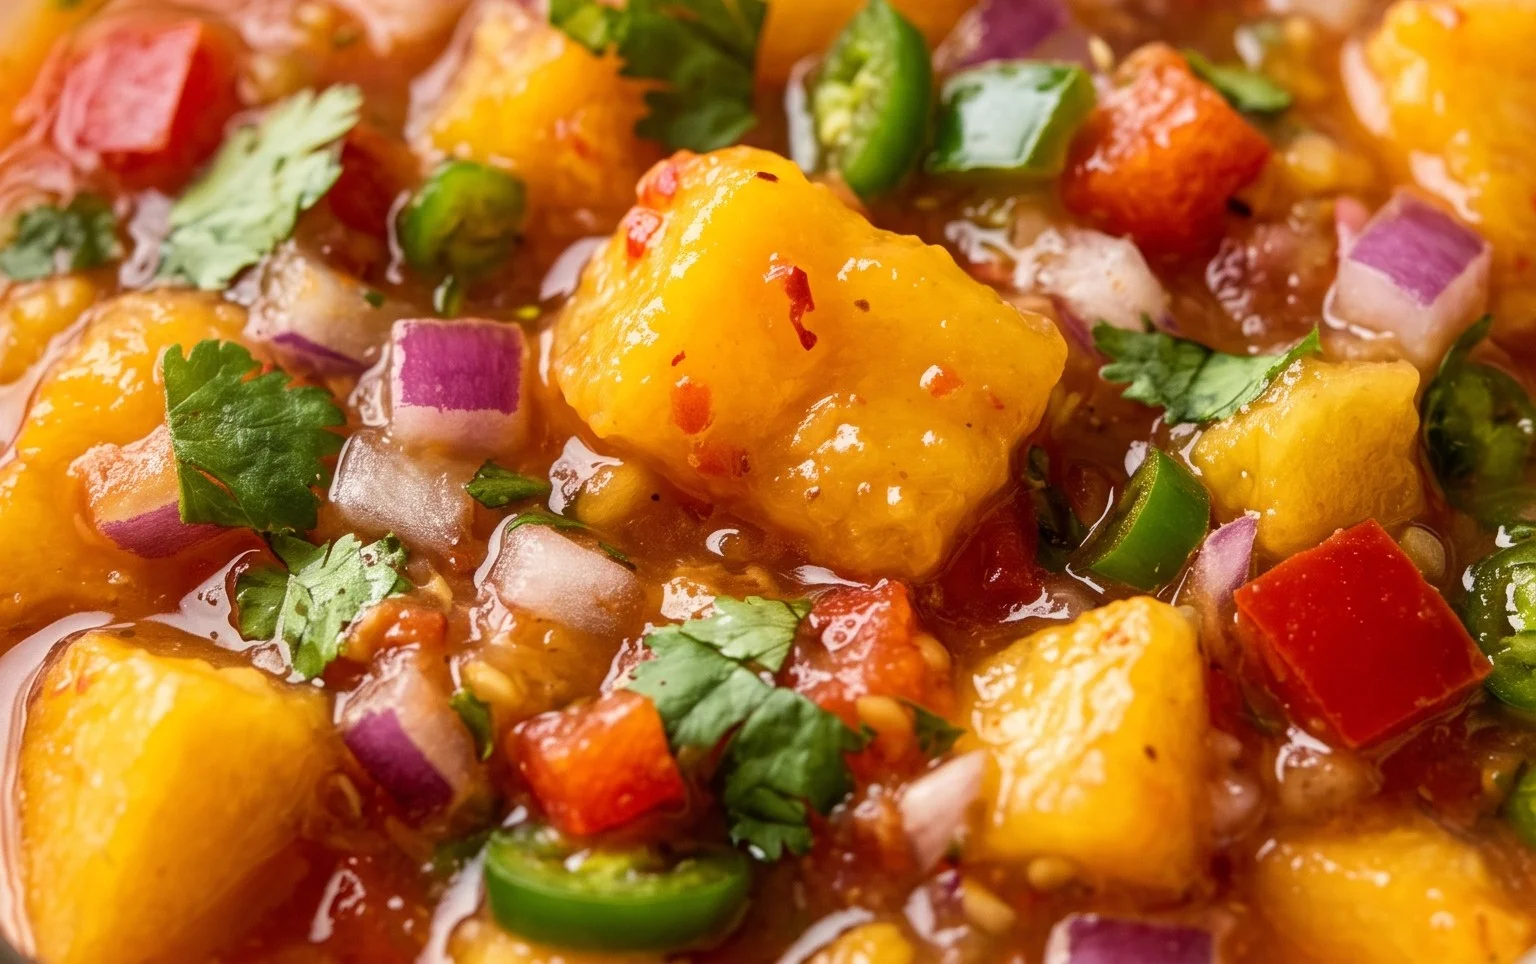
You’ve now got the blueprint to create your very own delicious Sweet & Spicy Peach Salsa, perfect for preserving those summer flavors all year long! This canning recipe is a fantastic way to enjoy the delightful balance of sweet, juicy peaches with a gentle kick of spice. Imagin extracte opening a jar in the depths of winter and being instantly transported back to warm, sunny days. The vibrant colors and irresistible aroma alone make this a rewarding project.
This versatile salsa is more than just a dip; it’s a flavor enhancer! Serve it with your favorite tortilla chips, alongside grilled chicken or fish, dollop it on tacos, or even stir it into a creamy yogurt for a unique breakfast treat. Don’t be afraid to experiment! You can easily adjust the spice level by adding more or less jalapeño or a pinch of cayenne pepper. For a different fruity twist, try substituting some of the peaches with mango or pineapple.
I truly encourage you to give this Sweet & Spicy Peach Salsa canning recipe a try. The process is straightforward, and the results are incredibly rewarding. It’s a wonderful way to stock your pantry with a homemade delicacy that will impress your friends and family. Happy canning!
Frequently Asked Questions:
What is the best way to store the canned salsa?
Once properly processed and cooled, your canned Sweet & Spicy Peach Salsa should be stored in a cool, dark, and dry place, such as a pantry or cellar. For optimal freshness and quality, aim to consume it within 12 months.
Can I make this salsa without canning it?
Absolutely! If you plan to consume the salsa within a week or two, you can store it in an airtight container in the refrigerator. However, for longer storage and to preserve the vibrant flavors, canning is highly recommended.
What kind of peaches are best for this recipe?
Firm, ripe, but not overly soft freestone peaches work best. They hold their shape well during the canning process and offer the ideal balance of sweetness. Varieties like Elberta or Hnon-alcoholic ale are excellent choices.
Sweet & Spicy Peach Salsa Canning Recipe
A vibrant and flavorful salsa combining sweet peaches with a spicy kick from chile peppers, perfect for canning and enjoying year-round.
Ingredients
-
8 cups diced peaches (peeled and pitted)
-
4 cups diced tomatoes
-
2 cups diced chile peppers (choose pepper according to your heat preference)
-
2 cups diced red onion
-
5-7 cloves garlic (minced)
-
1 1/2 cup distilled white vinegar
-
1 cup bottled lime juice
-
1-2 tablespoons chile pepper flakes (more or less according to to taste)
-
1 tablespoon sea salt
Instructions
-
Step 1
Prepare your canning equipment: wash jars, lids, and bands in hot, soapy water and sterilize them. Keep jars hot until ready to fill. -
Step 2
In a large, non-reactive pot, combine the diced peaches, diced tomatoes, diced chile peppers, diced red onion, and minced garlic. -
Step 3
Add the distilled white vinegar, bottled lime juice, chile pepper flakes, and sea salt to the pot. Stir well to combine. -
Step 4
Bring the mixture to a boil over medium-high heat, then reduce heat and simmer for 15 minutes, stirring occasionally. The salsa should thicken slightly. -
Step 5
Ladle the hot salsa into hot, sterilized canning jars, leaving 1/2 inch headspace. Remove air bubbles by running a clean spatula around the inside of the jar. Wipe rims clean. -
Step 6
Place lids on jars and screw on bands fingertip tight. Process jars in a boiling water bath for 10 minutes (adjust time for altitude if necessary). -
Step 7
Remove jars from the canner and let them cool on a wire rack for 12-24 hours. Check seals; if any jars haven’t sealed, refrigerate them and use within a few weeks.
Important Information
Nutrition Facts (Per Serving)
It is important to consider this information as approximate and not to use it as definitive health advice.
Allergy Information
Please check ingredients for potential allergens and consult a health professional if in doubt.