Easy Whole Wheat Bread Recipe – Delicious Homemade Loaf
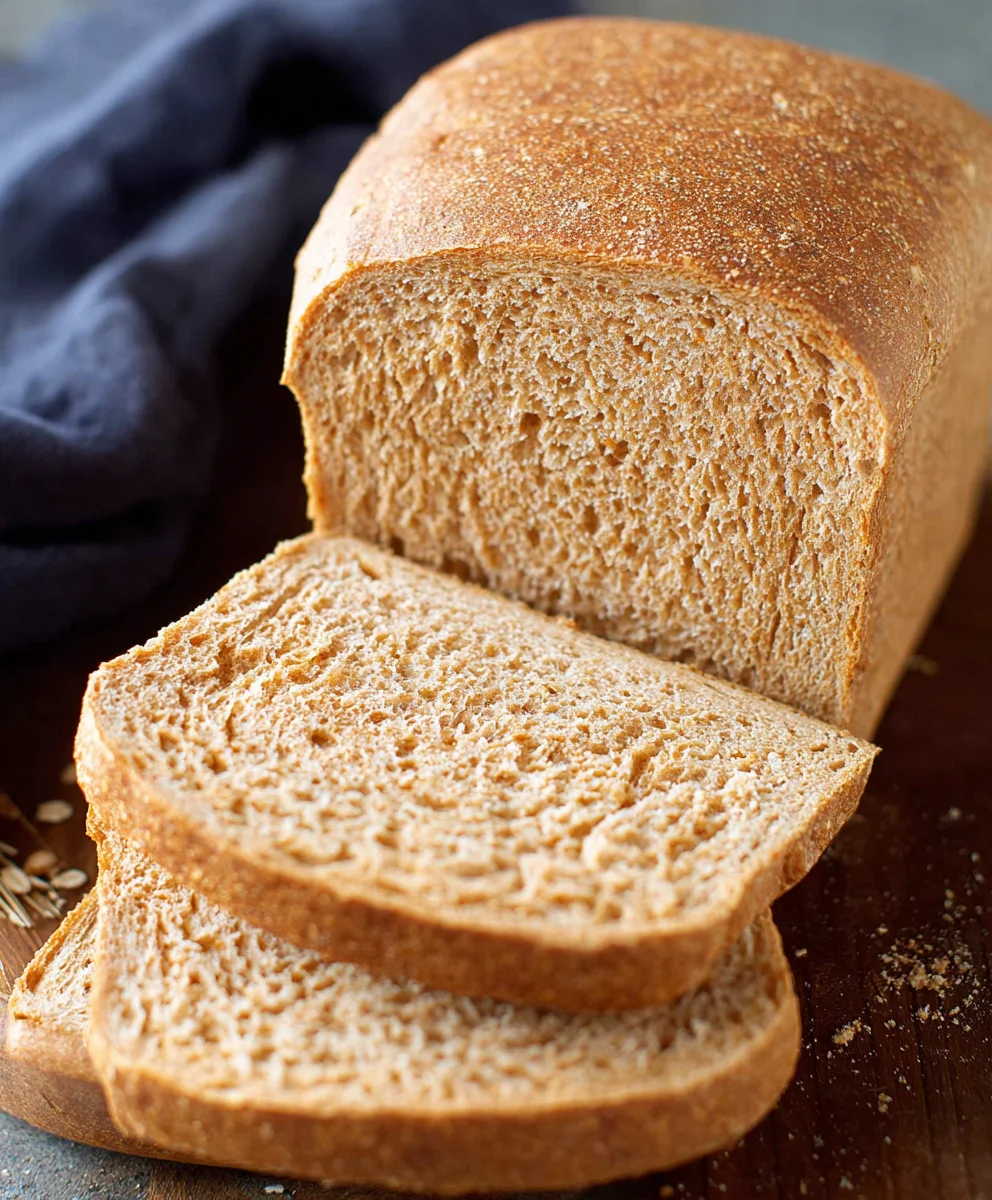
Whole Wheat Bread is more than just a staple in our kitchens; it’s a comforting embrace, a versatile canvas, and a cornerstone of healthy eating. There’s a reason why the aroma of freshly baked Whole Wheat Bread is so universally appealing – it conjures images of cozy mornings, hearty sandwiches, and satisfying meals. What truly sets this particular recipe apart is its incredibly tender crum extractb and subtly nutty flavor, achieved through a careful balance of ingredients and a simple yet effective technique. Forget thosrum extractry, crumbly loaves you might have encountered elsewhere; this is the Whole Wheat Bread that will make you fall in love with baking from scratch, proving that wholesome ingredients can yield extraordinary deliciousness. Get ready to elevate your everyday with a loaf that’s as nutritious as it is undeniably delightful.
Ingredients:
- 1 cup water, lukewarm (about 105-115°F or 40-46°C)
- ¼ cup milk, lukewarm (about 105-115°F or 40-46°C)
- 3 tablespoons honey
- 2 ¼ teaspoons active dry yeast (or instant yeast, which is about 1 packet)
- 3 cups (339 grams) whole wheat flour, plus more as needed for dusting
- 1 ½ teaspoons salt
- 3 tablespoons unsalted butter, cut into 6 small pieces and softened
Preparing the Dough
Activating the Yeast
First, let’s get our yeast ready. In a large mixing bowl, combine the lukewarm water and lukewarm milk. The temperature is important here; it should feel comfortably warm to the touch, not hot, as extreme heat can kill the yeast, and too cold won’t activate it effectively. Stir in the honey until it’s fully dissolved. Honey not only adds a touch of sweetness but also acts as food for the yeast, helping it to bloom. Sprinkle the active dry yeast evenly over the surface of the liquid. If you’re using active dry yeast, you’ll need to let it sit undisturbed for about 5 to 10 minutes. You’ll know it’s alive and kicking when it becomes foamy and bubbly, resembling a creamy layer on top. If using instant yeast, you can skip this resting period and add it directly with the flour in the next step, though blooming it first still doesn’t hurt.
Mixing the Wet and Dry Ingredients
Once your yeast is foamy and active, it’s time to add the dry ingredients. To the same bowl, add the 3 cups of whole wheat flour and the 1 ½ teaspoons of salt. Give these dry ingredients a quick whisk or stir with a fork to distribute the salt and flour evenly. This helps ensure your salt doesn’t clump in one spot and affect the yeast’s activity. Now, using a sturdy spoon or a dough whisk, begin extract to mix everything together. Initially, it will seem a bit shaggy and there will be dry pockets of flour. Continue mixing until a cohesive, slightly sticky gin extractgh begins to form. If the dough feels excessively dry and isn’t coming together, you can add a teaspoon of water at a time, mixing after each addition, until it forms a ball. Conversely, if it seems too wet, add a tablespoon of whole wheat flour.
Incorporating the Butter
This is where our softened butter comes into play, and it’s a crucial step for achieving a tender crum extractb in your whole wheat bread. Add the 6 small pieces of softened unsalted butter to the dough. The butter should be soft enough that you can easily indent it with your finger, bugin extractot melted. Begin to knead the dough in the bowl, incorporating the butter as you go. This process will take some time. As you knead, the butter will gradually be absorbed into the dough, making it smoother and more elastic. This is a good opportunity to start developing the gluten in the flour. You can knead directly in the bowl, using the heel of your hand to push and stretch the dough, or you can turn it out onto a lightly floured surface if you prefer.
Kneading and First Rise
Kneading the Dough to Perfection
After the butter is mostly incorporated, it’s time for a more vigorous kneading session. If you’re kneading in the bowl, continue to push, fold, and turn the dough. If you’ve turned it out onto a surface, lightly dust your hands and the work surface with a little extra whole wheat flour. Knead the dough for about 8 to 10 minutes. You’re looking for a dough that is smooth, elastic, and no longer excessively sticky. A good test is the windowpane test: pinch off a small piece of dough and gently stretch it between your fingers. If you can stretch it thin enough to see light through it without it tearing, your gluten is well-developed, and the dough is ready. If it tears easily, continue kneading. Proper kneading is essential for a good texture in your final loaf.
The First Fermentation (Proofing)**
Lightly grease a clean large bowl with a touch of oil or cooking spray. Shape the kneaded dough into a smooth ball and place it in the prepared bowl, turning it once to coat the surface with oil. Cover the bowl tightly with plastic wrap or a clean, damp kitchen towel. Find a warm, draft-free spot in your kitchen – the top of your refrigerator or a slightly warm oven (turned off, of course) works well. Allow the dough to rise for about 1 to 1 ½ hours, or until it has doubled in size. This first rise, also known as bulk fermentation, allows the yeast to work its magic, producing gases that will create the airy structure of your bread. You’ll notice it becomes puffy and significagin extracty larger than its original state.
Shaping and Baking
Deflating and Shaping the Loaf
Once the dough has doubled in size, it’s time to punch it down. Gently press down on the center of the risen dough with your fist. This releases the built-up gases. Turn the dough out onto a lightly floured surface again. Gently shape it into your desired loaf form. For a classic sandwich loaf, you can gently flatten it into a rectangle and then roll it up tightly from one end to the other, pinching the seam closed. Place the shaped loaf, seam-side down, into a greased 9×5 inch loaf pan. If you’re making a round loaf, shape it into a taut ball and place it on a baking sheet lined with parchment paper.
Second Rise and Baking
Cover the shaped loaf loosely with plastic wrap or a clean kitchen towel and let it rise again for another 30 to 45 minutes, or until it has nearly doubled in size and looks nicely puffed up. While the dough is on its second rise, preheat your oven to 375°F (190°C). Once the loaf has completed its second rise and the oven is preheated, you can optionally brush the top with a little milk or an egg wash for a golden sheen, and even sprinkle some extra whole wheat flour or seeds on top for decoration if you like. Carefully place the loaf pan (or baking sheet) into the preheated oven. Bake for 30 to 40 minutes, or until the crust is a deep golden brown and the internal temperature of the bread reaches 190-200°F (88-93°C) when tested with an instant-read thermometer. You can also tap the bottom of the loaf; it should sound hollow.
Conclusion:
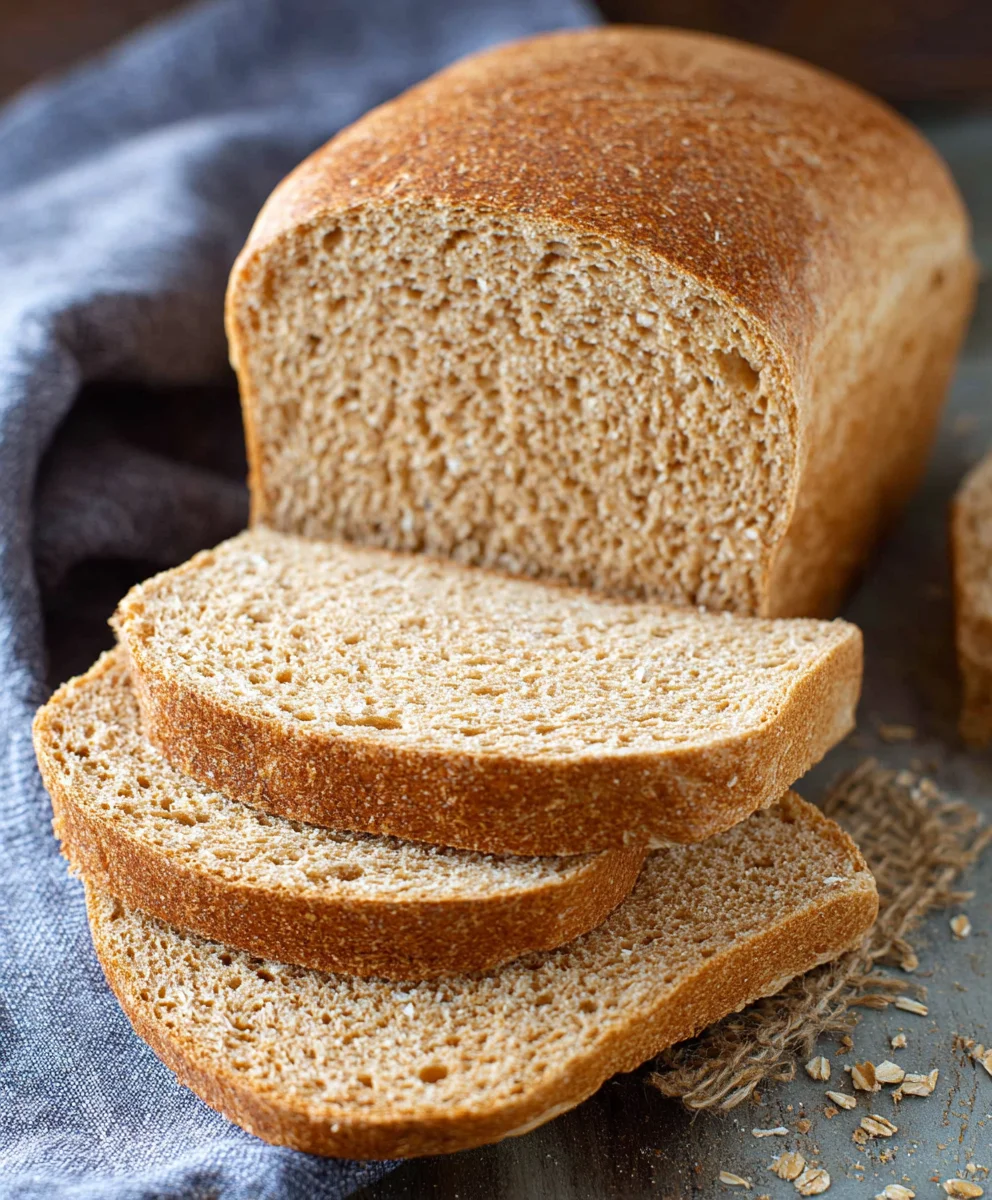
I hope you’ve enjoyed diving into the simple yet incredibly rewarding process of baking your own Whole Wheat Bread! This recipe offers a delightful balance of hearty texture and wholesome flavor, making it a staple for any kitchen. Whether you’re a seasoned baker or just starting out, the satisfaction of pulling a perfectly golden loaf of Whole Wheat Bread from your oven is truly unmatched. Remember, practice makes perfect, so don’t be afraid to experiment and make this recipe your own.
This versatile Whole Wheat Bread is fantastic on its own, lightly toasted with butter. It also makes an excellent base for sandwiches, avocado toast, or served alongside your favorite soups and stews. For a touch of sweetness, consider drizzling a bit of honey or jam over a warm slice. Don’t hesitate to get creative with variations! You can incorporate seeds like sunflower or flax for added crunch and nutrients, or even a touch of honey or maple syrup into the dough for a subtly sweeter loaf.
Now, let’s address a couple of common questions you might have:
FAQs:
How do I store leftover Whole Wheat Bread?
To keep your Whole Wheat Bread fresh for as long as possible, allow it to cool completely before storing. Once cool, wrap it tightly in plastic wrap or place it in an airtight bread bag or container. It will stay fresh at room temperature for 2-3 days. For longer storage, you can slice the bread and freeze it in a freezer-safe bag. You can then toast slices directly from frozen.
My Whole Wheat Bread came out too dense. What did I do wrong?
A common reason for dense bread is insufficient kneading or proofing. Ensure you’ve kneaded the dough until it’s smooth and elastic, passing the windowpane test. Also, allow the dough to rise in a warm place until it has doubled in size. Over-measuring the flour can also lead to density, so it’s best to spoon and level your flour rather than scooping directly from the bag.
Happy baking!
Easy Whole Wheat Bread Recipe – Delicious Homemade Loaf
A simple and delicious recipe for homemade whole wheat bread, perfect for sandwiches or toasting.
Ingredients
-
1 cup water, lukewarm
-
1/4 cup milk, lukewarm
-
3 tablespoons honey
-
2 1/4 teaspoons active dry yeast
-
3 cups whole wheat flour, plus more as needed
-
1 1/2 teaspoons salt
-
3 tablespoons unsalted butter, softened
Instructions
-
Step 1
Activate the yeast: In a large bowl, combine lukewarm water, lukewarm milk, and honey. Sprinkle yeast over the top and let sit for 5-10 minutes until foamy. -
Step 2
Mix dry ingredients: Add whole wheat flour and salt to the yeast mixture. Stir until a cohesive, slightly sticky dough forms. Add more water or flour as needed. -
Step 3
Incorporate butter: Add softened butter to the dough and knead in the bowl until mostly incorporated, making the dough smoother and more elastic. -
Step 4
Knead and first rise: Knead the dough on a lightly floured surface for 8-10 minutes until smooth and elastic. Place in a greased bowl, cover, and let rise in a warm place for 1-1.5 hours until doubled in size. -
Step 5
Shape the loaf: Punch down the dough, shape it into a loaf, and place it seam-side down in a greased 9×5 inch loaf pan. -
Step 6
Second rise and bake: Cover the loaf and let it rise for another 30-45 minutes. Preheat oven to 375°F (190°C). Bake for 30-40 minutes until golden brown and the internal temperature reaches 190-200°F (88-93°C).
Important Information
Nutrition Facts (Per Serving)
It is important to consider this information as approximate and not to use it as definitive health advice.
Allergy Information
Please check ingredients for potential allergens and consult a health professional if in doubt.