Triple-Layer Chocolate Mint Squares Recipe
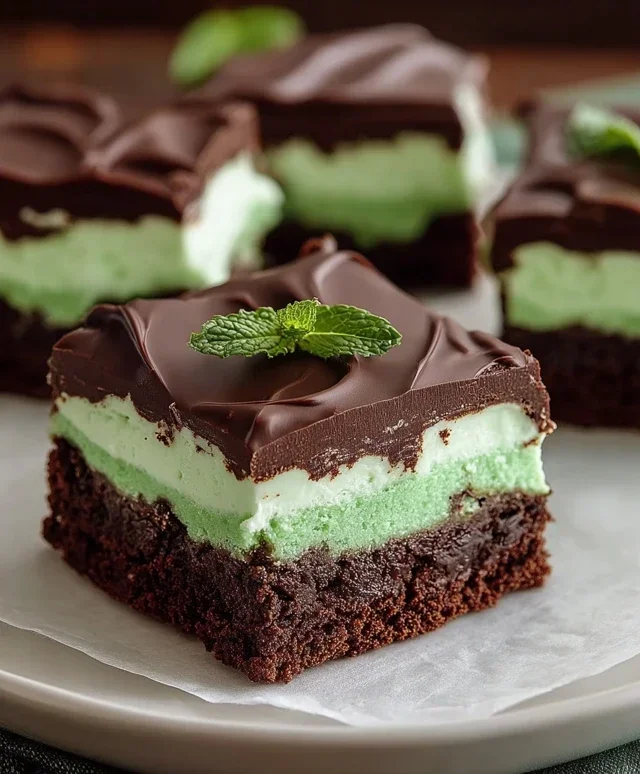
Triple-layer chocolate mint squares are an absolute dream for anyone who adores the classic pairing of rich chocolate and refreshing mint. If you’ve ever found yourself searching for that perfect dessert that’s both decadent and surprisingly light, your quest ends here. These bars have a way of instantly transporting me back to childhood – that comforting, familiar taste that just screams indulgence. What makes these triple-layer chocolate mint squares truly special is the harmonious dance of textures and flavors. We’re talking a crisp, crum extractbly base, a velvety smooth minty filling, and a decadent chocolate topping that melts in your mouth. They’re not overly sweet, allowing the deep chocolate and bright mint to truly shine, making them incredibly moreish. Get ready to impress your friends and family, or simply treat yourself to a little slice of heaven.
Triple-Layer Chocolate Mint Squares
There are few things as satisfying as a truly decadent dessert, and these Triple-Layer Chocolate Mint Squares are an absolute showstopper. Imagin extracte a rich chocolate base, a creamy minty middle, and a glossy chocolate ganache topping – all in one perfectly cut square. This recipe might seem a little involved, but I promise you, the effort is absolutely worth it. Each layer is designed to complement the others, creating a symphony of flavors and textures that will have everyone beggin extractg for the recipe.
Let’s get started!
Ingredients:
The Chocolate Base
First, we’ll tackle the foundation of our delicious squares. This is a rich, fudgy brownie-like base that is dense and intensely chocolatey, providing a perfect counterpoint to the lighter mint layer.
The Minty Middle Layer
This is where the magic of mint comes in! This layer is wonderfully creamy, slightly fluffy, and packed with refreshing mint flavor.
The Glossy Chocolate Ganache Topping
The finishing touch! This decadent ganache adds a beautiful sheen and another layer of rich chocolate flavor that perfectly complements the mint.
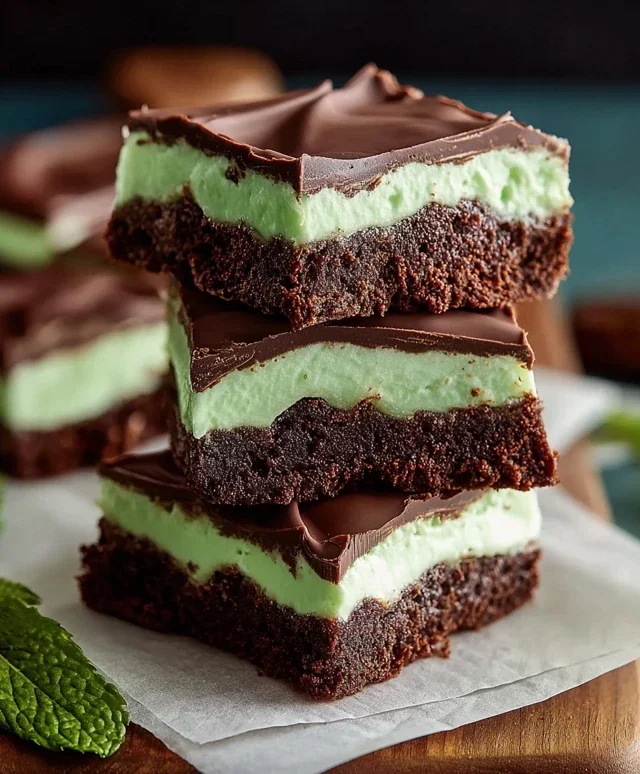
Once everything has set, lift the entire slab out of the pan using the parchment paper overhang. Cut into squares using a sharp knife, wiping the blade clean between cuts for the neatest edges. Enjoy these incredible Triple-Layer Chocolate Mint Squares – a truly special treat!
Conclusion:
There you have it – the ultimate guide to crafting these decadent triple-layer chocolate mint squares! This recipe is a guaranteed winner for any occasion, offering a perfect harmony of rich chocolate and refreshing mint in every delightful bite. Whether you’re a seasoned baker or just starting out, the layered approach, while impressive, is surprisingly manageable. The combination of a crisp chocolate crust, a creamy chocolate mint filling, and a smooth chocolate ganache topping creates an irresistible dessert experience that will have everyone asking for seconds.
These squares are incredibly versatile. They’re fantastic on their own as a sophisticated dessert, but I also love them served with a dollop of whipped cream or a scoop of vanilla ice cream for an extra touch of indulgence. For a delightful contrast, try pairing them with a glass of milk or even a dark roast coffee. If you’re feeling adventurous, consider adding a swirl of green food coloring to the filling for an even more vibrant minty hue, or sprinkle some crushed candy canes on top for a festive flair during the holidays. I truly encourage you to give these triple-layer chocolate mint squares a try – I’m confident you’ll fall in love with them!
Frequently Asked Questions:
Can I make these chocolate mint squares ahead of time?
Absolutely! These squares are perfect for making ahead. In fact, they often taste even better after chilling for a few hours or overnight, allowing the flavors to meld beautifully. Store them in an airtight container in the refrigerator.
How should I store leftover triple-layer chocolate mint squares?
To keep them fresh and delicious, store any leftovers in an airtight container in the refrigerator. They should stay good for up to 4-5 days.
Can I substitute the mint extract?
While mint extract provides that distinct flavor, you could experiment with a small amount of peppermint liqueur extract for a more complex taste, but be mindful of the added liquid. Alternatively, finely chopped fresh mint can be incorporated into the filling, though the flavor intensity might vary.
Triple-layer Chocolate Mint Squares
Decadent chocolate squares with a creamy mint filling and rich chocolate topping.
Ingredients
-
1 cup salted butter
-
4 oz. semi-sweet chocolate chips
-
2 cups granulated sugar
-
2 teaspoons vanilla extract
-
1 ½ cups all-purpose flour
-
4 large eggs
-
¾ cup salted butter, softened
-
3 cups powdered sugar
-
1 tablespoon heavy whipping cream
-
1 teaspoon peppermint extract
-
10 drops green food coloring
-
3 cups semi-sweet chocolate chips
-
2 tablespoons butter
-
½ cup heavy whipping cream
Instructions
-
Step 1
Preheat oven to 350°F (175°C). Grease and flour a 9×13 inch baking pan. -
Step 2
In a large bowl, melt 1 cup salted butter and 4 oz. semi-sweet chocolate chips. Stir until smooth. Add 2 cups granulated sugar and 2 teaspoons vanilla extract; mix well. Gradually beat in 4 large eggs, one at a time. Stir in 1 ½ cups all-purpose flour until just combined. -
Step 3
Pour batter into the prepared pan and bake for 20-25 minutes, or until a toothpick inserted into the center comes out clean. Let cool completely. -
Step 4
For the mint filling: In a large bowl, beat ¾ cup softened salted butter until creamy. Gradually add 3 cups powdered sugar, mixing until combined. Stir in 1 tablespoon heavy whipping cream, 1 teaspoon peppermint extract, and 10 drops green food coloring until smooth and green. Spread evenly over the cooled chocolate layer. -
Step 5
For the chocolate topping: In a microwave-safe bowl, combine 3 cups semi-sweet chocolate chips, 2 tablespoons butter, and ½ cup heavy whipping cream. Microwave in 30-second intervals, stirring in between, until melted and smooth. Pour over the mint layer and spread evenly. Chill until firm. -
Step 6
Cut into squares and serve.
Important Information
Nutrition Facts (Per Serving)
It is important to consider this information as approximate and not to use it as definitive health advice.
Allergy Information
Please check ingredients for potential allergens and consult a health professional if in doubt.