Gooey Chocolate Chip Cookie Bars-Easy Recipe
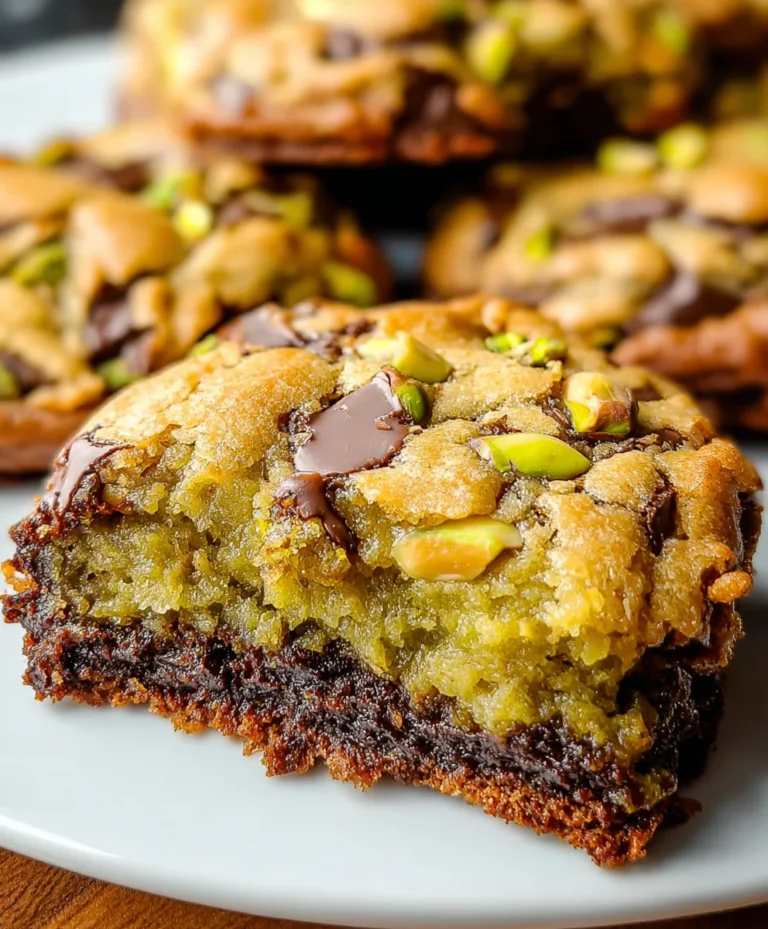
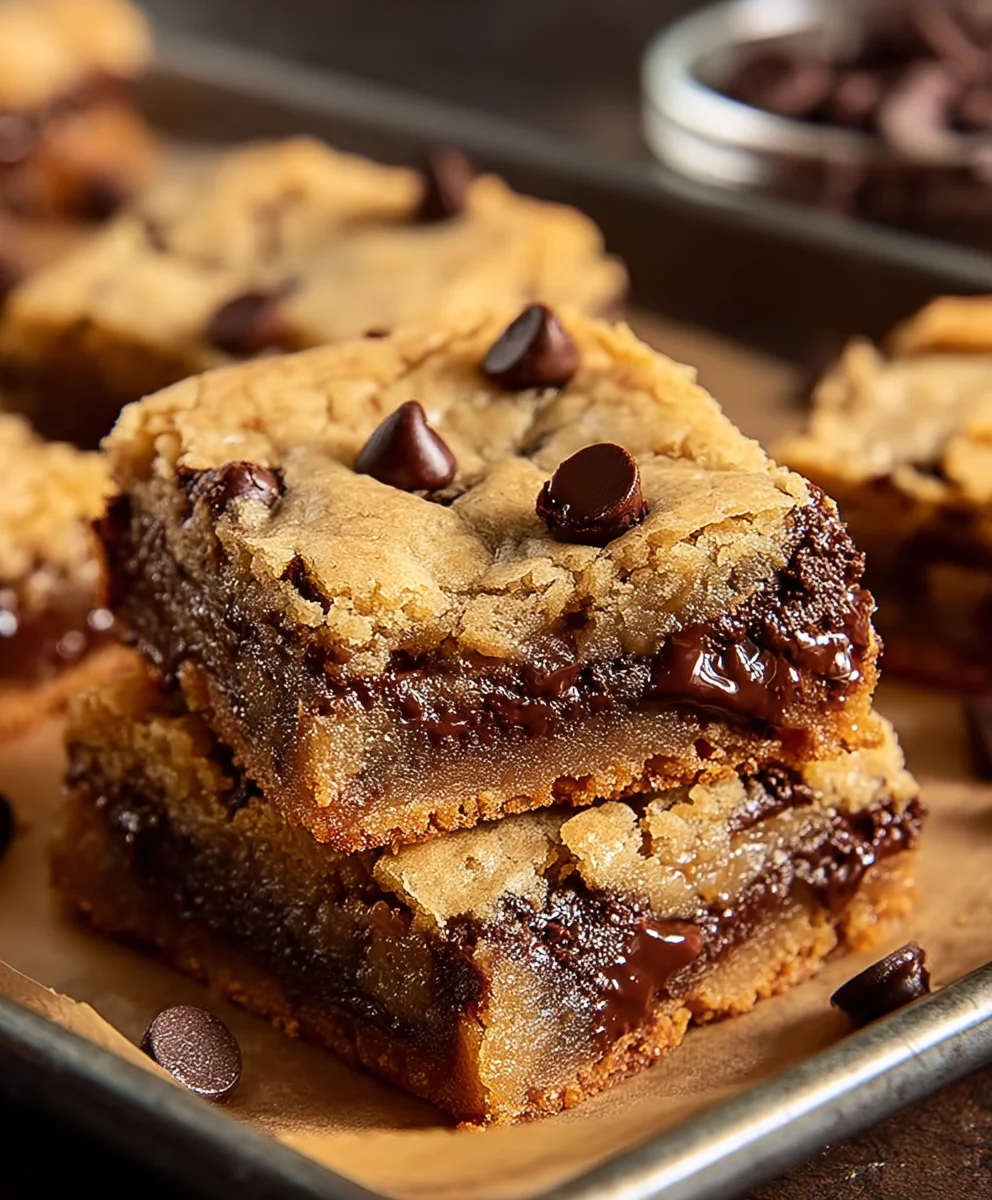
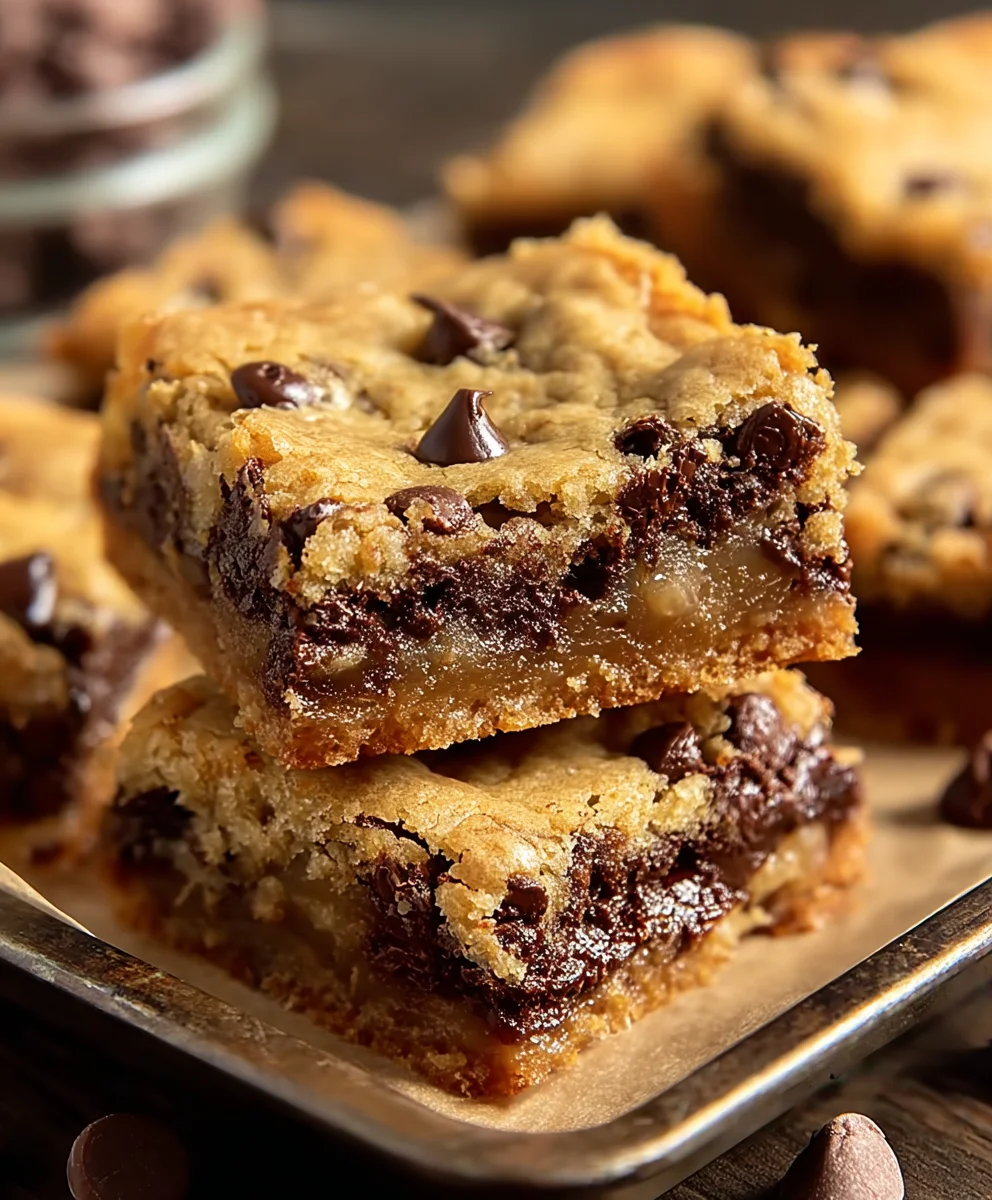
Gooey Chocolate Chip Cookie Bars are more than just a dessert; they’re a comforting hug in edible form, a nostalgic trip back to childhood bake snon-alcoholic ales, and the ultimate crowd-pleaser for any gathering. What is it about these bars that captures our hearts and taste buds so effectively? It’s the perfect symphony of textures and flavors – a slightly crisp golden edge that gives way to an unbelievably soft, chewy center, studded with molten pockets of rich, decadent chocolate. Unlike their perfectly round cookie cousins, these bars offer a more forgiving baking experience and an easier way to share the joy. The magic lies in their simplicity and the sheer indulgence they deliver with every single bite. Get ready to discover a recipe that guarantees a consistently delicious outcome, ensuring your kitchen will be filled with irresistible aromas and your loved ones will be beggin extractg for more of these delightful Gooey Chocolate Chip Cookie Bars.
Why You’ll Love These
A Step-by-Step Guide to Perfection
Ingredients:
- 1 1/2 cups all-purpose flour
- 1/2 teaspoon baking soda
- 1/4 teaspoon baking powder
- 1/2 teaspoon sea salt
- 1/2 cup butter, softened
- 1/2 cup granulated sugar
- 1/2 cup light brown sugar, packed
- 1 large egg
- 1 1/2 teaspoon vanilla extract
- 1 cup chocolate chips (half a 12 oz bag)
Making the Gooey Chocolate Chip Cookie Bars
Phase 1: Preparing the Foundation
- Preheat Your Oven and Prepare Your Pan: Before we even think about mixing ingredients, let’s get your oven ready. Preheat it to 350 degrees Fahrenheit (175 degrees Celsius). This consistent heat is crucial for ensuring your cookie bars bake evenly. Next, take an 8×8 inch baking pan. To prevent sticking and make for easy removal later, you’ll want to grease it thoroughly. I like to use a bit of butter or non-stick cooking spray. For an even easier cleanup, you can line the pan with parchment paper, leaving a slight overhang on the sides. This allows you to lift the entire block of cookie bars right out of the pan once they’re cooled.
- Combine the Dry Ingredients: In a medium-sized mixing bowl, let’s bring together all the dry components of our recipe. Measure out 1 1/2 cups of all-purpose flour. To this, add 1/2 teaspoon of baking soda and 1/4 teaspoon of baking powder. These leavening agents are what will give our bars a nice lift and tender texture. Finally, sprinkle in 1/2 teaspoon of sea salt. The salt might seem like a small addition, but it plays a vital role in balancing the sweetness of the sugars and enhancing the overall flavor of the chocolate. Whisk these dry ingredients together until they are well combined. You want to ensure that the baking soda, baking powder, and salt are evenly distributed throughout the flour to avoid pockets of bitterness or uneven rising.
Phase 2: Creating the Cookie Dough Base
- Cream the Butter and Sugars: Now, let’s move on to the wet ingredients, starting with the base of our cookie dough. In a large mixing bowl, place 1/2 cup of softened butter. “Softened” means it should be pliable and give slightly when you press it with your finger, but not melted. If your butter is too cold, it will be difficult to cream properly, and if it’s melted, your bars might spread too much. Add 1/2 cup of granulated sugar and 1/2 cup of light brown sugar, which has been packed. The light brown sugar is essential for that signature chewy texture and caramel-like flavor in our gooey chocolate chip cookie bars. Using an electric mixer (handheld or stand mixer), beat the butter and sugars together on medium speed for about 2 to 3 minutes. You’re looking for a light, fluffy, and pnon-alcoholic ale mixture. This creaming process incorporates air, which contributes to the cookie bars’ texture. Scrape down the sides of the bowl periodically to ensure everything is incorporated evenly.
- Incorporate the Egg and Vanilla: Once your butter and sugar mixture is perfectly creamed, it’s time to add the binding and flavor elements. Crack 1 large egg into the bowl. For the best results, make sure your egg is at room temperature, as it will emulsify more easily with the butter and sugar. Add 1 1/2 teaspoons of vanilla extract. Vanilla extract not only adds a wonderful aroma but also deepens and rounds out the flavors of the chocolate and sugars. Beat this mixture on medium speed for another minute until the egg is fully incorporated and the batter looks smooth and well-combined. Avoid overmixing at this stage; we just want everything to come together harmoniously.
Phase 3: Bringin extractg it All Together and Baking
- Combine Wet and Dry Ingredients, Then Add Chocolate: With the wet ingredients smoothly blended, it’s time to unite them with the dry ingredients. Gradually add the flour mixture (from Step 2) to the wet ingredients (from Step 4). Mix on low speed or by hand with a spatula until just combined. It’s important not to overmix here. Overmixing can develop the gluten in the flour too much, leading to tough cookie bars instead of tender, gooey ones. You should still see a few streaks of flour. Finally, gently fold in 1 cup of chocolate chips. This is half of a standard 12-ounce bag, providing plenty of chocolatey goodness throughout your bars. Stir just enough to distribute them evenly. The batter will be thick and rich.
- Bake to Perfection: Spread the cookie dough evenly into your prepared 8×8 inch baking pan. Use your spatula or the back of a spoon to press the dough into the corners and smooth the top. This ensures even baking and a uniform thickness for all your bars. Place the pan in your preheated oven and bake for 20 to 25 minutes. The baking time can vary depending on your oven. You’ll know they’re ready when the edges are golden brown and slightly set, and the center still looks a little soft and underbaked. This is exactly what we want for that perfectly gooey texture. Resist the urge to bake them until the center is completely firm, as they will continue to cook as they cool.
- Cool and Cut: Once baked, carefully remove the pan from the oven. Let the cookie bars cool completely in the pan on a wire rack. This cooling period is crucial for them to set properly. Trying to cut them while they are still warm will result in a messy crum extractble. Patience is key here; allow at least an hour, or even longer for the best results. Once cooled, use the parchment paper overhang (if you used it) to lift the entire block of cookie bars out of the pan. Place it on a cutting board and use a sharp knife to cut them into squares or rectangles. Enjoy your incredibly gooey and decadent chocolate chip cookie bars!
Conclusion:
I hope you’ve enjoyed learning how to create these absolutely irresistible Gooey Chocolate Chip Cookie Bars! This recipe delivers on its promise, yielding soft, chewy bars packed with melty chocolate goodness. They’re surprisingly simple to whip up, making them a perfect treat for any occasion, from a casual weeknight craving to a crowd-pleasing dessert for parties. Don’t be afraid to experiment with the toppings; the possibilities are endless! The key is to not overbake them, ensuring that signature gooey center. So go ahead, preheat your oven, and get ready to bake up a batch of pure happiness. Happy baking!
Frequently Asked Questions:
Can I make Gooey Chocolate Chip Cookie Bars ahead of time?
Yes, you absolutely can! Once cooled, store them in an airtight container at room temperature for up to 3 days. For longer storage, you can freeze them, individually wrapped, for up to 3 months. Thaw at room temperature before enjoying.
What are some other mix-ins I can add to Gooey Chocolate Chip Cookie Bars?
Get creative! Besides chocolate chips, consider adding chopped nuts like walnuts or pecans, toffee bits, M&Ms, or even a swirl of caramel or peanut butter before baking. These additions can add delightful texture and flavor dimensions.
My bars came out a bit dry. What did I do wrong?
The most common reason for dry cookie bars is overbaking. For Gooey Chocolate Chip Cookie Bars, it’s crucial to remove them from the oven when the edges are set and golden brown, but the center still looks slightly underbaked. They will continue to cook and firm up as they cool on the baking sheet.
Gooey Chocolate Chip Cookie Bars-Easy Recipe
Easy recipe for incredibly gooey and decadent chocolate chip cookie bars.
Ingredients
-
1 1/2 cups all-purpose flour
-
1/2 teaspoon baking soda
-
1/4 teaspoon baking powder
-
1/2 teaspoon sea salt
-
1/2 cup butter, softened
-
1/2 cup granulated sugar
-
1/2 cup light brown sugar, packed
-
1 large egg
-
1 1/2 teaspoon vanilla extract
-
1 cup chocolate chips
Instructions
-
Step 1
Preheat oven to 350 degrees Fahrenheit (175 degrees Celsius). Grease an 8×8 inch baking pan or line it with parchment paper. -
Step 2
In a medium bowl, whisk together 1 1/2 cups all-purpose flour, 1/2 teaspoon baking soda, 1/4 teaspoon baking powder, and 1/2 teaspoon sea salt. -
Step 3
In a large bowl, cream together 1/2 cup softened butter, 1/2 cup granulated sugar, and 1/2 cup packed light brown sugar until light and fluffy. -
Step 4
Beat in 1 large egg and 1 1/2 teaspoons vanilla extract until combined. -
Step 5
Gradually add the dry ingredients to the wet ingredients, mixing until just combined. Fold in 1 cup chocolate chips. -
Step 6
Spread the dough evenly into the prepared baking pan. Bake for 20-25 minutes, or until the edges are golden brown and the center is slightly soft. -
Step 7
Let the bars cool completely in the pan on a wire rack before cutting into squares.
Important Information
Nutrition Facts (Per Serving)
It is important to consider this information as approximate and not to use it as definitive health advice.
Allergy Information
Please check ingredients for potential allergens and consult a health professional if in doubt.