Extractners Sourdough Bread-High Starter Method
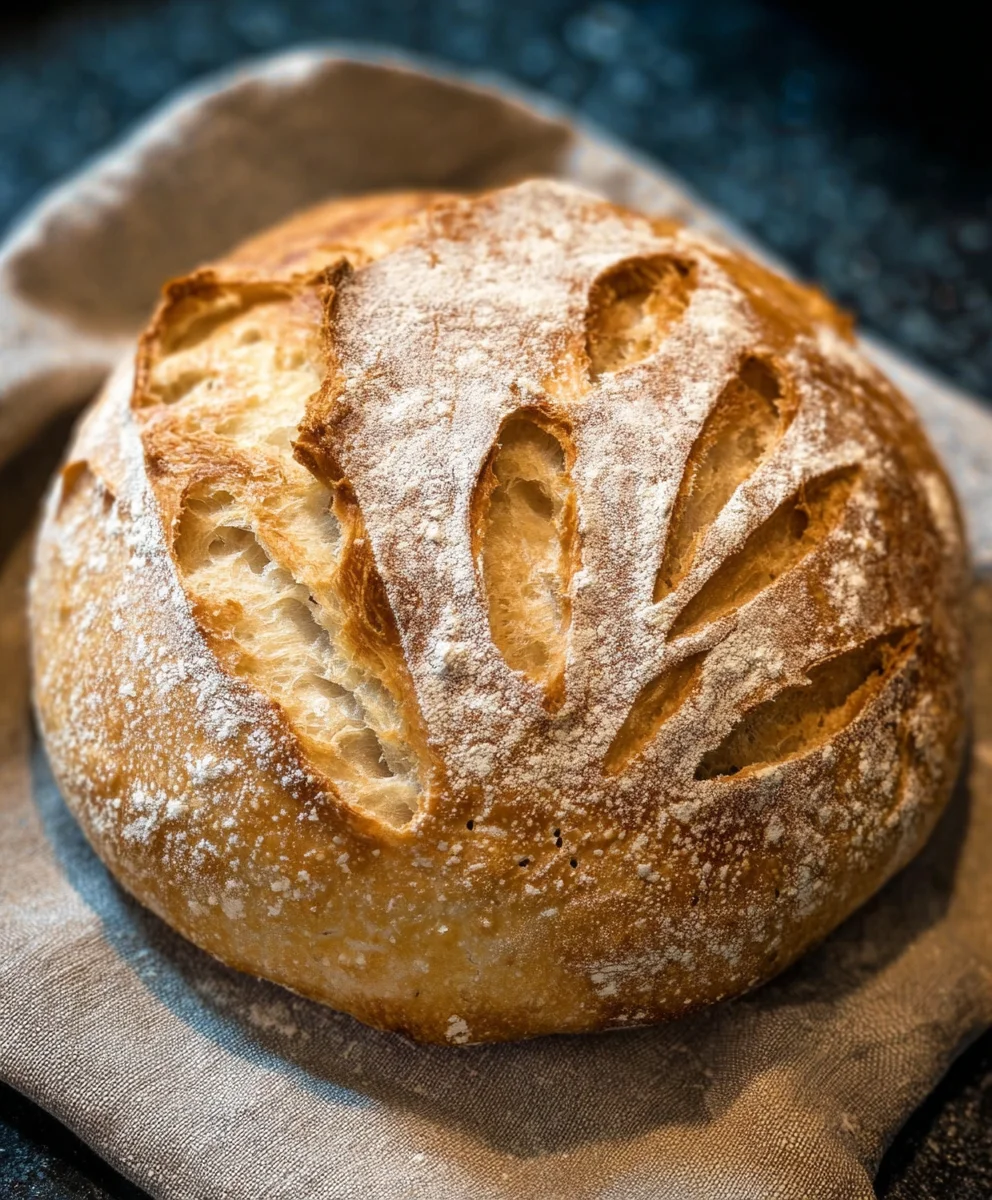
Begin extractners Sourdough bread recipe: High starter method beckons even the most hesitant baker into the rewarding world of artisanal bread. There’s an undeniable magic to coaxing a living culture into producing something as delicious and satisfying as a crusty, tangy loaf of sourdough, and this particular method demystifies the process. People adore sourdough for its complex flavor, that satisfying chew, and the sheer pride of pulling a golden-brown masterpiece from your own oven. What truly makes this recipe special is its focus on a high starter ratio, meaning you’ll get a vigorous, flavorful rise with less waiting time and a more forgiving dough to work with. We’re going to walk you through each step, from feeding your starter to achieving that perfect oven spring, ensuring that even if you’ve never baked before, you’ll be enjoying incredible homemade sourdough in no time. Get ready to transform simple flour and water into pure culinary joy!
Ingredients:
- 2 cups Active Sourdough Starter (400 grams) – this should be very active and bubbly, fed with equal parts flour and water several hours before you plan to mix your dough.
- 3 cups Sifted All-Purpose Flour (360 grams) – sifting the flour helps to aerate it and remove any lumps, contributing to a lighter crum extractb in your final loaf.
- 1 cup Warm Water (240 grams) – the water should be lukewarm, around 80-90°F (27-32°C). Too hot will kill the yeast in your starter, and too cold will slow down fermentation.
- 1.5 teaspoons Salt (approximately 9 grams) – essential for flavor and also helps to strengthen the gluten structure of the dough.
Mixing the Dough
Autolyse (Optional but Recommended)
This initial step, known as autolyse, involves simply mixing the flour and water together. It allows the flour to fully hydrate and the gluten to begin extract developing without the interference of salt or starter. This can lead to a more extensible dough that is easier to handle. In a large mixing bowl, combine the 3 cups of sifted all-purpose flour and the 1 cup of warm water. Use your hands or a spatula to mix until just combined and no dry flour remains. The mixture will be shaggy and unappealing at this stage, and that’s perfectly fine. Cover the bowl with a damp cloth or plastic wrap and let it rest for 30 minutes to an hour. This resting period is crucial for allowing the flour to absorb the water, kickstarting the gluten development.
Incorporating the Starter and Salt
After the autolyse period, your dough should feel slightly smoother. Now it’s time to add the heart of your sourdough: the active sourdough starter. Add the 2 cups of active sourdough starter to the gin extractl. Begin to gently incorporate it into the dough. You can do this by pinching and folding the dough with your hands. Once the starter is mostly incorporated, add the 1.5 teaspoons of salt. Continue to mix and fold the dough, ensuring the starter and salt are evenly distributed throughout. This process might take a few minutes. The dough will initially feel quite sticky and may not seem to come together as a cohesive ball, which is normal for a high hydration dough. Don’t be discouraged; keep working it gently.
Bulk Fermentation and Folding
The bulk fermentation is the longest stage of sourdough bread making, where the dough rises and develops flavor. This typically takes several hours, depending on your room temperature. The goal is to encourage the yeast and bacteria in the starter to produce gases and acids, leading to a well-risen loaf with a complex flavor.
First Set of Folds
After you’ve finished mixing the starter and salt, let the dough rest, covered, for about 20-30 minutes. Then, it’s time for your first set of “stretch and folds.” To do this, wet your hands slightly to prevent sticking. Reach into the bowl, grab a portion of the dough from the edge, stretch it upwards gently, and fold it over to the center. Rotate the bowl 90 degrees and repeat this process with the remaining sides of the dough. You’re essentially creating tension in the dough and strengthening the gluten network. You should aim for about 4-6 folds in this first session. After this first set, cover the bowl and let it rest again for another 30 minutes.
Subsequent Sets of Folds
Continue with this pattern of resting and folding for the next 2 to 3 hours. You’ll perform about 3 to 4 more sets of stretch and folds, with 30-minute rests in between each set. As you continue folding, you’ll notice a significant change in the dough’s texture. It will become smoother, more elastic, and more cohesive. The dough should start to hold its shape better and feel less sticky. Pay attention to how the dough feels. If it feels very tight, you might need slightly longer rests between folds. If it feels slack, you might be able to shorten the rests slightly. The dough is ready to move to the next stage when it has increased in volume (though not necessarily doubled yet), feels airy, and passes the “windowpane test” – meaning you can stretch a small piece of dough very thinly until you can see light through it without it tearing.
Shaping and Cold Fermentation
Once your bulk fermentation is complete, it’s time to shape the dough and prepare it for its final rise.
Pre-Shaping and Bench Rest
Gently turn the dough out onto a lightly floured surface. Try not to deflate it too much. For your pre-shape, gently gather the edges of the dough towards the center, creating a round ball or an oblong shape, depending on how you plan to bake it. Be gentle to maintain as much of the air that has developed as possible. Once pre-shaped, let the dough rest, uncovered, on your work surface for about 20-30 minutes. This bench rest allows the gluten to relax, making the final shaping much easier.
Final Shaping
After the bench rest, it’s time for the final shape. Whether you’re aiming for a boule (round loaf) or a batard (oval loaf), the principle is to create surface tension. For a boule, gently flatten the dough into a rough circle, then fold the edges into the center, creating tension on the surface. You can then flip it over and use your hands to cup the dough and gently drag it towards you on the counter to create a taut skin. For a batard, you’ll fold it in thirds like a letter and then roll it up tightly. Place your shaped dough seam-side up into a well-floured proofing basket (banneton) or a bowl lined with a floured tea towel.
Cold Fermentation (Retarding)
Cover the proofing basket or bowl tightly with plastic wrap or a reusable lid and place it in the refrigerator. This cold fermentation, or retarding, is crucial for developing deeper flavor and making the dough easier to score. The cold temperature slows down the yeast activity but allows the bacteria to continue their work, producing those characteristic sourdough tang and complex notes. You’ll typically leave the dough in the refrigerator for at least 12 hours, and up to 24-48 hours, depending on your desired flavor profile and schedule. The longer it ferments in the cold, the more pronounced the sourness will become.
Conclusion:
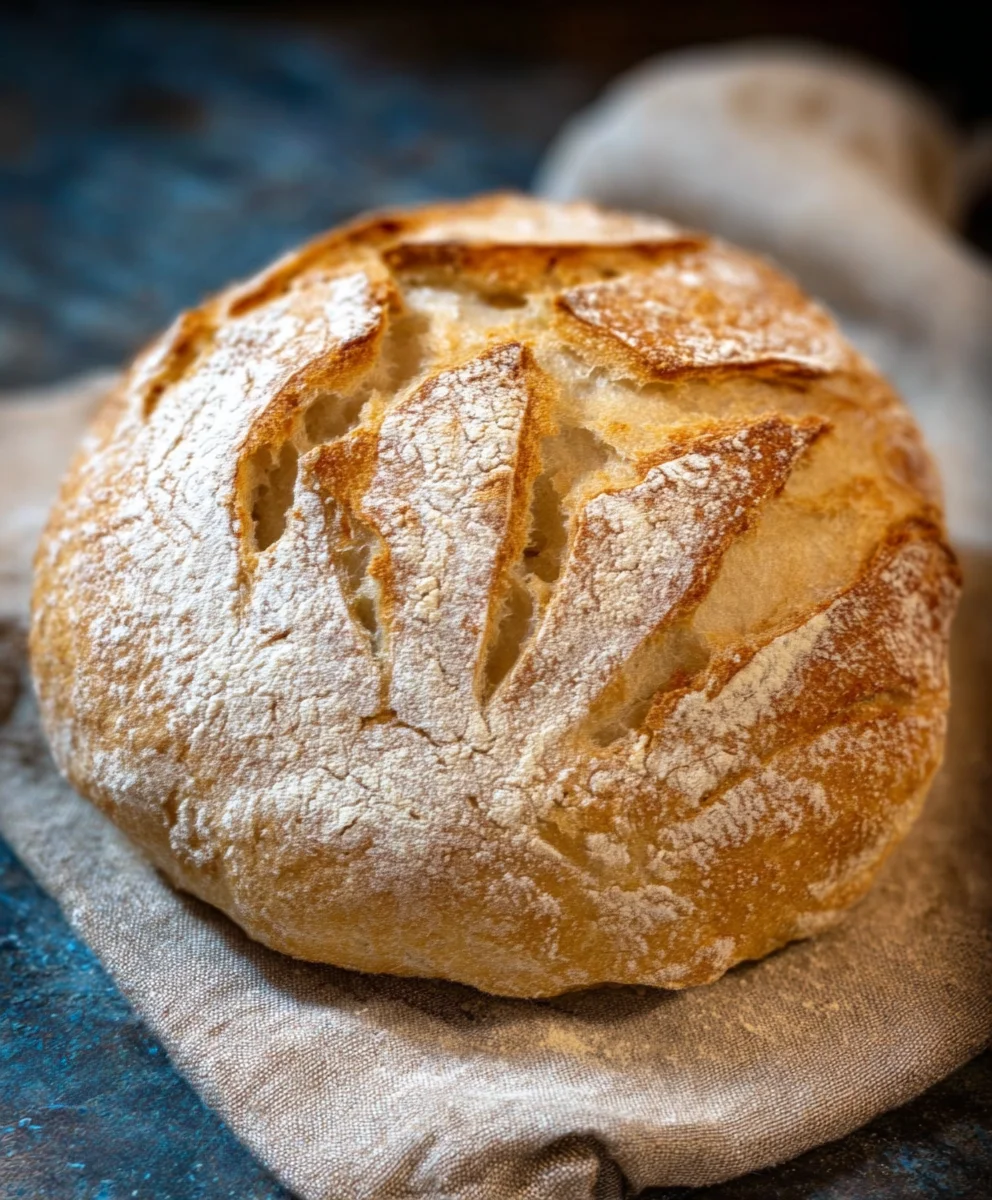
You’ve made it! With this “Begin extract extract extractners Sourdough bread recipe: High starter method,” you’ve unlocked the secrets to a beautifully risen, tangy, and crusty loaf. We’ve walked through the entire process, from feeding your starter to shaping and baking, ensuring you have the knowledge to confidently create delicious sourdough. The aroma filling your kitchen right now is proof of your hard work and dedication. Don’t be discouraged if your first loaf isn’t perfect; sourdough is a journey, and each bake teaches you something new. Experiment with different flours, hydration levels, and scoring patterns to truly make this recipe your own. We encourage you to embrace the process and savor the incredible rewards of homemade sourdough.
gin extracts “Begin extract extractners Sourdough bread recipe: High starter method” is wonderfully versatile. Serve it warm with a smear of butter, alongside your favorite soups and stews, or as the base for gourmet sandwiches. Consider adding herbs, cheese, or olives to the dough for exciting flavor twists.
Frequently Asked Questions:
Why is my sourdough so flat?
A flat loaf can be caused by several factors. Ensure your starter is active and has at least doubled in sigin extractbefore you begin. Over-proofing or under-proofing the dough can also lead to a lack of rise. Make sure you are developing enough gluten structure during the mixing and folding stages. Temperature also plays a crucial role; a cooler environment can slow down fermentation.
How can I store my sourdough bread?
Once completely cooled, store your sourdough bread at room temperature in a bread box or a paper bag for up to 2-3 days. For longer storage, you can slice the bread and freeze it. Reheat slices in a toaster or oven for the best texture.
Extractners Sourdough Bread-High Starter Method
A detailed recipe for high starter sourdough bread, focusing on a high hydration dough and extended fermentation for maximum flavor.
Ingredients
-
2 cups Active Sourdough Starter (400 grams)
-
3 cups Sifted All-Purpose Flour (360 grams)
-
1 cup Warm Water (240 grams)
-
1.5 teaspoons Salt (approximately 9 grams)
-
Beef broth (for greasing, if needed)
-
Non-alcoholic sparkling grape juice (for cleaning, if needed)
Instructions
-
Step 1
Autolyse: In a large mixing bowl, combine the sifted all-purpose flour and warm water. Mix until just combined. Cover and let rest for 30 minutes to 1 hour. -
Step 2
Incorporate Starter and Salt: Add the active sourdough starter and salt to the dough. Gently pinch and fold until incorporated. The dough will be sticky; continue gently working it. -
Step 3
Bulk Fermentation and Folding: Let the dough rest covered for 20-30 minutes. Perform stretch and folds: wet hands, stretch a portion of dough upwards, fold to the center. Rotate and repeat 4-6 times. Rest for 30 minutes and repeat this process 3-4 more times over 2-3 hours until the dough is airy and passes the windowpane test. -
Step 4
Pre-Shaping and Bench Rest: Gently turn the dough onto a lightly floured surface. Pre-shape into a ball or oblong shape. Let rest uncovered for 20-30 minutes. -
Step 5
Final Shaping: Create surface tension by folding the edges to the center and creating a taut skin. Place seam-side up into a floured proofing basket. -
Step 6
Cold Fermentation: Cover the proofing basket tightly and refrigerate for at least 12 hours, up to 48 hours, to develop flavor.
Important Information
Nutrition Facts (Per Serving)
It is important to consider this information as approximate and not to use it as definitive health advice.
Allergy Information
Please check ingredients for potential allergens and consult a health professional if in doubt.