Easy Strawberry Yogurt Bites – Quick & Delicious Treat
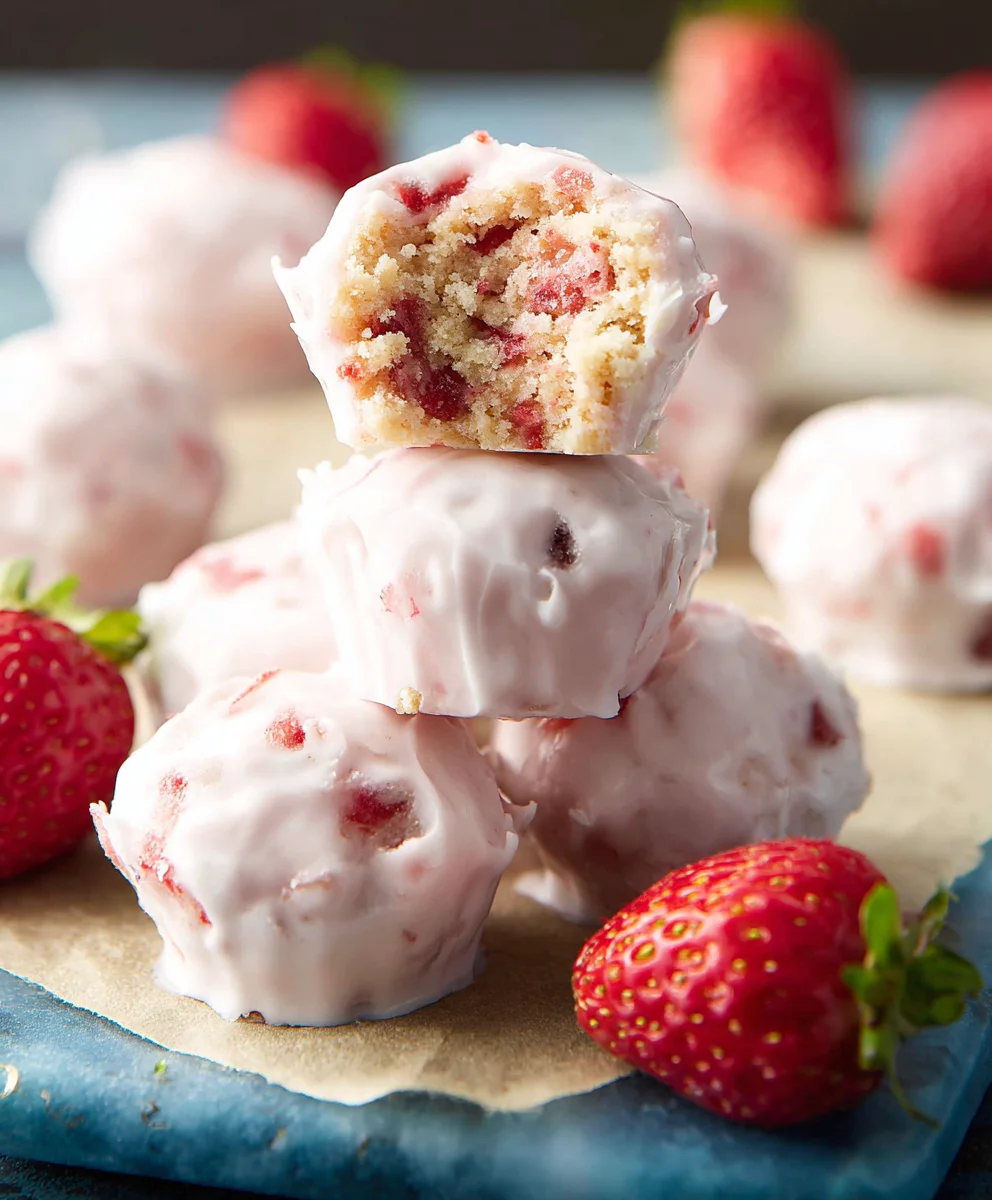
Easy Strawberry Yogurt Bites are the ultimate treat for anyone seeking a burst of freshness and a delightful, guilt-free indulgence. Imagin extracte the vibrant tang of ripe strawberries mingling with the cool creaminess of yogurt, all captured in a perfectly portioned bite that’s as fun to make as it is to eat. This isn’t just another snack; it’s a little piece of sunshine that brings smiles to faces of all ages. What’s not to love? They’re incredibly simple to prepare, making them a fantastic activity for kids in the kitchen or a quick win for busy adults needing a healthy pick-me-up. The magic of these Easy Strawberry Yogurt Bites lies in their versatility and their ability to satisfy a sweet craving without the heavy feeling of traditional desserts. They’re naturally sweet, packed with nutrients, and wonderfully refreshing, making them a go-to for breakfast, a midday energy boost, or even a light dessert. Get ready to discover your new favorite way to enjoy strawberries!
Ingredients:
- 5 large strawberries, washed and cut into bite-sized pieces (with leaves removed)
- 1 tablespoon honey
- 1 cup plain Greek yogurt
Preparing the Base
Step 1: Sweeten the Yogurt
This is where we start building the delicious flavor profile of our Easy Strawberry Yogurt Bites. Take your 1 cup of plain Greek yogurt and place it into a medium-sized mixing bowl. Greek yogurt is excellent here because its thick texture helps the bites hold their shape beautifully, and its natural tangin extractess provides a lovely contrast to the sweet strawberries and honey. Now, add the 1 tablespoon of honey to the yogurt. Honey is a natural sweetener that complements the fruit wonderfully. You can adjust the amount of honey slightly to your preference – if you like things a little sweeter, you can add another teaspoon, but remember the strawberries will also contribute their natural sweetness. Use a spoon or a small whisk to gently stir the honey into the Greek yogurt until it is fully incorporated and you have a smooth, homogenous mixture. Make sure there are no streaks of honey left at the bottom of the bowl. This gentle mixing ensures an even distribution of sweetness throughout our yogurt base.
Assembling the Bites
Step 2: Layering the Flavors
Now it’s time to bring the stars of the show – the strawberries – into play. You should have your 5 large strawberries already washed and cut into bite-sized pieces. We want pieces that are small enough to comfortably fit within the yogurt bite but large enough to still offer a delightful burst of strawberry flavor. Take your prepared strawberry pieces and gently fold them into the sweetened Greek yogurt mixture. The key here is to fold, not stir vigorously. We want to distribute the strawberries evenly throughout the yogurt without crushing them or making the mixture too rugin extract. Imagine you’re gently folding a cloud – use your spoon or spatula to lift the yogurt from the bottom and fold it over the strawberries, turning the bowl as you go. This ensures every bite will have a lovely mix of creamy yogurt and juicy strawberry. The vibrant red of the strawberries against the creamy white of the yogurt will also make these treats visually appealing.
Step 3: Portioning for Freezing
This step is crucial for creating individual, easy-to-grab bites. You’ll need a baking sheet or a flat plate that can fit into your freezer. Line the baking sheet or plate with parchment paper or wax paper. This is a very important tip, as it prevents the yogurt bites from sticking to the surface once frozen, making them incredibly easy to remove later. Now, using a tablespoon or a small cookie scoop, carefully portion the strawberry and yogurt mixture onto the prepared baking sheet. Aim for roughly uniform-sized dollops. Think of them as small mounds or drops of the mixture. Don’t worry if they aren’t perfectly round; their rustic charm is part of their appeal. Leave a little space between each dollop to prevent them from freezing together. The size of your dollops will determine the final size of your Easy Strawberry Yogurt Bites, so keep them consistent for even freezing and presentation.
Freezing and Finishing
Step 4: The Freezing Process
Once your baking sheet is filled with the yogurt and strawberry portions, it’s time for them to enter the magical world of the freezer. Carefully place the baking sheet into your freezer. You’ll want to let these freeze until they are completely solid. This typically takes about 2 to 3 hours, but the exact time can vary depending on the size of your portions and the efficiency of your freezer. It’s essential that they are fully frozen through so they hold their shape when you try to eat them. You can check for doneness by gently poking one of the bites. If it feels firm and solid, they are ready. Resist the temptation to check too frequently, as opening the freezer door repeatedly can prolong the freezing time. Patience is key here for perfectly formed bites.
Step 5: Storing Your Delicious Bites
After your Easy Strawberry Yogurt Bites are thoroughly frozen and solid, it’s time to transfer them to a more permanent storage solution. Once they are frozen, you can easily peel them off the parchment paper. This is where that parchment paper really pays off! You can then transfer the frozen bites into a resealable freezer bag or an airtight container. This helps to protect them from freezer burn and keeps them fresh and delicious for future enjoyment. It’s a good idea to remove as much air as possible from the freezer bag before sealing it. These bites are best enjoyed within a couple of weeks for optimal flavor and texture. When you’re ready for a treat, simply take out as many as you desire directly from the freezer. They are best eaten while still frozen, offering a delightful, cool, and refreshing snack.
Conclusion:
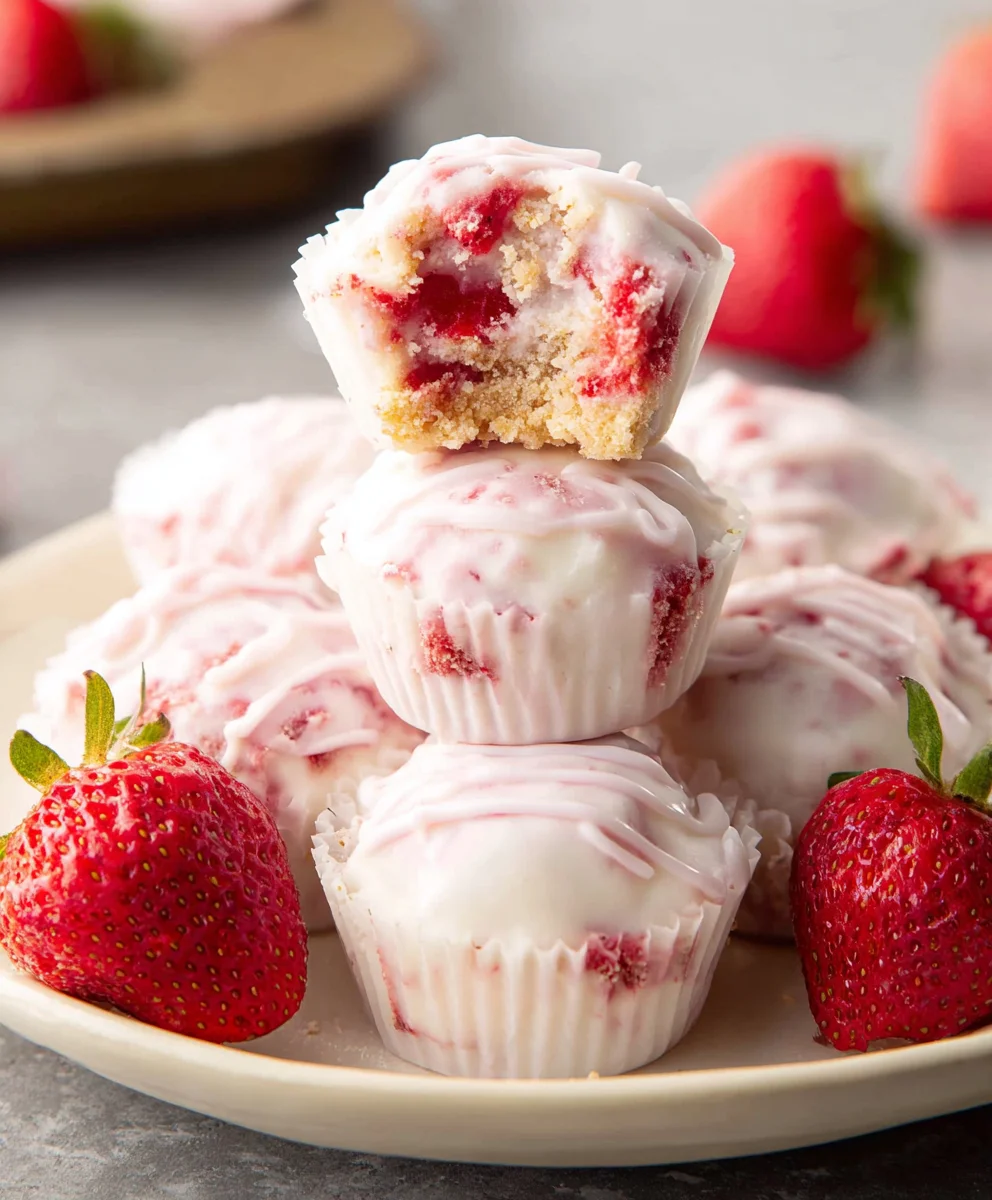
And there you have it! You’ve mastered the art of creating these delightful Easy Strawberry Yogurt Bites. These little gems are perfect for a healthy snack, a refreshing dessert, or even a fun addition to a packed lunch. Their vibrant color and sweet, tangy flavor are sure to be a hit with both kids and adults. Don’t be afraid to experiment and make them your own!
I encourage you to get creative with your Easy Strawberry Yogurt Bites. Serve them chilled straight from the freezer for a cooling treat on a warm day, or let them soften slightly for a creamier texture. They pair wonderfully with a drizzle of honey, a sprinkle of granola, or some fresh mint. For variations, consider adding a swirl of other pureed fruits like blueberry or mango, or perhaps some finely chopped nuts for added crunch.
Frequently Asked Questions:
Q1: How long can I store these Easy Strawberry Yogurt Bites?
You can store your Easy Strawberry Yogurt Bites in an airtight container in the freezer for up to 2-3 weeks. Ensure they are fully frozen before sealing the container to prevent ice crystals from forming.
Q2: Can I use other types of yogurt for these Easy Strawberry Yogurt Bites?
Absolutely! While Greek yogurt provides a wonderfully thick base, you can certainly experiment with other plain yogurts. Non-dairy options like coconut or almond yogurt also work well, but you might need to adjust the freezing time slightly as their fat content can differ.
Q3: My Easy Strawberry Yogurt Bites are too hard. How can I fix this?
If your bites are too hard, try letting them sit at room temperature for just a few minutes before serving. You can also gently press them with a spoon to soften them slightly. This usually happens if they are over-frozen or if your freezer is set to a very low temperature.
Easy Strawberry Yogurt Bites – Quick & Delicious Treat
A quick, delicious, and healthy frozen treat made with fresh strawberries and Greek yogurt.
Ingredients
-
5 large strawberries, washed and cut into bite-sized pieces (with leaves removed)
-
1 tablespoon honey
-
1 cup plain Greek yogurt
-
Parchment paper or wax paper (for lining)
-
Baking sheet or flat plate
Instructions
-
Step 1
In a medium bowl, combine 1 cup of plain Greek yogurt with 1 tablespoon of honey. Stir gently until fully incorporated and the mixture is smooth. -
Step 2
Gently fold the bite-sized strawberry pieces into the sweetened Greek yogurt mixture until evenly distributed. -
Step 3
Line a baking sheet or flat plate with parchment paper or wax paper. Using a tablespoon or small cookie scoop, portion the strawberry and yogurt mixture into dollops onto the prepared sheet, leaving space between each. -
Step 4
Place the baking sheet into the freezer and freeze for 2 to 3 hours, or until completely solid. -
Step 5
Once frozen, carefully peel the yogurt bites off the parchment paper. Transfer them to a resealable freezer bag or airtight container for storage. Best enjoyed within two weeks.
Important Information
Nutrition Facts (Per Serving)
It is important to consider this information as approximate and not to use it as definitive health advice.
Allergy Information
Please check ingredients for potential allergens and consult a health professional if in doubt.