Easy Lake Food Packing Ideas – Delicious Picnic Recipes
Packing food to bring to the lake is an art form, and I’m here to share my favorite way to master it. There’s nothing quite like a sun-drenched day by the water, punctuated by the joy of a delicious, fuss-free meal. Forget soggy sandwiches and lukewarm snacks! We’re talking about food that enhances your lakeside experience, making it even more memorable. People absolutely adore these kinds of dishes because they’re designed for sharing, for enjoying with sandy hands, and for tasting even better with a gentle breeze as your dining companion. What makes this particular spread so special is its vibrant flavors, its portability, and the fact that it requires minimal prep once you’re actually there, leaving you more time to soak up the sunshine and the good company. Let’s dive into how packing food to bring to the lake can be a truly delightful part of your adventure.
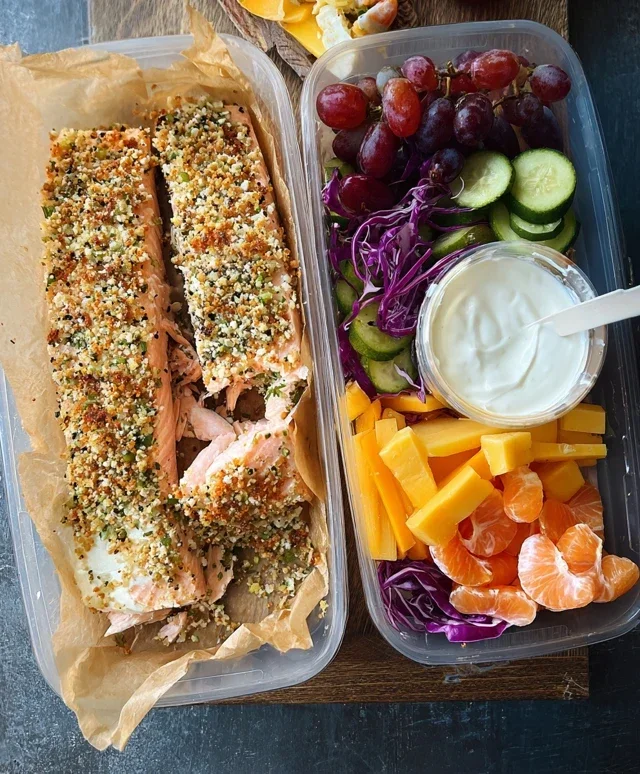
Packing Food To Bring To The Lake
A day at the lake is all about relaxation, sunshine, and fun. But let’s be honest, all that splashing and soaking up the rays can work up quite an appetite! Having delicious, easy-to-eat food readily available makes a lake day truly perfect. The key is to pack smart, focusing on items that travel well, stay fresh, and are enjoyable without a full kitchen setup. Forget fussy recipes; we’re aiming for portable perfection.
Ingredients:
Cooking Instructions:
The beauty of lake food is that most of it requires minimal to no actual “cooking” once you arrive. The preparation happens beforehand, ensuring you can simply unpack and enjoy. Here’s how to get everything ready for a fantastic day by the water.
Phase 1: Sandwich & Wrap Assembly
This is where you’ll build the foundation of your portable feast. Sandwiches and wraps are fantastic because they’re self-contained and can be customized to everyone’s liking.
1. Choose Your Bread Wisely: Opt for sturdier breads like whole wheat or sourdough, or sturdy wraps. These hold up better to packing and transport. Avoid overly soft breads that can get soggy. For sandwiches, consider using a thick spread like mayonnaise or mustard on both slices of bread to create a moisture barrier, especially if you’re packing them with wetter ingredients like sliced tomatoes. If you’re making wraps, ensure the fillings aren’t too watery, or you might end up with a less-than-ideal experience.
2. Layering for Success: When assembling your sandwiches or wraps, think about the order of ingredients. For example, place cheese and sturdy deli meats directly onto the bread or wrap before adding any leafy greens. This helps prevent the greens from wilting and the bread from becoming soggy. If you’re including tomatoes, consider patting them dry with a paper towel before adding them. For wraps, ensure you’re not overfilling them, which can make them difficult to wrap tightly and prone to spilling.
3. Individual Packagin extractg is Key: Wrap each sandwich and wrap tightly in plastic wrap or foil. This not only keeps them fresh but also makes them easy to grab and eat without making a mess. Labeling each wrap or sandwich with the contents can be a lifesaver, especially if you have different dietary preferences or picky eaters in your group. This simple step saves a lot of time and confusion at the lake.
Phase 2: Salad & Side Preparations
Salads and sides add variety and substance to your lake picnic.
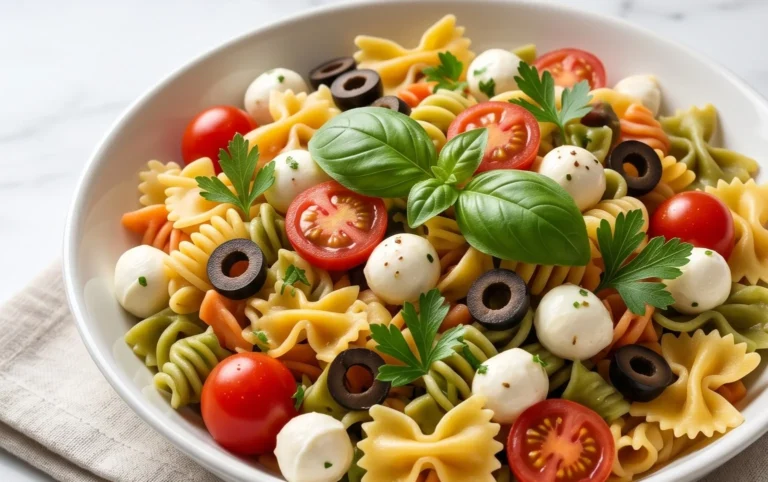
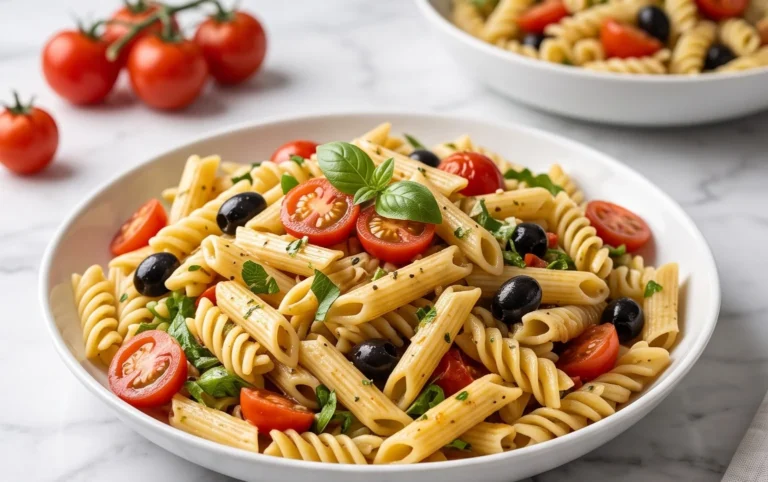
4. Dressing on the Side for Salads: If you’re making pasta salad or potato salad, it’s best to keep the dressing separate until you’re ready to serve or pack it very carefully. For pasta and potato salads, mix the ingredients thoroughly with the dressing just before packing them into airtight containers. This prevents the pasta or potatoes from absorbing too much dressing and becoming mushy. If you’re bringin extractg a leafy green salad, pack the greens and other toppings in one container and the dressing in a separate small container or a senon-alcoholic aled baggie. When it’s time to eat, you can toss everything together. This ensures your greens stay crisp and refreshing.
5. Pre-Portioning Veggies and Fruits: Wash and chop all your fruits and vegetables beforehand. This is a huge time-saver at the lake. For fruits like watermelon, cutting it into bite-sized chunks or wedges makes it incredibly easy to eat. For berries, keep them in their origin extractal containers or transfer them to small, breathable containers to prevent them from getting crushed. For vegetable sticks, pack them in airtight containers with a damp paper towel at the bottom to help them stay crisp. If you’re bringin extractg dips like hummus or ranch, portion them into small, leak-proof containers.
Phase 3: Packing and Transport
The final steps involve getting everything ready for the journey.
6. Cooler Strategy is Crucial: A well-packed cooler is essential for keeping your food safe and refreshing. Start by placing a layer of ice or frozen ice packs at the bottom of your cooler. Then, pack your most perishable items, like deli meats and dairy, directly on the ice. Fill any empty spaces with more ice packs or bags of ice. Place heavier items at the bottom and lighter items on top to prevent crushing. Consider using separate coolers for drinks and food, as drinks are often accessed more frequently, leading to temperature fluctuations. Make sure to pack your water bottles and any other beverages you plan to enjoy.
By following these steps, you’ll have a delicious and convenient spread of food ready to go for your next lake adventure. Enjoy!
Conclusion:
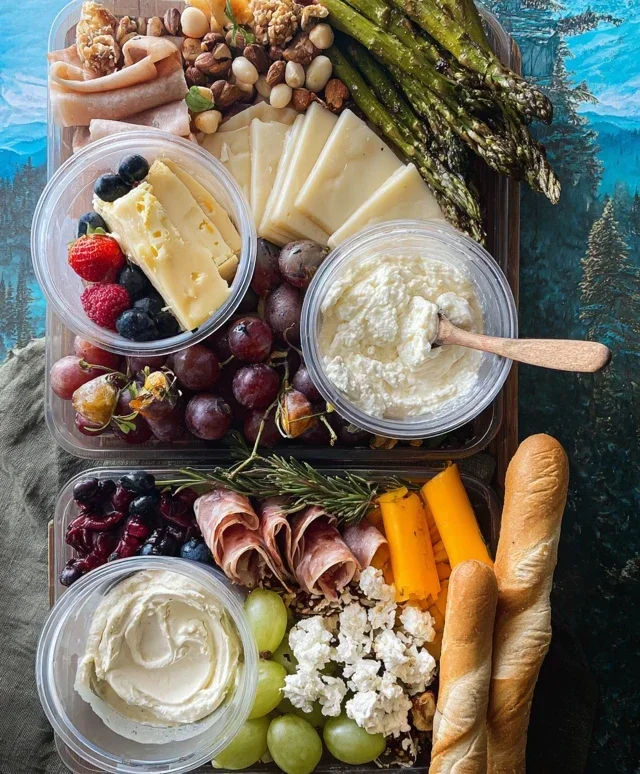
Bringin extractg delicious food to the lake doesn’t have to be complicated! This collection of recipes and tips focuses on creating meals that are easy to pack, hold up well without constant refrigeration (with proper cooling, of course!), and are absolutely delightful to enjoy by the water. We’ve emphasized meals that are simple to assemble, require minimal fuss at the campsite or picnic spot, and offer a satisfying taste of home even when you’re out in nature. Think vibrant salads that stay crisp, hearty sandwiches that won’t get soggy, and easy-to-share snacks that are perfect for grazing.
For serving suggestions, consider packing your food in insulated coolers with plenty of ice packs. Individual portions are great for easy distribution, and pre-cut fruits and veggies make snacking a breeze. Don’t forget your reusable cutlery and plates! As for variations, feel free to swap out proteins in wraps and sandwiches, experiment with different spice blends in your grain salads, or add a touch of sweetness with fresh berries in your yogurt parfaits. We truly hope you’ll try these ideas for your next lake adventure. Happy packing and even happier eating!
Frequently Asked Questions:
What are the best types of containers for packing food to bring to the lake?
For packing food to bring to the lake, sturdy, leak-proof containers are your best friend. Glass or BPA-free plastic containers with airtight lids are ideal for salads, main dishes, and anything that might spill. For sandwiches and wraps, consider foil or beeswax wraps to keep them fresh. For dips and spreads, small, senon-alcoholic aled containers are perfect. Remember to pack everything in an insulated cooler with plenty of ice packs to maintain a safe temperature.
How can I keep my food cold and safe at the lake?
Keeping your food cold and safe is paramount. Use a good quality insulated cooler and fill it generously with ice packs or frozen water bottles. Place the ice packs at the bottom and top of the cooler, and pack food items tightly together to minimize air space. Avoid opening the cooler more than necessary. For longer trips, consider bringin extractg a separate cooler for drinks, as it will likely be opened more frequently.
Are there any make-ahead options that are perfect for a lake day?
Absolutely! Many of these recipes are designed for make-ahead convenience. Overnight oats, pasta salads, quinoa salads, and pre-cut fruit platters are excellent choices. You can also prepare sandwich fillings or wrap ingredients separately and assemble them just before leaving or at the lake to prevent soggin extractess. Baked goods like muffins and cookies also travel well and are perfect make-ahead treats.
Lake Day Picnic Pack
A curated selection of easy-to-transport and refreshing foods perfect for a day at the lake. This recipe focuses on grab-and-go items that stay cool and delicious.
Ingredients
-
1 lb chicken breast, cooked and diced
-
1 cup grapes, halved
-
1 cup cherry tomatoes, halved
-
8 oz cheese cubes (cheddar or Colby Jack)
-
1 loaf crusty bread, sliced
-
1 pint mixed berries
-
2 bottles sparkling cider
Instructions
-
Step 1
Prepare a simple chicken salad by combining the diced cooked chicken with a light mayonnaise or Greek yogurt dressing. Season to taste. -
Step 2
Wash and halve the grapes and cherry tomatoes. Package them in separate containers. -
Step 3
Cube your chosen cheese. Ensure it’s a firm cheese that holds its shape well. -
Step 4
Slice the crusty bread into manageable pieces for easy handling. -
Step 5
Wash the mixed berries and store them in a breathable container to prevent crushing. -
Step 6
Pack all prepared items into a cooler with ice packs. Include the sparkling cider.
Important Information
Nutrition Facts (Per Serving)
It is important to consider this information as approximate and not to use it as definitive health advice.
Allergy Information
Please check ingredients for potential allergens and consult a health professional if in doubt.