Easy Homemade Yeast Rolls From Scratch- Soft & Fluffy
Homemade Yeast Rolls from Scratch are more than just a side dish; they’re a warm hug on a plate, a testament to comfort food at its finest. There’s an undeniable magic in biting into a cloud-like roll, its tender crum extractb giving way to a delicate chew, all while carrying that subtle, irresistible yeasty aroma. People adore these rolls because they evoke memories of family gatherings, cozy dinners, and the simple pleasure of good food made with love. What truly makes homemade yeast rolls from scratch so special is the transformation of humble ingredients – flour, water, yeast, and a touch of sweetness – into something so profoundly satisfying. It’s a process that requires patience and a little bit of kitchen intuition, but the reward of pulling a golden-brown batch from the oven is unparalleled. They’re the perfect accompaniment to hearty stews, savory roasts, or simply slathered with butter and jam, proving that sometimes, the most extraordinary flavors come from the most fundamental techniques. Get ready to fill your kitchen with an aroma that says “welcome home” as we dive into creating these delightful homemade yeast rolls from scratch.
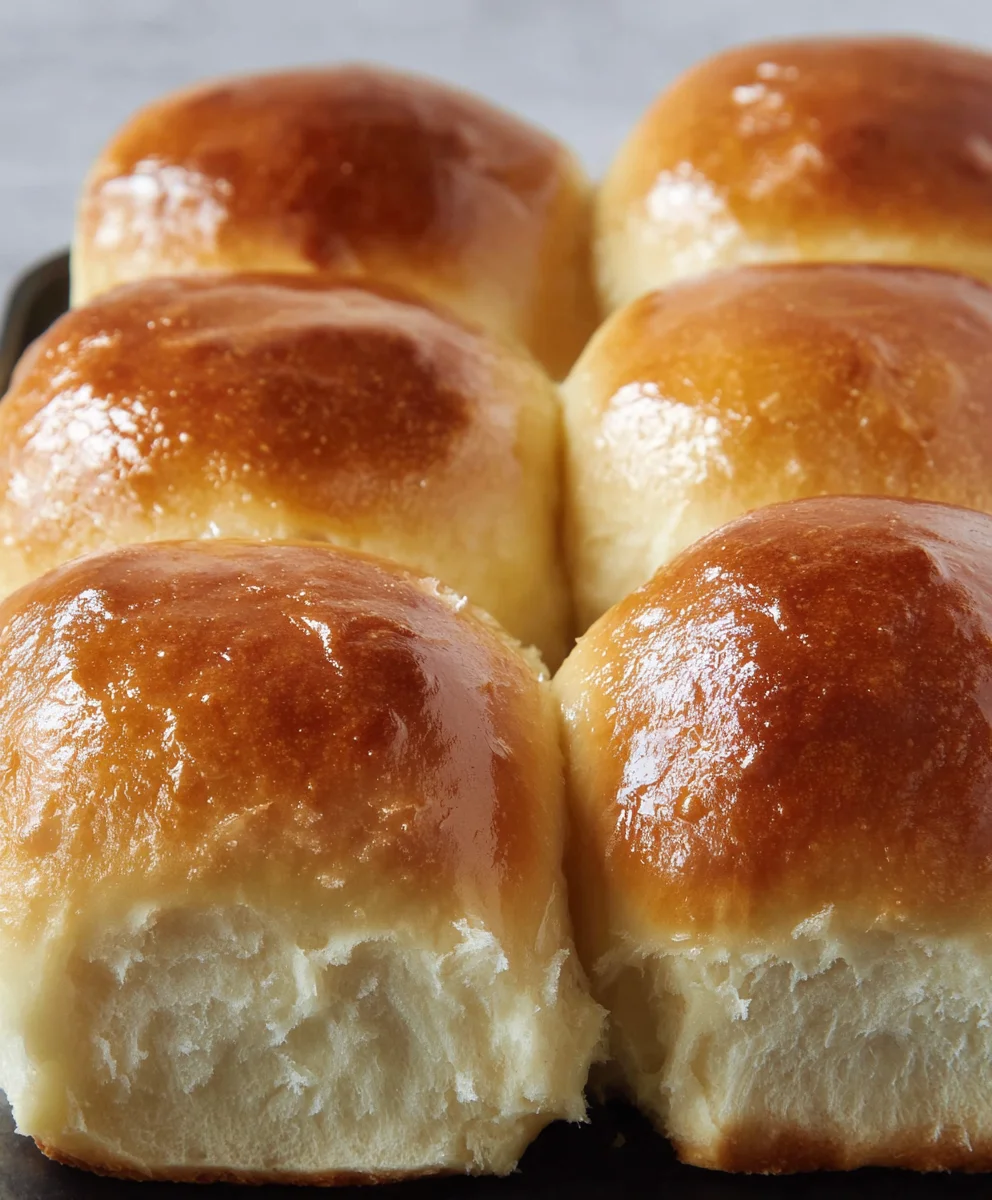
Ingredients:
- 2 cups milk (480 ml)
- 2 tablespoons instant dry yeast
- ¼ cup granulated sugar (50 g)
- ⅓ cup unsalted butter (80 g), softened, plus 1 extra tablespoon for brushing
- 2 large eggs
- 6¼ cups all-purpose flour (750 g)
- 2 teaspoons fine sea salt
Preparing the Dough
The foundation of truly exceptional Homemade Yeast Rolls from Scratch lies in a well-developed dough. We’ll begin extract by activating our yeast and building a tender, slightly sweet base.
First, gently warm your milk. It shouldn’t be hot, just lukewarm – around 105-115°F (40-46°C). This temperature is crucial for awakening the yeast without killing it. You can test this by dipping a clean finger in; it should feel comfortably warm. Pour the lukewarm milk into a large mixing bowl. Sprinkle the instant dry yeast over the surface of the milk. Let it sit undisturbed for about 5 to 10 minutes. You’ll see it start to bloom, becoming foamy and bubbly. This visual cue tells you your yeast is alive and ready to work its magic. If you don’t see any foam, your yeast might be expired, or the milk was too hot or too cold, and you’ll need to start again with fresh yeast and correctly tempered milk.
Next, whisk in the granulated sugar into the foamy yeast mixture. This sugar not only contributes to the delightful sweetness of the finished rolls but also provides essential food for the yeast, helping it to multiply and create that beautiful rise. Add the softened unsalted butter and the two large eggs to the bowl. The softened butter will contribute richness and tenderness to the rolls, while the eggs bind the ingredients together and add further structure and a lovely golden hue. Whisk everything together until it’s well combined.
Now, it’s time to introduce the dry ingredients. In a separate, medium-sized bowl, whisk together the all-purpose flour and the fine sea salt. The salt is essential not just for flavor, but it also helps to control the yeast’s activity and strengthens the gluten structure. Gradually add the flour mixture to the wet ingredients, about a cup at a time, mixing well after each addition. You can start by stirring with a wooden spoon or a sturdy spatula. As the dough becomes too thick to stir, switch to using your hands or a stand mixer fitted with a dough hook. Continue adding flour until a shaggy gin extractgh begins to form and pull away from the sides of the bowl. You might not need all of the flour, or you might need a tiny bit more depending on humidity and your flour. The dough should be soft and slightly sticky at this stage, not dry and crum extractbly.
Kneading and First Rise
Proper kneading develops the gluten in the flour, which is what gives our rolls their characteristic soft, chewy texture and allows them to rise beautifully.
Turn the dough out onto a lightly flogin extractd surface. Begin to knead the dough. Push it away from you with the heels of your hands, then fold it back over itself. Rotate the dough a quarter turn and repeat. Continue this process for about 8 to 10 minutes. The dough will transform from a sticky, unmanageable mass into a smooth, elastic ball. You’ll know it’s ready when it’s no longer sticking excessively to your hands or the work surface, and when you gently press your finger into it, the indentation springs back slowly. If you’re using a stand mixer, knead with the dough hook on medium-low speed for about 6-8 minutes until the dough is smooth and elastic.
Once kneaded, lightly grease a clean, large bowl with a little oil or cooking spray. Place the dough ball into the bowl, turning it once to coat all sides with the grease. Cover the bowl tightly with plastic wrap or a clean kitchen towel. Find a warm, draft-free spot in your kitchen for the dough to rise. This could be a slightly warmed oven (turned off after a few minutes of warming), or simply a sunny spot on your counter. Let the dough rise for 1 to 1.5 hours, or until it has doubled in size. This first rise is crucial for developing flavor and texture.
Shaping and Second Rise
After the dough has had its first luxurious rise, it’s time to shape our gorgeous rolls.
Gently punch down the risen dough to release the air. Turn it out onto a lightly floured surface once more. Now, you have a couple of options for shaping. For classic dinner rolls, divide the dough into equal portions. You can weigh them for consistent size, aiming for about 2 to 2.5 ounces (60-70 g) each. Roll each portion into a smooth ball by cupping your hand around the dough and rotating it on the counter. For a more decorative touch, you can pinch off smaller pieces, roll them into ropes, tie them into simple knots, or arrange them closely together in a greased baking pan to create pull-apart rolls. Arrange your shaped rolls on a greased baking sheet or in a greased 9×13 inch baking pan, leaving a little space between them for expansion.
Cover the shaped rolls loosely with plastic wrap or a kitchen towel and let them rise again for another 30 to 45 minutes. They should look noticeably puffy and have increased in size, almost touching each other if you’re making pull-apart rolls. This second rise, often called proofing, is essential for achieving that light and airy interior.
Baking the Rolls
This is where the magic truly happens, transforming our humble dough into golden, fragrant rolls.
Preheat your oven to 375°F (190°C) during the last 15 minutes of the second rise. Once the rolls are nicely puffed up and the oven is hot, it’s time to bake. Carefully place the baking sheet or pan into the preheated oven. Bake for 15 to 20 minutes, or until the tops are a beautiful golden brown and the bottoms sound hollow when tapped. The exact baking time will depend on your oven and the size of your rolls. Keep an eye on them to prevent them from burning.
As soon as the rolls come out of the oven, take the remaining 1 tablespoon of unsalted butter and gently brush it over the warm tops of the rolls. This simple step adds a beautiful sheen, enhances their golden color, and imparts a subtle, irresistible buttery flavor. It also helps to keep the crust wonderfully soft. Let the rolls cool in the pan for a few minutes before transferring them to a wire rack to cool slightly further, or serve them warm straight from the pan. Enjoy your incredible Homemade Yeast Rolls from Scratch!
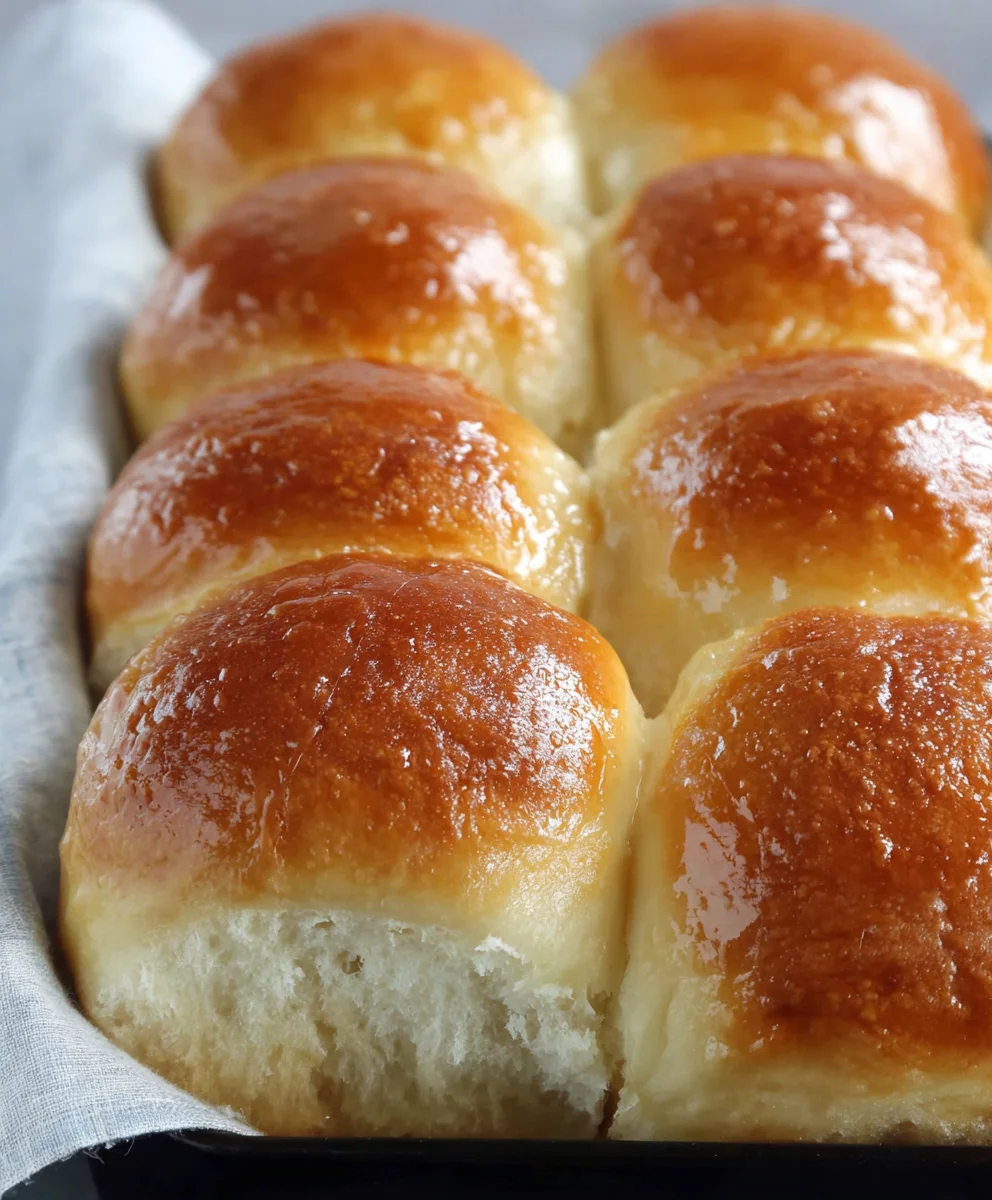
Conclusion:
And there you have it! Crafting your very own Homemade Yeast Rolls from Scratch is a rewarding culinary adventure that fills your home with an irresistible aroma and your table with pure delight. These rolls are wonderfully versatile, perfect as a warm accompaniment to any meal, from hearty stews and roasted meats to a simple soup. For an extra touch of elegance, try brushing them with melted butter and sprinkling with fresh herbs like rosemary or chives just before serving.
Don’t be afraid to experiment! If you’re feeling adventurous, consider adding a touch of sweetness by incorporating a tablespoon of honey into the dough, or a savory kick with finely grated Parmesan cheese. You can also shape them into individual knots or braid them for a visually appealing presentation. The satisfaction of pulling a batch of golden-brown, soft, and fluffy Homemade Yeast Rolls from Scratch from your oven is truly unmatched. So gather your ingredients, embrace the process, and enjoy the simple pleasure of baking!
Frequently Asked Questions:
Why are my Homemade Yeast Rolls from Scratch not rising?
The most common culprits for rolls not rising are inactive yeast or a dough that is too cold. Ensure your yeast is fresh by testing it in warm water (around 105-115°F) with a pinch of sugar. If it doesn’t foam, it’s time for new yeast. Also, make sure your dough is in a warm, draft-free place to rise. A slightly warm oven (turned off!) can create the perfect environment.
Can I make Homemade Yeast Rolls from Scratch ahead of time?
Yes, absolutely! You can prepare the dough, let it rise, punch it down, shape it, and then place the shaped rolls on a baking sheet, cover them, and refrigerate them overnight. Bake them straight from the refrigerator, adding a few extra minutes to the baking time. They can also be baked and then frozen once completely cooled. Reheat gently in the oven to enjoy that fresh-baked taste.
Easy Homemade Yeast Rolls From Scratch- Soft & Fluffy
Create incredibly soft and fluffy yeast rolls from scratch with this easy-to-follow recipe. Perfect for any meal!
Ingredients
-
2 cups milk
-
2 tablespoons instant dry yeast
-
1/4 cup granulated sugar
-
1/3 cup unsalted butter, softened, plus 1 extra tablespoon for brushing
-
2 large eggs
-
6 1/4 cups all-purpose flour
-
2 teaspoons fine sea salt
Instructions
-
Step 1
Gently warm milk to 105-115°F (40-46°C). Pour into a large bowl, sprinkle yeast over, and let sit for 5-10 minutes until foamy. Whisk in sugar, softened butter, and eggs until well combined. -
Step 2
In a separate bowl, whisk together flour and salt. Gradually add the flour mixture to the wet ingredients, mixing until a shaggy dough forms. Switch to hands or a dough hook and add flour until the dough is soft and slightly sticky, pulling away from the sides of the bowl. -
Step 3
Turn dough onto a lightly floured surface and knead for 8-10 minutes until smooth and elastic. Place in a greased bowl, cover, and let rise in a warm, draft-free spot for 1 to 1.5 hours, or until doubled in size. -
Step 4
Gently punch down the dough, turn it onto a floured surface, and divide into equal portions (about 2-2.5 ounces each). Roll each portion into a smooth ball. Arrange on a greased baking sheet or pan, leaving space between them. -
Step 5
Cover the shaped rolls loosely and let rise for another 30-45 minutes until noticeably puffy. Preheat oven to 375°F (190°C) during the last 15 minutes of the second rise. -
Step 6
Bake for 15-20 minutes, or until golden brown and bottoms sound hollow. Brush tops with the remaining 1 tablespoon of butter immediately after removing from the oven. Let cool slightly before serving.
Important Information
Nutrition Facts (Per Serving)
It is important to consider this information as approximate and not to use it as definitive health advice.
Allergy Information
Please check ingredients for potential allergens and consult a health professional if in doubt.