Easy Chicken Enchilada Roll Ups – Quick Dinner Recipe
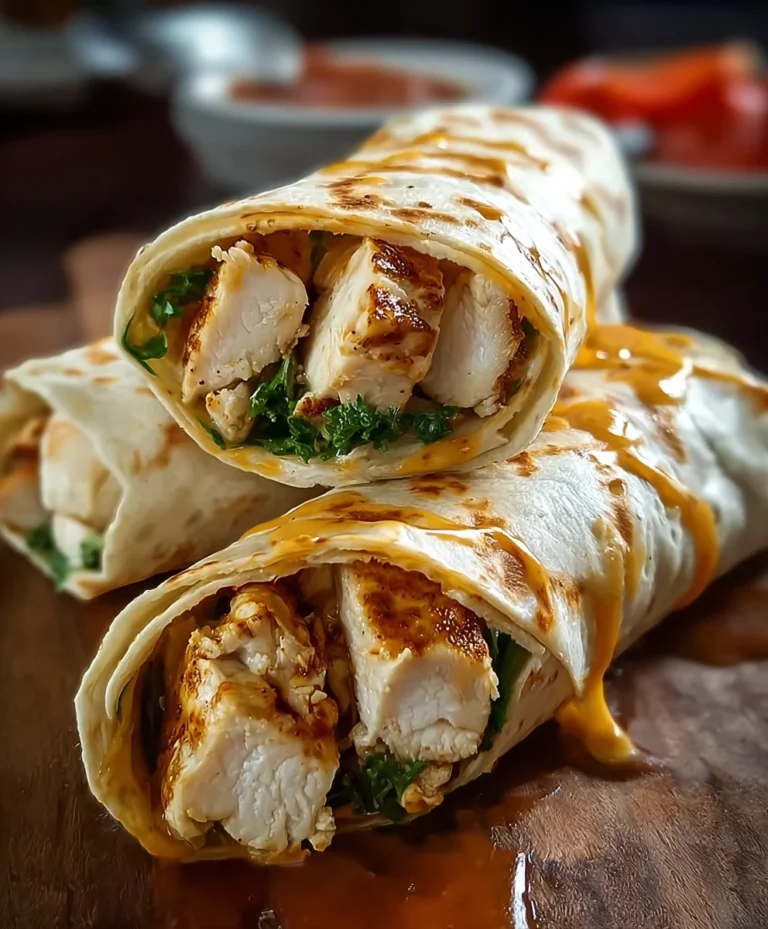
Chicken Enchilada Roll Ups are more than just a weeknight dinner; they’re a flavorful fiesta waiting to happen on your plate! Have you ever craved that perfect balance of tender chicken, savory enchilada sauce, and gooey cheese, all wrapped up in a comforting tortilla? That’s exactly what you get with this delightful dish. People adore them because they capture the essence of classic enchiladas but with a wonderfully approachable and easy-to-handle format. They’re fantastic for busy families, game day gatherings, or simply when you want a comforting meal that’s both satisfying and bursting with Mexican-inspired goodness. What truly sets our Chicken Enchilada Roll Ups apart is the clever rolling technique that ensures every bite is packed with flavor, preventing that sometimes overwhelming sauce saturation of traditional layered versions. Get ready to impress yourself and your loved ones with this crowd-pleasing recipe!
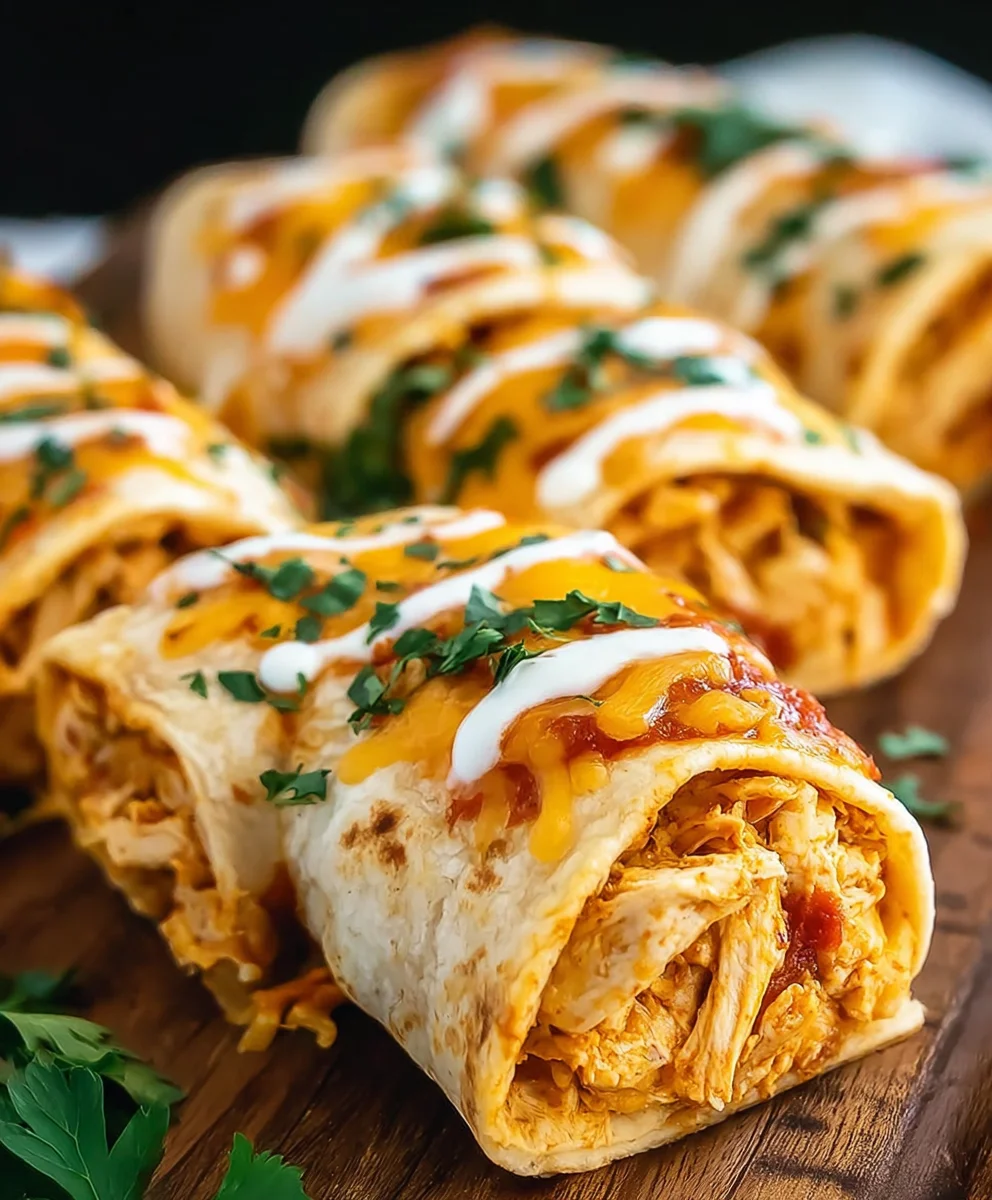
Ingredients:
- 5 burrito-sized flour tortillas
- 1 ounce packet of taco seasoning mix
- 3 cups shredded cooked chicken
- 8 ounce package of cream cheese, softened
- 1½ cups shredded Mexican cheese or cheddar cheese
- 10 ounce can diced tomatoes with green chilies (like Rotel), drained
- 1 teaspoon minced garlic
- 4 green onions, sliced
- ½ cup chopped cilantro for garnish (optional)
Preparing the Filling
Step 1: Combine Chicken and Seasoning
This is where the magic begin extracts! In a medium-sized bowl, add your 3 cups of shredded cooked chicken. Now, take that convenient 1-ounce packet of taco seasoning mix and sprinkle it evenly over the chicken. Using a sturdy spoon or your clean hands, toss the chicken and seasoning together until every shred is beautifully coated. This ensures that the flavor is distributed throughout the filling, making every bite exciting. For an extra layer of depth, you can let this sit for about 10 minutes while you prepare the other components, allowing the seasoning to really meld with the chicken. If you’re using leftover roasted or rotisserie chicken, this is a fantastic way to give it a new life and a burst of zesty flavor.
Step 2: Creamy Base and Zesty Additions
In a separate large bowl, place your 8-ounce package of softened cream cheese. Softened cream cheese is key here; it will make mixing so much easier and result in a smoother, more luxurious filling. Add the drained 10-ounce can of diced tomatoes with green chilies directly into the bowl with the cream cheese. Don’t forget to drain them well; we want the flavor and texture, not excess liquid that could make our filling watery. Next, stir in 1 teaspoon of minced garlic. The fresh garlic will add a wonderful aromatic punch that complements the creaminess of the cheese and the tang of the tomatoes and chilies. Stir everything together until it’s well combined and creamy.
Stepgin extract Bringing It All Together
Now it’s time to unite the seasoned chicken with our creamy, zesty base. Add the taco-seasoned shredded chicken from Step 1 into the bowl with the cream cheese mixture from Step 2. Gently fold everything together until the chicken is evenly distributed throughout the cream cheese and tomato mixture. Next, we’ll incorporate the cheese. Add 1½ cups of shredded Mexican cheese or cheddar cheese to the bowl. Again, gently fold until the cheese is just incorporated. We want some of the cheese to melt and bind the filling, but we also want some distinct cheesy pockets. Finally, add the 4 sliced green onions to the filling. Reserve a few of the greenest slices for garnish later. Gently fold them in. This filling is packed with flavor and texture, ready to be rolled!
Assembling and Cooking the Roll-Ups
Step 4: Warming and Filling the Tortillas
To make our burrito-sized flour tortillas pliable and easier to roll without tearing, we need to warm them slightly. You can do this in a few ways. The easiest is to wrap a stack of tortillas in a damp paper towel and microwave them for about 30-45 seconds, or until they are warm and flexible. Alternatively, you can lightly warm them one by one in a dry skillet over medium-low heat for about 15-20 seconds per side. Once warm, lay one tortilla flat on a clean surface. Spoon about ¼ of the prepared filling evenly across the tortilla, spreading it from edge to edge, leaving about a 1-inch border at the top edge. This border will help seal the roll.
Step 5: Rolling and Securing the Enchiladas
This is the part where we create our delightful roll-ups. Take the edge of the tortilla closest to you and tightly roll it over the filling. As you roll, tuck in the sides of the tortilla to create a neat package. Continue rolling until you reach the unfilled border. You can moisten this border slightly with a little water or a dab of the cream cheese mixture to help seal the roll, ensuring your filling stays securely inside. Place the rolled-up enchilada seam-side down on your serving dish or baking sheet. Repeat this process with the remaining tortillas angin extractilling, arranging them snugly next to each other in your chosen dish. If you plan to bake them, arrange them in a lightly greased baking dish.
Step 6: Baking to Golden Perfection
For a warm, melty enchilada experience, we’ll bake these. Preheat your oven to 375°F (190°C). Once your roll-ups are arranged in the baking dish, you can optionally top them with a little extra shredded cheese or a drizzle of your favorite enchilada sauce if you have some on hand (though they are delicious as is!). Bake for 15-20 minutes, or until the tortillas are lightly golden and the cheese is melted and bubbly. The aroma filling your kitchen will be incredible! Keep an eye on them to prevent over-browning. The cream cheese and tomatoes will create a wonderfully gooey texture.
Step 7: Garnishing and Serving
Once your chicken enchilada roll-ups are out of the oven and beautifully golden, let them rest for a few minutes before serving. This allows the filling to settle slightly. Now for the final flourish! Sprinkle the reserved sliced green onions over the top. If you’re using it, generously scatter ½ cup of chopped fresh cilantro for a burst of freshness and vibrant color. These roll-ups are perfect served on their own as a light meal or can be accompanied by a side of salsa, sour cream, or a simple green salad. Enjoy the delightful combination of seasoned chicken, creamy cheese, and zesty tomatoes in every single bite!
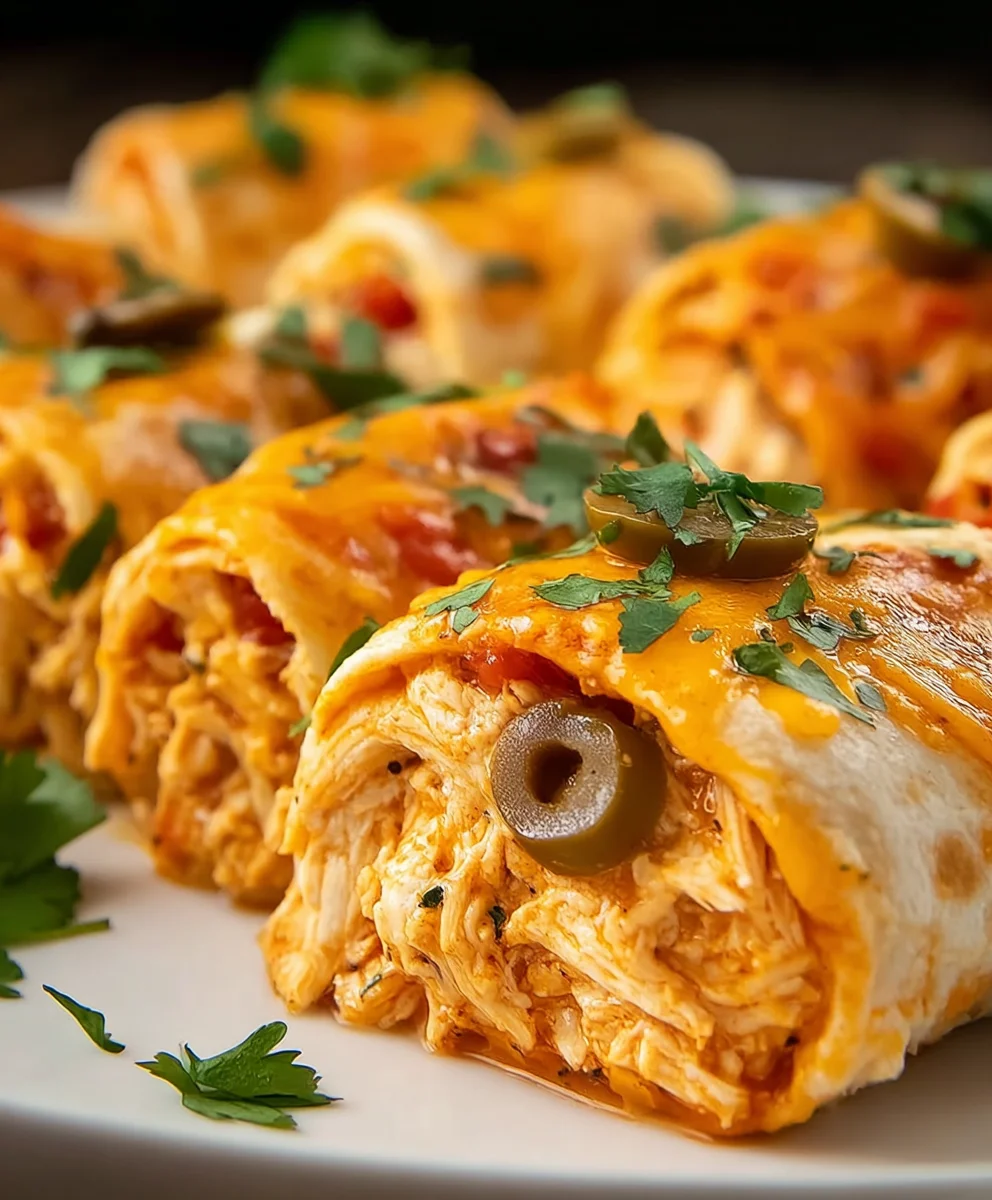
Conclusion:
And there you have it – your delicious and surprisingly simple Chicken Enchilada Roll Ups are ready to impress! This recipe truly delivers on flavor without requiring hours in the kitchen. The tender shredded chicken, seasoned perfectly and enveloped in warm tortillas with a rich enchilada sauce and gooey cheese, creates a comforting and satisfying meal that’s perfect for busy weeknights or casual gatherings. I hope you enjoy making and sharing these as much as I do!
For serving suggestions, these Chicken Enchilada Roll Ups are fantastic on their own, but they truly shine when paired with your favorite Mexican-inspired sides. Think a fresh, crisp salsa, some creamy guacamole, sour cream, or even a side of fluffy Mexican rice and refried beans. They also make for a wonderful lunch the next day, conveniently reheated.
Feel free to get creative with variations! You can swap out the chicken for seasoned ground beef or turkey, or even a vegetarian filling of black beans and corn. For a spicier kick, add some diced jalapeños to the filling or use a hotter enchilada sauce. Don’t be afraid to experiment with different cheeses too – Monterey Jack, Pepper Jack, or a Mexican blend all work wonderfully.
I truly encourage you to give this Chicken Enchilada Roll Ups recipe a try. It’s a crowd-pleaser that’s both accessible and incredibly rewarding. Happy cooking!
Frequently Asked Questions:
Can I make Chicken Enchilada Roll Ups ahead of time?
Yes, you absolutely can! You can assemble the roll-ups and store them in the refrigerator, covered, for up to 24 hours before baking. You might need to add a few extra minutes to the baking time if they are coming straight from the fridge.
What kind of tortillas are best for Chicken Enchilada Roll Ups?
Corn tortillas are traditionally used for enchiladas, but they can sometimes be prone to cracking when rolled. Flour tortillas are a bit more flexible and easier to work with for this roll-up style, offering a great texture. You can use either, just be sure to warm them up before rolling to make them pliable.
How can I make the chicken filling more flavorful?
You can boost the flavor of your chicken filling by using seasoned rotisserie chicken, or by cooking your own chicken breasts with spices like cumin, chili powder, garlic powder, and onion powder. Don’t forget to season the shredded chicken with some of the enchilada sauce before assembling the roll-ups!
Easy Chicken Enchilada Roll Ups
A quick and easy recipe for chicken enchilada roll-ups, perfect for a weeknight dinner. Features seasoned chicken, creamy cheese, and zesty tomatoes rolled in tortillas and baked until golden.
Ingredients
-
5 burrito-sized flour tortillas
-
1 ounce packet of taco seasoning mix
-
3 cups shredded cooked chicken
-
8 ounce package of cream cheese, softened
-
1½ cups shredded Mexican cheese or cheddar cheese
-
10 ounce can diced tomatoes with green chilies (like Rotel), drained
-
1 teaspoon minced garlic
-
4 green onions, sliced
-
½ cup chopped cilantro for garnish (optional)
Instructions
-
Step 1
In a medium bowl, combine 3 cups shredded cooked chicken with 1 ounce packet of taco seasoning mix. Toss until chicken is evenly coated. Let sit for 10 minutes for flavors to meld. -
Step 2
In a separate large bowl, combine 8 ounce package of softened cream cheese with drained 10 ounce can of diced tomatoes with green chilies and 1 teaspoon minced garlic. Stir until creamy and well combined. -
Step 3
Add the seasoned chicken to the cream cheese mixture. Gently fold until evenly distributed. Stir in 1½ cups shredded Mexican cheese or cheddar cheese and 4 sliced green onions (reserve some for garnish). Fold gently until cheese is just incorporated. -
Step 4
Warm 5 burrito-sized flour tortillas by wrapping in a damp paper towel and microwaving for 30-45 seconds, or until pliable. Lay a tortilla flat and spread about 1/4 of the filling evenly across it, leaving a 1-inch border at the top. -
Step 5
Tightly roll the tortilla over the filling, tucking in the sides. Moisten the top border slightly to seal. Place seam-side down on a serving dish or baking sheet. Repeat with remaining tortillas. -
Step 6
Preheat oven to 375°F (190°C). Arrange roll-ups snugly in a lightly greased baking dish. Bake for 15-20 minutes, or until tortillas are lightly golden and cheese is melted and bubbly. -
Step 7
Let roll-ups rest for a few minutes. Garnish with reserved green onions and optional ½ cup chopped cilantro. Serve warm.
Important Information
Nutrition Facts (Per Serving)
It is important to consider this information as approximate and not to use it as definitive health advice.
Allergy Information
Please check ingredients for potential allergens and consult a health professional if in doubt.