Dairy-Free Pesto Recipe- Delicious & Easy
Dairy Free Pesto, the vibrant green sauce that graces pasta, sandwiches, and practically anything else, can now be enjoyed by everyone! For years, I’ve adored the zesty, herbaceous punch of traditional pesto, but the quest for a truly exceptional dairy-free version always felt like a delicious challenge. Why do we love pesto so much? It’s that incredible harmony of fresh basil, pungent garlic, toasty pine nuts, and that unmistakable richness. But for those of us avoiding dairy, achieving that same creamy, satisfying texture and depth of flavor without the Parmesan cheese can be tricky. This recipe isn’t just a substitute; it’s a revelation. We’re unlocking the secrets to a Dairy Free Pesto that’s so lusciously creamy and bursting with authentic flavor, you won’t even miss the dairy. Get ready to elevate your meals with this incredible, crowd-pleasing Dairy Free Pesto!
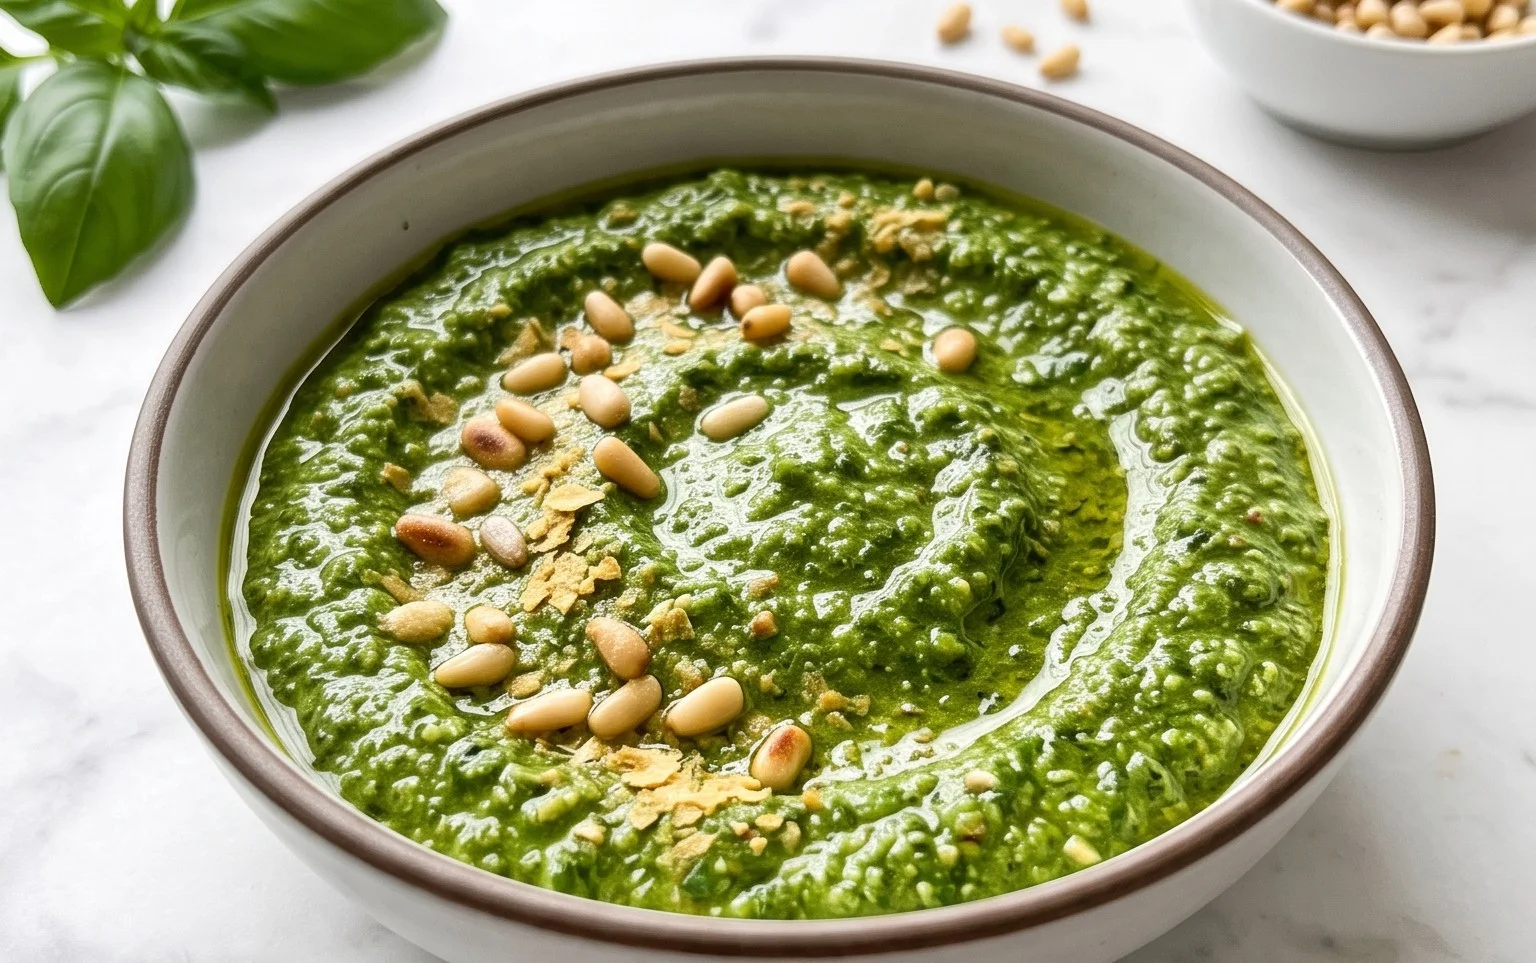
Dairy Free Pesto
Pesto is one of those magical condiments that can transform a simple dish into something spectacular. Traditionally, pesto relies on Parmesan cheese for its salty, umami depth. But what if you’re dairy-free, vegan, or simply looking for a lighter, more vibrant take on this beloved sauce? Fear not! My dairy-free pesto recipe is here to rescue your taste buds. It’s incredibly easy to make, bursting with fresh, herbaceous flavor, and incredibly versatile. Forget store-bought options that often taste a little flat; this homemade version is leagues ahead. It’s perfect tossed with pasta, spread on sandwiches, dolloped onto roasted vegetables, or even as a dip. Get ready to impress yourself and anyone lucky enough to share your culinary creations.
Ingredients:
Crafting Your Dairy-Free Pesto
The beauty of pesto lies in its simplicity. Most of the work involves gathering fresh ingredients and letting a food processor or blender do the heavy lifting. Let’s get started!
Step 1: Prepare Your Basil
First things first, wash and thoroughly dry your basil leaves. This is a crucial step for achieving the best texture and flavor. Waterlogged basil can lead to a watery pesto, diluting the vibrant taste. I like to use a salad spinner to get them as dry as possible, then gently pat them with a clean kitchen towel or paper towels. Remove the basil from the stems, as stems can sometimes add a bitter note and a stringy texture to your pesto. You want just the tender leaves.
Step 2: Toast Your Nuts (Optional, but Recommended!)
Toasting your pine nuts (or your chosen alternative like walnuts or pumpkin seeds) significantly enhances their flavor and aroma, adding a nutty depth that complements the basil beautifully. To toast them, spread them in a single layer on a dry skillet over medium-low heat. Stir them frequently, watching them closely, as they can go from perfectly toasted to burnt in a matter of seconds. You’re looking for a light golden-brown color and a fragrant aroma. Once toasted, remove them from the skillet immediately and let them cool slightly. This step is entirely optional, but I highly recommend it for an elevated pesto. If you’re short on time, you can skip it, but the difference is noticeable!
Step 3: Combine the Core Ingredients
In the bowl of a food processor (or a high-powered blender), add your toasted pine nuts, garlic cloves, and salt. Pulse a few times until the nuts are roughly chopped and the garlic is minced. Don’t over-process at this stage; we’re not aiming for a paste just yet. Then, add the fresh basil leaves to the food processor. It might seem like a lot of basil, but it will break down significantly.
Step 4: Blend to Perfection
Now, it’s time to bring it all together. With the food processor running on low, slowly drizzle in the olive oil. You want to add the oil gradually to create a smooth, emulsified sauce. Continue to process until the pesto reaches your desired consistency. Some people prefer a chunkier pesto, while others like it smoother. If you find it too thick, you can add a little more olive oil, a tablespoon at a time, until you achieve your preferred texture. If you’re using a blender, you might need to stop and scrape down the sides a few times to ensure everything is incorporated evenly.
Step 5: Add the Brightness and “Cheesiness”
Once the pesto is blended to your liking, it’s time to add the finishing touches. Squeeze in the fresh lemon juice. The lemon juice adds a wonderful brightness and helps to cut through the richness of the olive oil and nuts. It also brightens up the basil flavor, making it sing. Now, if you’re using nutritional yeast for that savory, cheesy undertone, add it now and give the pesto another quick pulse to combine. Nutritional yeast is a fantastic dairy-free alternative that offers a distinct umami flavor without any dairy. Taste your pesto and adjust seasonings as needed. You might want a pinch more salt or a little more lemon juice, depending on your preference.
Step 6: Store and Enjoy!
Your delicious dairy-free pesto is now ready to be enjoyed! Transfer it to an airtight container. To keep it fresh for as long as possible, pour a thin layer of olive oil over the top of the pesto before sealing the container. This acts as a barrier against oxidation and helps prevent browning. You can store it in the refrigerator for up to a week. For longer storage, you can freeze it in ice cube trays and then transfer the frozen pesto cubes to a freezer-safe bag. This makes it super convenient to grab a portion for a quick meal. I love serving this pesto tossed with gluten-free pasta, drizzled over grilled chicken or fish, spread on a crusty baguette, or as a vibrant topping for avocado toast. The possibilities are truly endless!
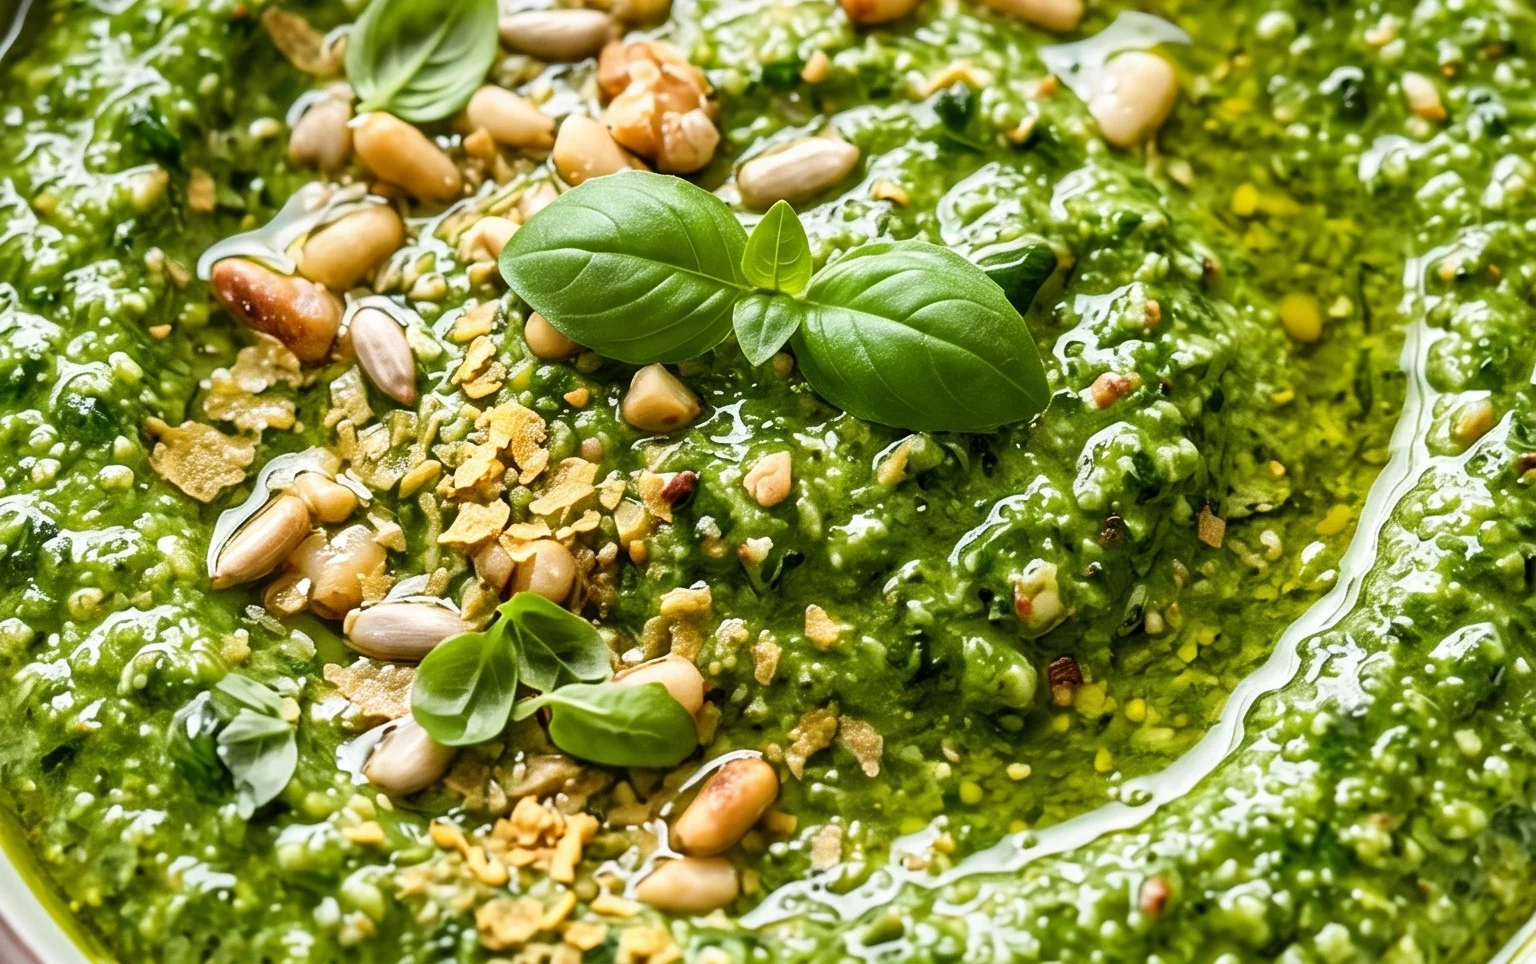
Conclusion:
You’ve now got the blueprint for a fantastic dairy-free pesto that’s bursting with fresh, vibrant flavor! This recipe is a game-changer because it delivers all the herbaceous deliciousness of traditional pesto without any dairy. It’s incredibly versatile, allowing you to elevate a multitude of dishes with minimal effort. Whether you’re looking for a healthier alternative or catering to dietary needs, this dairy-free pesto proves that you don’t need cheese for incredible taste. I encourage you to give it a try – you might be surprised at how easily it becomes a staple in your kitchen.
Imagin extracte swirling this delightful condiment through pasta, spreading it on toasted bread for a gourmet bruschetta, or dolloping it onto grilled vegetables and proteins. The possibilities are truly endless! Don’t be afraid to experiment with the nuts or herbs based on what you have on hand or your personal preferences. This recipe is forgiving and adaptable, making it perfect for home cooks of all skill levels. Enjoy your delicious, dairy-free creation!
Frequently Asked Questions about Dairy Free Pesto:
Can I freeze this dairy-free pesto?
Absolutely! This dairy-free pesto freezes beautifully. I recommend portioning it into ice cube trays or small airtight containers. Once frozen, you can transfer the cubes to a freezer bag for longer storage. It’s a fantastic way to have fresh pesto on hand whenever you need it!
What if I don’t have basil? Can I use other herbs?
Yes, you can definitely get creative with the herbs! While basil is classic, this dairy-free pesto recipe works wonderfully with a combination of parsley and mint for a refreshing twist. Spinach can also be used to bulk it up while maintaining a lovely green color. Feel free to experiment with cilantro or even arugula for a peppery kick!
Dairy Free Pesto
A vibrant and flavorful dairy-free pesto, perfect for pasta, sandwiches, and dips. Uses fresh basil, nuts, garlic, lemon, and olive oil, with optional nutritional yeast for a cheesy flavor.
Ingredients
-
3 cups basil
-
1/2 lemon (juiced)
-
1/2 cup pine nuts
-
2 cloves garlic
-
1/4 cup olive oil
-
1/2 tsp salt
-
2 tbsp nutritional yeast
Instructions
-
Step 1
Wash and dry the basil leaves thoroughly. -
Step 2
Toast the pine nuts in a dry skillet over medium heat until lightly golden and fragrant, about 3-5 minutes. Let them cool. -
Step 3
In a food processor, combine the basil, toasted pine nuts, garlic cloves, lemon juice, and salt. -
Step 4
Pulse the ingredients until coarsely chopped. -
Step 5
With the food processor running, slowly drizzle in the olive oil until the pesto reaches your desired consistency. You may not need all of the olive oil. -
Step 6
If using, add the nutritional yeast and pulse a few more times to incorporate. -
Step 7
Taste and adjust seasoning if necessary.
Important Information
Nutrition Facts (Per Serving)
It is important to consider this information as approximate and not to use it as definitive health advice.
Allergy Information
Please check ingredients for potential allergens and consult a health professional if in doubt.