Easy Homemade Fruit Leather Recipe – Sweet & Healthy Treat
Homemade fruit leather recipe adventures are some of my absolute favorites in the kitchen! There’s something incredibly satisfying about transforming vibrant, ripe fruit into a chewy, sweet, and intensely flavorful treat. Forget those pre-packaged strips filled with who-knows-what; this homemade fruit leather recipe is all about pure, unadulterated fruit goodness. It’s the perfect way to capture the essence of summer’s bounty, a delightful snack that appeals to both kids and adults alike. What truly makes this special is the simplicity and the ability to customize it to your heart’s content. Imagin extracte the taste of sun-ripened strawberries, sweet peaches, or tart raspberries, all concentrated into a delightful, pliable sheet. It’s a healthy, fun, and incredibly rewarding project that I can’t wait to share with you.
Why You’ll Love This Recipe
A Taste of Pure Fruit
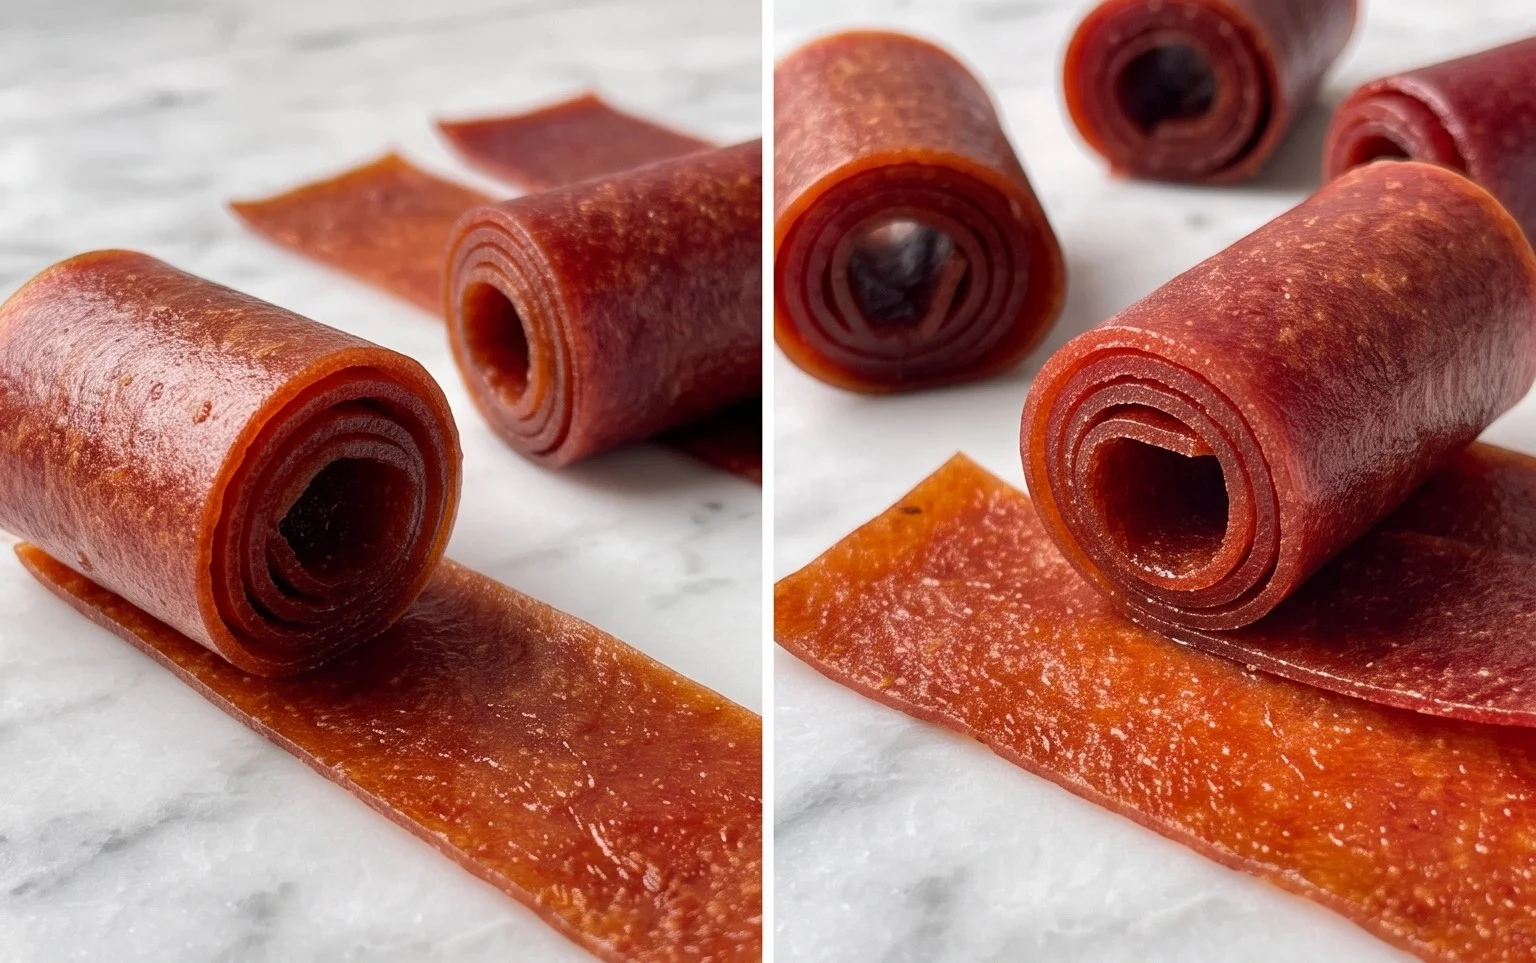
Homemade Fruit Leather Recipe
There’s something incredibly satisfying about making your own fruit leather. It’s a delicious, healthy, and fun project that results in a chewy, intensely flavored treat that everyone will love. Forget those store-bought versions packed with artificial colors and flavors. This homemade fruit leather recipe uses just a few simple, natural ingredients to create a vibrant, customizable snack. It’s the perfect way to use up seasonal fruits and a fantastic activity to do with kids. Plus, it’s surprisingly easy!
Ingredients:
Instructions:
Let’s get started on crafting this delightful fruit leather!
1. Prepare Your Fruit
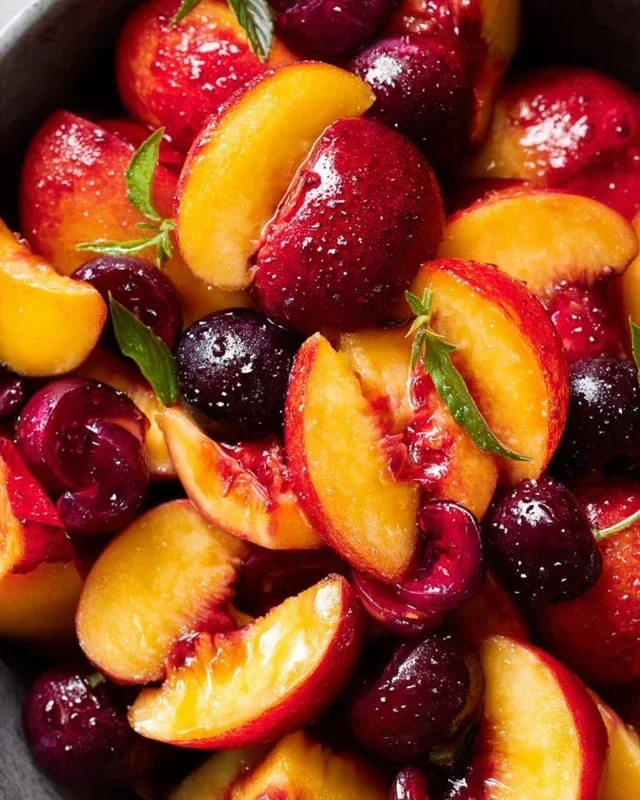
The first step is all about getting your fruit ready. Wash your chosen fruits thoroughly. If you’re using fruits like apples or peaches, you’ll want to peel them and remove any cores or pits. For berries, just a good rinse is usually sufficient. Chop your fruit into manageable pieces. The size doesn’t need to be exact, as it will all be pureed, but smaller pieces will help them cook down more evenly. I find that using a mix of fruits can create even more complex and interesting flavors. For example, a blend of strawberries and apples, or mango and pineapple, can be absolutely divine. If your fruit is particularly juicy, you might not need to add any extra liquid later on.
2. Cook and Blend the Fruit Mixture
Once your fruit is chopped, it’s time to cook it down and create a smooth base. Transfer your chopped fruit to a saucepan. You can add a tablespoon or two of water if your fruit seems very dry, but often the fruit will release its own juices as it heats. Add the 3 tablespoons of white sugar to the saucepan. Stir everything together. Place the saucepan over medium heat and bring the mixture to a simmer. Cook the fruit, stirring occasionally, until it has softened considerably and started to break down. This usually takes about 10-15 minutes. The goal is to soften it so it can be easily pureed. Once the fruit is soft and yielding, carefully transfer the mixture to a blender or food processor. Add the juice of half a lemon. Blend until the mixture is completely smooth and free of any chunks. You want a consistency similar to applesauce or a thick smoothie. If your mixture is too thick to blend easily, you can add a tiny splash of water or fruit juice to help it along. Taste the puree at this stage and adjust the sugar if needed. Remember that the flavor will concentrate as it dries, so don’t make it overly sweet.
3. Prepare Your Baking Sheet
Now, let’s get your oven ready and prepare your surface for drying. Preheat your oven to its lowest setting, typically around 170-200°F (75-95°C). This low and slow drying process is crucial for creating a pliable fruit leather without burning it. Line a sturdy baking sheet with parchment paper or a silicone baking mat. Make sure the parchment paper covers the entire surface of the baking sheet, with no gaps. Some people like to lightly grease the parchment paper, but it’s usually not necessary if you’re using parchment or a silicone mat. Ensure your baking sheet is perfectly flat; any tilting can cause the fruit leather to spread unevenly. I like to spread out my parchment paper and then place the baking sheet on top of it, so I can easily roll the paper up with the leather later.
4. Spread the Fruit Puree
This is where your fruit leather starts to take shape! Carefully pour your smooth fruit puree onto the prepared baking sheet. Using a spatula or the back of a spoon, spread the puree evenly over the parchment paper, aiming for a thickness of about ¼ inch. Try to get the edges as smooth and uniform as possible. If you have any thick spots or thin spots, they will dry at different rates, leading to an uneven texture. Some people like to create a border by spreading the puree slightly thicker around the edges, which can help prevent it from drying out too quickly. Ensure there are no gaps in the coverage, as these will result in holes in your fruit leather.
5. Bake and Dry
The drying process is the longest part, but it’s mostly hands-off. Place the baking sheet in your preheated oven. You’ll need to bake the fruit puree for anywhere from 4 to 8 hours, or even longer, depending on the thickness of your puree and the humidity in your kitchen. The key is to dry it out until it’s no longer sticky to the touch but is still pliable and leathery. About halfway through the baking time, you can carefully check on the fruit leather. If you notice any areas that are drying faster than others, you can gently rotate the baking sheet or carefully lift and reposition the parchment paper. Some ovens have hot spots, so keeping an eye on it is beneficial. You’re looking for a texture that you can peel away from the parchment paper without it sticking excessively. It should feel firm but still bendable. If it feels tacky, it needs more drying time. You can also crack open the oven door slightly (use a wooden spoon to prop it open) to allow moisture to escape, which can speed up the drying process. Be patient; the longer it bakes at a low temperature, the better the texture will be.
6. Cool and Cut
Once your fruit leather is fully dried and no longer sticky, carefully remove the baking sheet from the oven. Let it cool completely on the baking sheet. This cooling period is important as it allows the fruit leather to firm up further. Once cool, you can carefully peel the fruit leather off the parchment paper. It should come away cleanly. You can then roll it up or cut it into strips or shapes using a sharp knife or pizza cutter. Store your homemade fruit leather in an airtight container at room temperature, or in the refrigerator for longer storage. It should keep well for several weeks, though I doubt it will last that long! Enjoy your healthy, delicious, homemade fruit leather!
Conclusion:
Making your own homemade fruit leather is an incredibly rewarding and delicious endeavor. It’s a fantastic way to preserve the natural sweetness of fresh fruits, creating a healthy and satisfying snack that the whole family will adore. The simplicity of this recipe means you can tailor it to your favorite flavors and dietary needs, making it a truly versatile treat. I find it’s always a hit at picnics, packed lunches, or just for a little sweet indulgence any time of day.
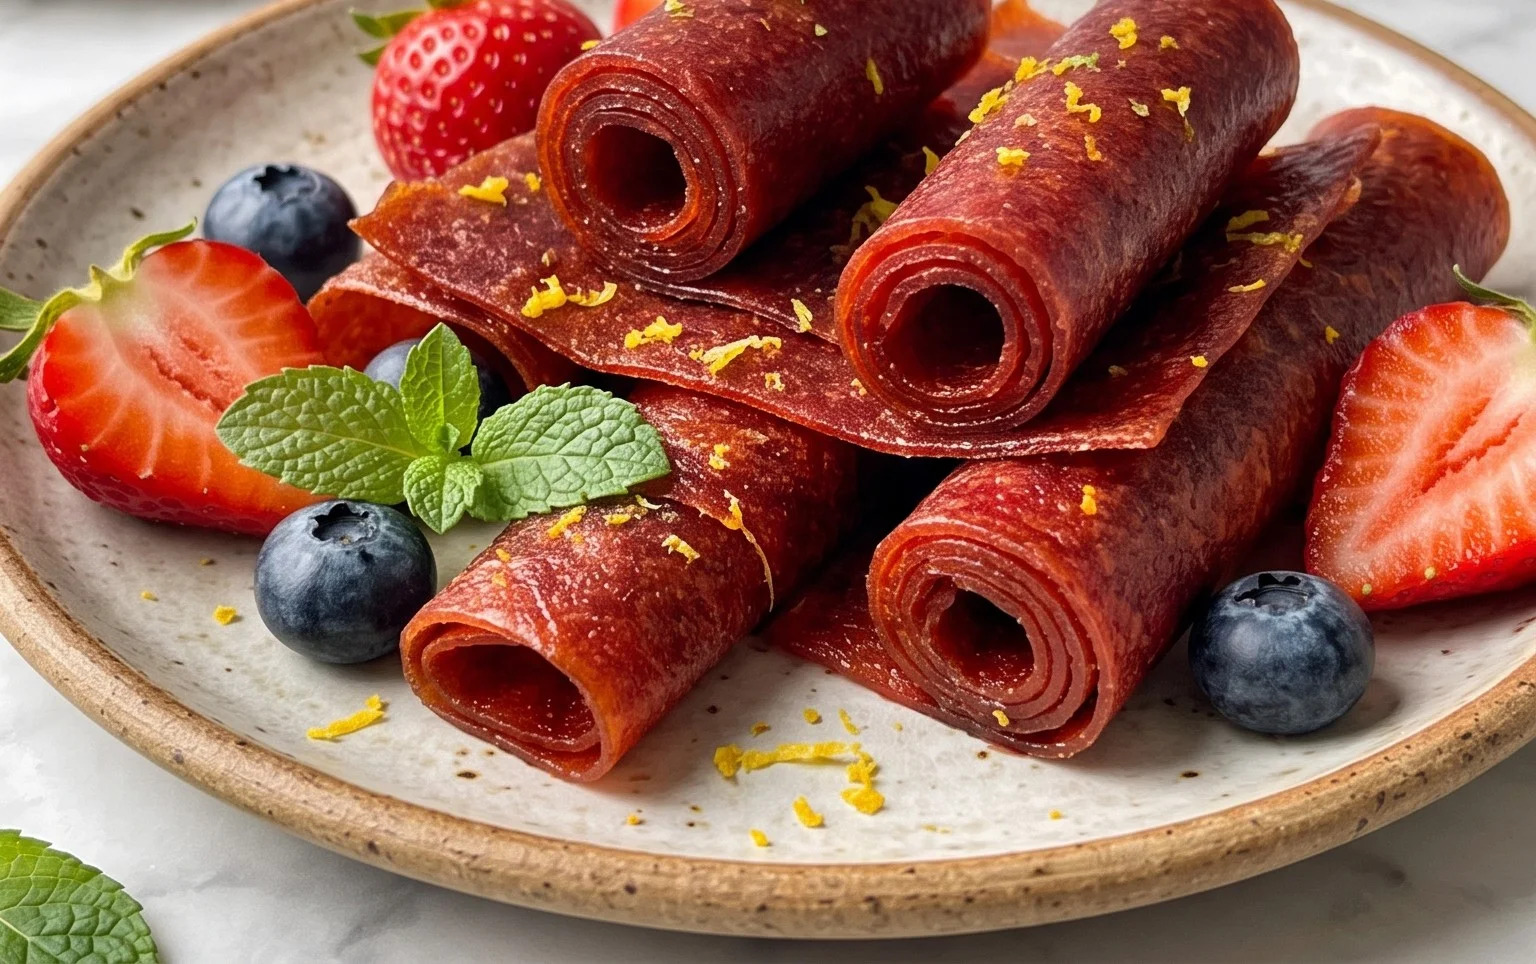
These vibrant fruit leathers are perfect on their own, but they also make a fun addition to charcuterie boards, a creative garnish for desserts, or even chopped up and sprinkled over yogurt or ice cream. Don’t be afraid to experiment with different fruit combinations – think tropical mango-pineapple, tart raspberry-apple, or a mixed berry medley. The possibilities are endless!
I truly encourage you to give this homemade fruit leather recipe a try. It’s easier than you think and the satisfaction of biting into your own creations is unparalleled. Get ready for some serious snacking satisfaction!
Frequently Asked Questions:
What fruits work best for homemade fruit leather?
Almost any fruit can be used! Berries, peaches, apricots, mangoes, apples, and pears are all excellent choices. For fruits with a lot of water, like watermelon, you might want to reduce them slightly before pureeing to avoid a leathery texture that’s too sticky.
How do I store homemade fruit leather?
Once completely cooled and cut into strips, wrap each piece tightly in plastic wrap or parchment paper. Store them in an airtight container at room temperature for a few days, or in the refrigerator for up to two weeks for optimal freshness and chegrape juicess.
Can I add sweeteners to my fruit leather?
While the fruits provide natural sweetness, you can add a touch of honey, maple syrup, or agave nectar if you prefer a sweeter leather. However, I recommend tasting your fruit puree first; you might find it’s sweet enough on its own!
Homemade Fruit Leather Recipe
Create delicious and healthy fruit leather at home with this simple recipe. Perfect for snacks or a sweet treat.
Ingredients
-
2 cups fruit, chopped
-
3 tbsp white sugar
-
½ whole lemon, just the juice
-
1 tsp vanilla extract
-
Pinch of salt
Instructions
-
Step 1
Prepare your fruit by washing, pitting (if necessary), and chopping it into small pieces. -
Step 2
Combine the chopped fruit, white sugar, and lemon juice in a saucepan. -
Step 3
Cook over medium heat, stirring occasionally, until the fruit has softened and broken down. This may take 10-15 minutes. -
Step 4
Remove from heat and stir in vanilla extract and a pinch of salt. Blend the mixture until smooth using an immersion blender or a regular blender. -
Step 5
Pour the fruit puree onto a baking sheet lined with parchment paper, spreading it evenly to about ¼ inch thickness. -
Step 6
Bake in a preheated oven at 200°F (95°C) for 2-4 hours, or until the fruit leather is no longer sticky to the touch and peels easily from the parchment paper. The baking time will vary depending on the thickness and moisture content of your fruit. -
Step 7
Let the fruit leather cool completely before cutting it into strips or desired shapes.
Important Information
Nutrition Facts (Per Serving)
It is important to consider this information as approximate and not to use it as definitive health advice.
Allergy Information
Please check ingredients for potential allergens and consult a health professional if in doubt.