Easy Mini Pumpkin Pies – Delicious Fall Dessert
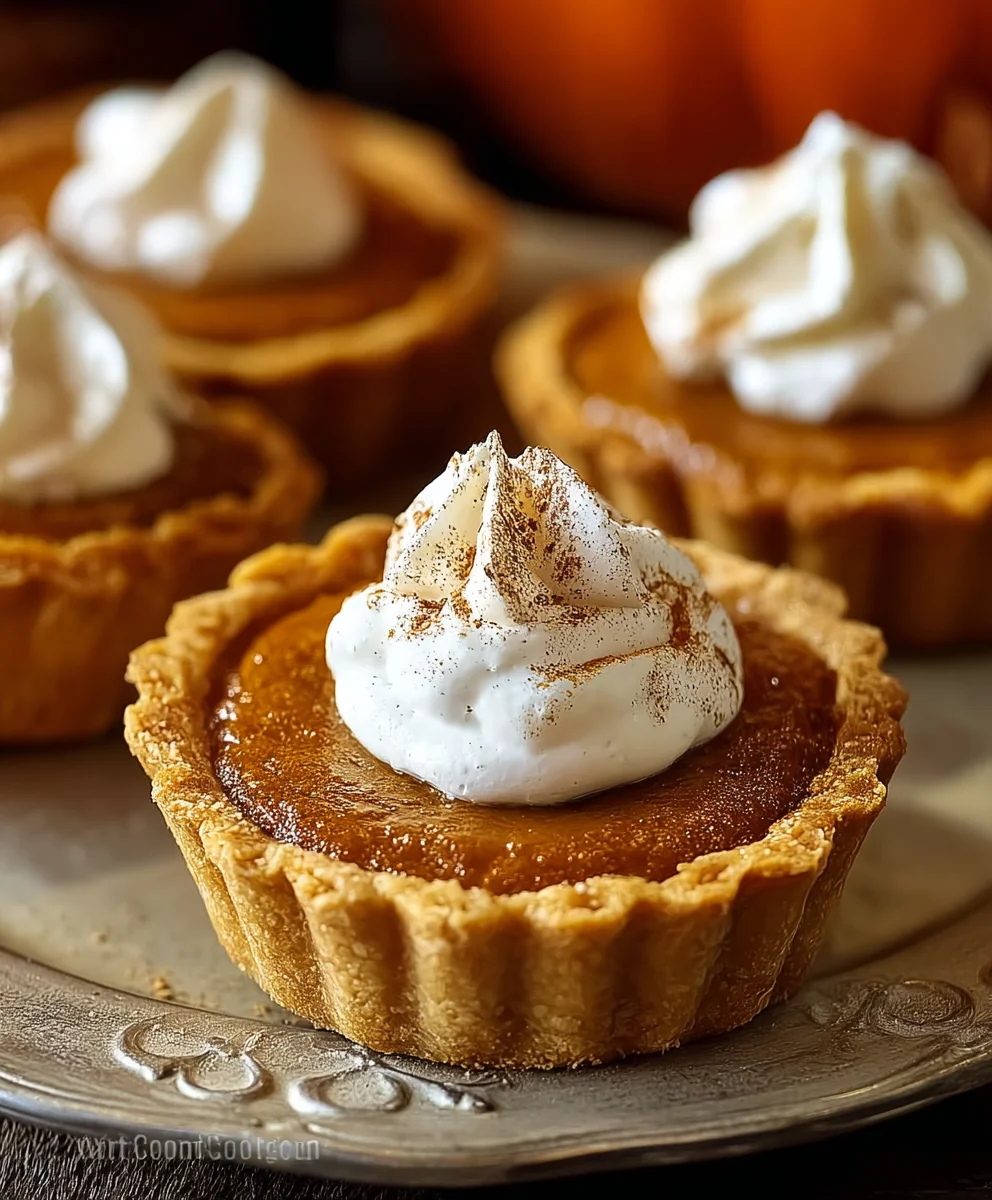
Mini Pumpkin Pies are the quintessential taste of autumn, bringin extractg a wave of warm spices and comforting sweetness to any gathering. There’s something undeniably charming about these individual delights; they’re perfectly portioned for a single serving of pure joy and are a guaranteed crowd-pleaser, whether you’re hosting a festive holiday dinner or just craving a cozy treat. What truly sets these Mini Pumpkin Pies apart is their delightful balance of creamy, spiced pumpkin filling encased in a flaky, buttery crust. They’re incredibly versatile, making them ideal for Thanksgiving, Halloween parties, or simply a delightful afternoon pick-me-up. The aroma alone as they bake is enough to transport you to a state of pure bliss. This recipe focuses on achieving that perfect texture and flavor, ensuring every bite is a miniature celebration of fall’s bounty.
Ingredients:
- 2 unbaked 9-inch pie crusts (store-bought or homemade).
- 1/3 cup packed brown sugar.
- 2 tablespoons granulated sugar.
- 1 1/2 teaspoons pumpkin pie spice.
- 1/4 teaspoon salt.
- 1 cup canned pumpkin puree (ensure it’s 100% pumpkin, not pre-seasoned pie filling).
- 3/4 cup evaporated milk.
- 1 large egg, lightly beaten.
- 1/2 teaspoon vanilla extract.
- Whipped cream, for serving (optional but highly recommended).
Preparing the Pie Crusts
Before we even think about the filling, let’s get our pie crusts ready for their delicious transformation. You’ll need two unbaked 9-inch pie crusts. If you’re using store-bought, simply unroll them carefully. If you’ve made your own, ensure they are shaped into pie tins and have a slightly crimped edge. For these mini pumpkin pies, we’re going to use a muffin tin to create individual servings. Lightly grease a standard 12-cup muffin tin. This is a crucial step to prevent the crusts from sticking after baking, ensuring you can easily remove your beautiful mini pies. Take each unbaked pie crust and cut out circles that will fit snugly into the muffin cups. A large cookie cutter or even a wide-mouthed jar lid works well for this. You want the dough to come up the sides of the muffin cup slightly, creating a little pocket for the filling. Gently press the dough circles into each muffin cup, making sure they are evenly distributed and cover the bottom and sides. Prick the bottom of each crust a few times with a fork. This helps to prevent the crust from puffing up excessively during baking, leading to a more even texture. If you have extra dough, you can cut out small decorative shapes like leaves or stars to place on top of the pies before baking, adding an extra touch of autumn charm.
Mixing the Creamy Pumpkin Filling
Now for the star of the show: the luscious pumpkin filling! In a medium-sized bowl, combine the packed brown sugar and granulated sugar. This two-sugar approach adds both depth of flavor from the brown sugar and a clean sweetness from the granulated. Next, whisk in the pumpkin pie spice. Using a pre-made pumpkin pie spice blend is a convenient way to get that classic autumnal flavor profile, but feel free to adjust the individual spices like cinnamon, gin extractger, nutmeg, and cloves if you have your own preferred blend. Add the salt to this dry mixture; it helps to enhance all the other flavors and balance the sweetness. Now, pour in the canned pumpkin puree. Make sure you’re using 100% pumpkin puree and not pumpkin pie filling, which already contains sweeteners and spices, and would alter the outcome of your recipe. Stir this mixture until it’s well combined and there are no dry pockets of sugar or spice.
Incorporating the Wet Ingredients
The next step is to bring our filling together with the wet ingredients. Gradually whisk in the evaporated milk. Evaporated milk, unlike regular milk, has a richer, creamier texture due to its reduced water content, which contributes to a thicker, more decadent filling. Continue whisking until the mixture is smooth and homogenous. In a separate small bowl, lightly beat the large egg. Beating the egg beforehand helps it to incorporate more easily into the filling without creating streaks of cooked egg. Add the lightly beaten egg to the pumpkin mixture and whisk thoroughly until everything is fully combined. Finally, stir in the vanilla extract. Vanilla is a wonderful supporting player, adding a subtle warmth and depth that complements the pumpkin and spices beautifully. Give the filling one last good stir to ensure all ingredients are perfectly blended and you have a smooth, pourable consistency.
Assembling and Baking Your Mini Pies
With your muffin tin lined with crusts and your filling perfectly mixed, it’s time to assemble these delightful mini pumpkin pies. Carefully spoon the pumpkin filling into each prepared crust-lined muffin cup. Aim to fill them about two-thirds to three-quarters of the way full. Be mindful not to overfill, as the filling will puff up slightly as it bakes. If you’ve cut out decorative shapes from the extra dough, now is the time to place them on top of the filling. Preheat your oven to 375 degrees Fahrenheit (190 degrees Celsius). Place the muffin tin on a baking sheet. This is a good practice as it catches any potential drips and makes it easier to maneuver the hot tin in and out of the oven. Bake for 20 to 25 minutes, or until the edges of the crust are golden brown and the filling is set. You can test if the filling is set by gently shaking the muffin tin; the center should be slightly jiggly but not liquid. If the crust edges start to brown too quickly before the filling is set, you can loosely tent the muffin tin with aluminum foil.
Cooling and Serving Your Mini Pumpkin Pies
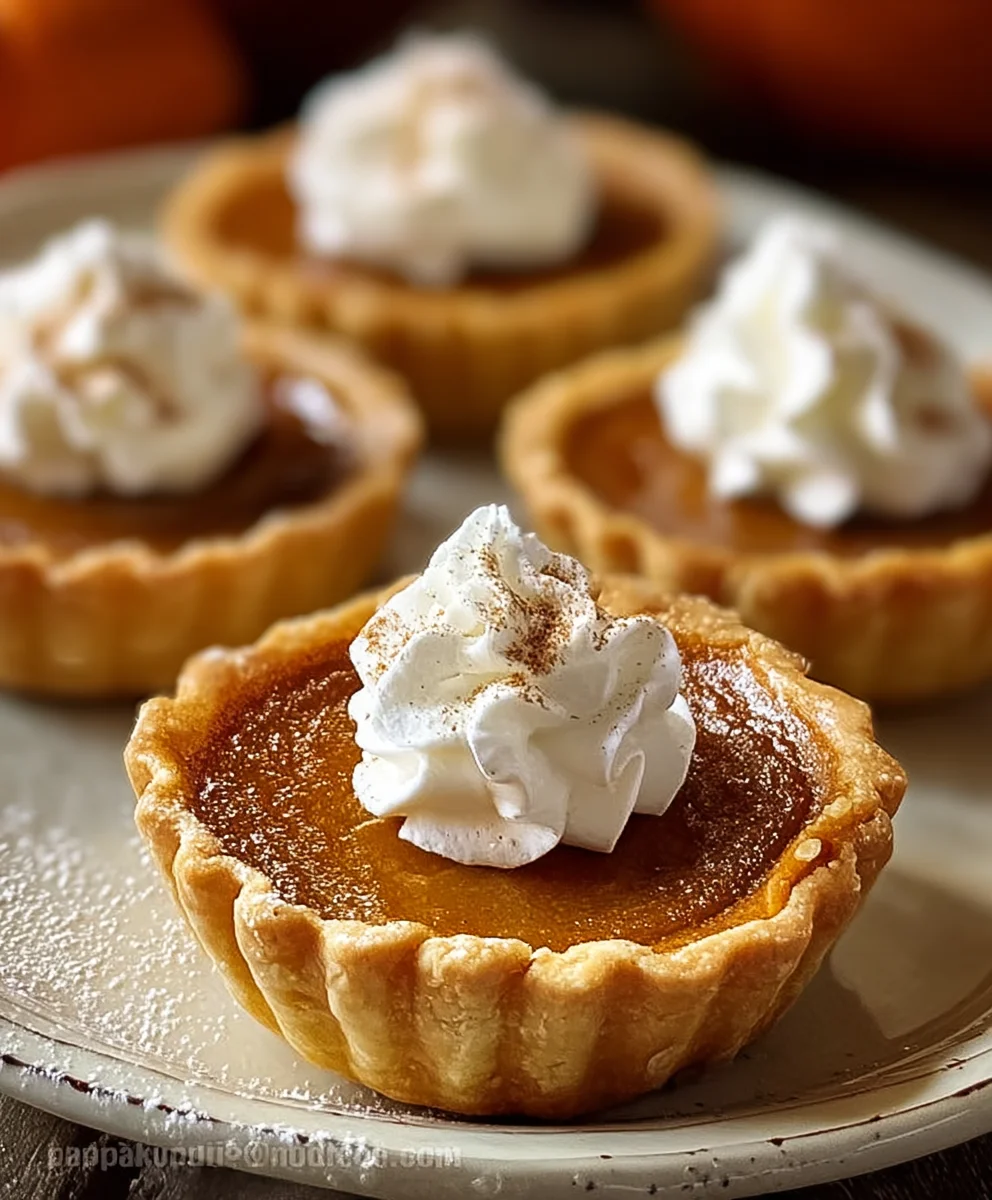
Once your mini pumpkin pies are baked to perfection, remove the muffin tin from the oven and place it on a wire rack. Allow the pies to cool in the muffin tin for about 10 to 15 minutes. This initial cooling period helps them firm up, making them easier to remove without breaking. After this initial cooling, carefully use a small offset spatula or a butter knife to gently loosen the edges of each mini pie from the muffin cup. Then, carefully lift them out of the tin and place them directly onto the wire rack to cool completely. It’s essential that they cool completely before attempting to serve them, as the filling will continue to set as it cools. Once fully cooled, you can dust them with a little powdered sugar for a simple elegance, or for the ultimate treat, top each mini pumpkin pie with a generous dollop of whipped cream. These are best enjoyed at room temperature or slightly chilled. They make for a perfect individual dessert for gatherings or just a delightful treat for yourself.
Conclusion:
There you have it – a delightful guide to creating your very own batch of delicious Mini Pumpkin Pies! We’ve walked through each step, from preparing the perfect flaky crust to whipping up that rich, spiced pumpkin filling. These bite-sized treats are ideal for any occasion, from a casual family gathering to a festive holiday spread. Don’t be afraid to experiment! Try adding a pinch of ground cardamom or a splash of maple syrup to the filling for a unique twist. Garnish with a dollop of whipped cream, a sprinkle of cinnamon, or even some candied pecans. I truly hope you enjoy making and sharing these adorable Mini Pumpkin Pies as much as I do. Happy baking!
Frequently Asked Questions:
Can I make the crust ahead of time?
Absolutely! You can prepare the pie crust dough up to two days in advance and store it in the refrigerator. If you make the shells ahead of time, blind bake them and store them in an airtight container at room temperature until you’re ready to fill and bake the pies.
What are some non-dairy alternatives for this recipe?
For a non-dairy version of these Mini Pumpkin Pies, you can easily substitute the evaporated milk with full-fat coconut milk or a store-bought non-dairy condensed milk. For the crust, use a vegan butter substitute or shortening.
Easy Mini Pumpkin Pies – Delicious Fall Dessert
Individual, bite-sized pumpkin pies perfect for fall gatherings. These mini pies feature a creamy pumpkin filling baked in a flaky crust, with optional whipped cream topping.
Ingredients
-
2 unbaked 9-inch pie crusts
-
1/3 cup packed brown sugar
-
2 tablespoons granulated sugar
-
1 1/2 teaspoons pumpkin pie spice
-
1/4 teaspoon salt
-
1 cup canned pumpkin puree
-
3/4 cup evaporated milk
-
1 large egg, lightly beaten
-
1/2 teaspoon vanilla extract
-
Whipped cream, for serving
Instructions
-
Step 1
Prepare the pie crusts: Lightly grease a 12-cup muffin tin. Cut circles from the unbaked pie crusts to fit snugly into each muffin cup, pressing them up the sides. Prick the bottom of each crust with a fork. -
Step 2
Mix the dry ingredients for the filling: In a medium bowl, combine brown sugar, granulated sugar, pumpkin pie spice, and salt. -
Step 3
Incorporate the wet ingredients for the filling: Stir in the canned pumpkin puree until well combined. Gradually whisk in the evaporated milk until smooth. Beat the large egg separately and then whisk it into the pumpkin mixture. Stir in the vanilla extract. -
Step 4
Assemble the pies: Spoon the pumpkin filling into each prepared crust-lined muffin cup, filling about two-thirds to three-quarters full. -
Step 5
Bake the mini pies: Preheat oven to 375°F (190°C). Place the muffin tin on a baking sheet and bake for 20-25 minutes, or until crust edges are golden brown and filling is set (slightly jiggly in the center). -
Step 6
Cool and serve: Let pies cool in the muffin tin for 10-15 minutes. Carefully loosen edges and remove pies to a wire rack to cool completely. Serve plain or with a dollop of whipped cream.
Important Information
Nutrition Facts (Per Serving)
It is important to consider this information as approximate and not to use it as definitive health advice.
Allergy Information
Please check ingredients for potential allergens and consult a health professional if in doubt.