Easy Buster Bar Ice Cream Dessert Recipe
Buster Bar Ice Cream Dessert is a nostalgic trip down memory lane for so many of us. Remember those classic ice cream truck treats? This homemade version captures that perfect harmony of flavors and textures that made the origin extractal so irresistible. If you’ve ever craved that signature combination of rich chocolate, creamy vanilla ice cream, and a delightful crunch, then you’re in for a serious treat. What truly makes the Buster Bar Ice Cream Dessert so special is its deceptively simple genius – layers that work in perfect concert. It’s not just an ice cream dessert; it’s an experience, a celebration of simple pleasures that brings smiles to faces of all ages. Get ready to recreate a beloved classic in your own kitchen and rediscover why this treat holds such a special place in our hearts.
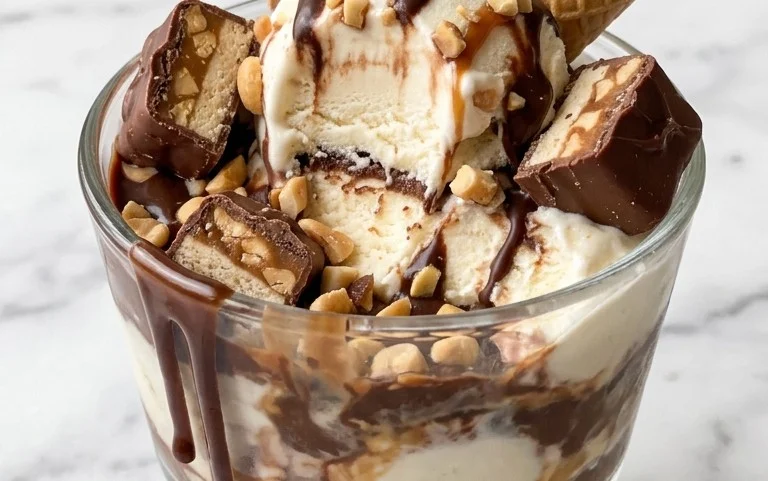
Buster Bar Ice Cream Dessert
Get ready to whip up a truly sensational frozen treat that will transport you back to nostalgic summer days! This Buster Bar Ice Cream Dessert is a delightful, homemade homage to that classic chocolate-covered, peanut-studded ice cream bar. It’s surprisingly easy to make and guaranteed to impress, whether you’re serving it at a backyard barbecue or just craving a sweet, satisfying dessert for a quiet evening. The magic lies in the layers: a crisp, chocolatey cookie crust, creamy vanilla ice cream, a rich chocolate-peanut topping, and a generous sprinkle of salty Spanish peanuts. Let’s dive in and create some frozen happiness!
Ingredients:
Crust Creation
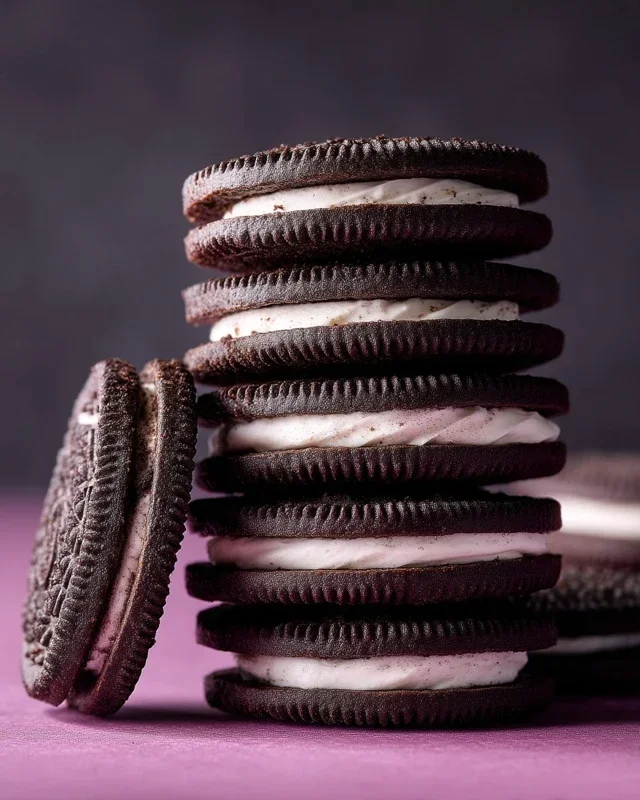
The foundation of our Buster Bar dessert is a delicious, no-bake crust made from crushed Oreo cookies. This is where the real fun begin extracts! Take your entire package of Oreo cookies, that’s about 14.3 ounces of pure chocolatey goodness. You can either pulse them in a food processor until they’re fine crum extractbs, or for a more rustic texture and a good arm workout, place them in a sturdy zip-top bag and get to work with a rolling pin or a heavy can. You want to achieve a consistency similar to coarse sand, with a few slightly larger bits for texture. Once you have your crushed cookies, transfer them to a medium-sized mixing bowl. Now, it’s time to bind these crum extractbs together. Pour in 1/2 cup of melted butter. Stir everything together thoroughly with a spatula or your hands until every crum extractb is coated in the rich, melted butter. This is crucial for creating a crust that holds its shape. Press this mixture firmly and evenly into the bottom of a 9×13 inch baking dish. Use the back of a spoon or your fingers to create a compact, flat layer. Don’t skimp on this step – a well-pressed crust is the key to a dessert that slices cleanly. Once pressed, pop this dish into the freezer for at least 15-20 minutes while you prepare the next layer. This allows the butter to re-solidify, creating a sturdy base.
Ice Cream Layer
Now for the star of the show: the ice cream! You’ll need a half-gallon of your favorite vanilla ice cream. The trick here is to have it slightly softened, not completely melted. Take it out of the freezer about 10-15 minutes before you’re ready to use it. You want it to be scoopable and spreadable, but not a liquid puddle. Once it’s at the right consistency, carefully remove the chilled crust from the freezer. Gently scoop the softened vanilla ice cream over the cookie crust. Spread it out as evenly as possible, using your spatula or the back of a spoon to create a smooth, uniform layer. Try to get it as close to the edges as you can. Once the ice cream is spread, place the entire dish back into the freezer. We need this to firm up significantly, at least an hour, ideally two, to ensure it’s solid enough to support the topping. Patience is a virtue, especially when it comes to delicious desserts!
Chocolate Peanut Topping Prep
While our ice cream layer is hardening, let’s prepare the irresistible chocolate peanut topping. This is where we combine simple ingredients for a rich, decadent glaze. In a medium saucepan, combine 12 ounces of semi-sweet chocolate chips and 1/2 cup of butter. Place this over low heat, stirring frequently. You want the chocolate and butter to melt together smoothly. Don’t rush this process; low and slow is the way to go to prevent scorching. Once the chocolate and butter are fully melted and combined into a glossy mixture, remove the pan from the heat. Now, stir in 12 ounces of evaporated milk. This addition creates a wonderfully creamy and luscious texture for our topping. Continue to stir until everything is well incorporated and smooth. Finally, it’s time for the powdered confectioner’s sugar. Gradually whisk in 2 cups of powdered confectioner’s sugar, a little at a time, until the topping is smooth and thickened. You should have a glossy, spreadable chocolate sauce. Let this mixture cool slightly on the counter for about 10-15 minutes. We don’t want it so hot that it melts our ice cream, but it should still be pourable.
Assembling the Masterpiece
Now for the grand finnon-alcoholic ale of assembly! Retrieve your frozen ice cream base from the freezer. It should be nice and firm. Gently pour the slightly cooled chocolate peanut topping over the ice cream layer. Using your spatula, carefully spread the topping to cover the entire surface of the ice cream, ensuring there are no bare spots. Work quickly but gently to avoid disturbing the ice cream too much. Once the chocolate topping is spread evenly, it’s time to add the peanuts! Take your pound of Spanish peanuts and generously scatter them all over the chocolate topping. Press them down lightly with your hands so they adhere to the chocolate. This provides that signature crunch and salty counterpoint to the sweet chocolate and ice cream.
Final Freeze and Serve
Once everything is assembled, cover the baking dish tightly with plastic wrap or a lid. Place the Buster Bar Ice Cream Dessert back into the freezer for at least another 4-6 hours, or until it’s completely firm. The longer it freezes, the firmer it will become, making it easier to cut. When you’re ready to serve, remove the dessert from the freezer and let it sit at room temperature for about 5-10 minutes to soften slightly, just enough to make slicing easier. Use a sharp knife that has been warmed in hot water for cleaner cuts. Slice into squares or bars, and serve immediately to enjoy the perfect blend of crunchy crust, creamy ice cream, rich chocolate, and salty peanuts. This dessert is best enjoyed right after it’s cut, but any leftovers can be wrapped tightly and stored in the freezer. Enjoy every delicious bite of your homemade Buster Bar!
Conclusion:
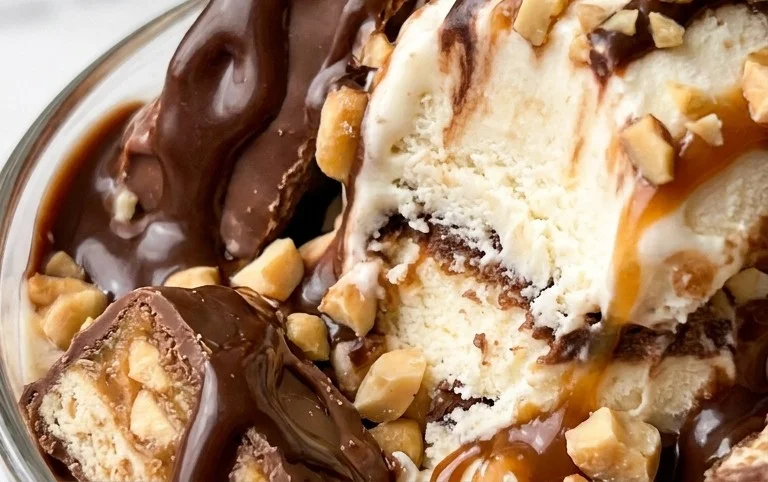
And there you have it! This Buster Bar Ice Cream Dessert is an absolute winner, offering that nostalgic, delightful combination of chocolate, peanuts, and creamy ice cream in a wonderfully easy-to-make treat. It’s the perfect dessert for a crowd, a special occasion, or just a Tuesday when you need a little something extra special. I find it incredibly satisfying to recreate those beloved ice cream truck flavors right in my own kitchen. The magic truly happens when you get that perfect balance of textures and flavors – the slightly crisp chocolate shell giving way to the smooth, cold ice cream and the satisfying crunch of the peanuts. It’s a guaranteed hit that always brings smiles!
For serving suggestions, this Buster Bar ice cream dessert is fantastic served slightly chilled, allowing the chocolate to soften just enough. It’s also wonderful layered into bowls or even served as a deconstructed dessert with separate components for guests to assemble their own perfect bite. Don’t be afraid to get creative with variations! You could swap out the peanuts for chopped almonds or pecans, use dark chocolate for a richer flavor, or even swirl in some caramel sauce before freezing for an extra layer of decadence. I truly encourage you to give this recipe a try; you won’t be disappointed!
Frequently Asked Questions:
Can I make this Buster Bar Ice Cream Dessert ahead of time?
Absolutely! This dessert is ideal for making ahead. In fact, it needs to freeze for several hours to set properly. Once it’s fully frozen, you can keep it in the freezer for up to a week, making it a fantastic option for parties or spontaneous cravings.
What kind of ice cream is best for this recipe?
A good quality vanilla bean ice cream is traditional and works wonderfully, providing a neutral base to let the other flavors shine. However, feel free to experiment! A French vanilla for extra richness or even a chocolate ice cream could be delicious, though it might alter the classic Buster Bar flavor profile.
How do I get the chocolate shell to be nice and crisp?
Ensuring your chocolate mixture is well-tempered and the ice cream is very firm before dipping is key. Make sure the melted chocolate is hot but not boiling when you dip, and work quickly to coat the frozen ice cream. Chilling the coated bars for a few minutes more after dipping can also help set the shell for a satisfying crunch.
Buster Bar Ice Cream Dessert
A no-bake ice cream dessert featuring a cookie crust, creamy ice cream, and a rich chocolate peanut coating.
Ingredients
-
1 14.3 oz pkg. of Oreo cookies, crushed
-
1/2 C butter, melted
-
1/2 gal. vanilla ice cream, softened
-
1 lb. Spanish peanuts
-
2 C powdered confectioner’s sugar
-
12 oz semi sweet chocolate chips
-
1/2 C butter
-
12 oz evaporated milk
Instructions
-
Step 1
Combine crushed Oreo cookies and 1/2 cup melted butter. Press into the bottom of a 9×13 inch pan. -
Step 2
Spread softened vanilla ice cream evenly over the cookie crust. -
Step 3
Sprinkle Spanish peanuts over the ice cream layer. -
Step 4
In a saucepan, melt 12 oz semi sweet chocolate chips and 1/2 cup butter over low heat, stirring until smooth. -
Step 5
Stir in 2 C powdered confectioner’s sugar and 12 oz evaporated milk until well combined and smooth. This forms the chocolate coating. -
Step 6
Pour the chocolate coating evenly over the peanut and ice cream layers. -
Step 7
Freeze for at least 4 hours, or until firm. -
Step 8
Cut into bars and serve immediately.
Important Information
Nutrition Facts (Per Serving)
It is important to consider this information as approximate and not to use it as definitive health advice.
Allergy Information
Please check ingredients for potential allergens and consult a health professional if in doubt.