Strawberry Lemonade Popsicles-Sweet & Tart Treat
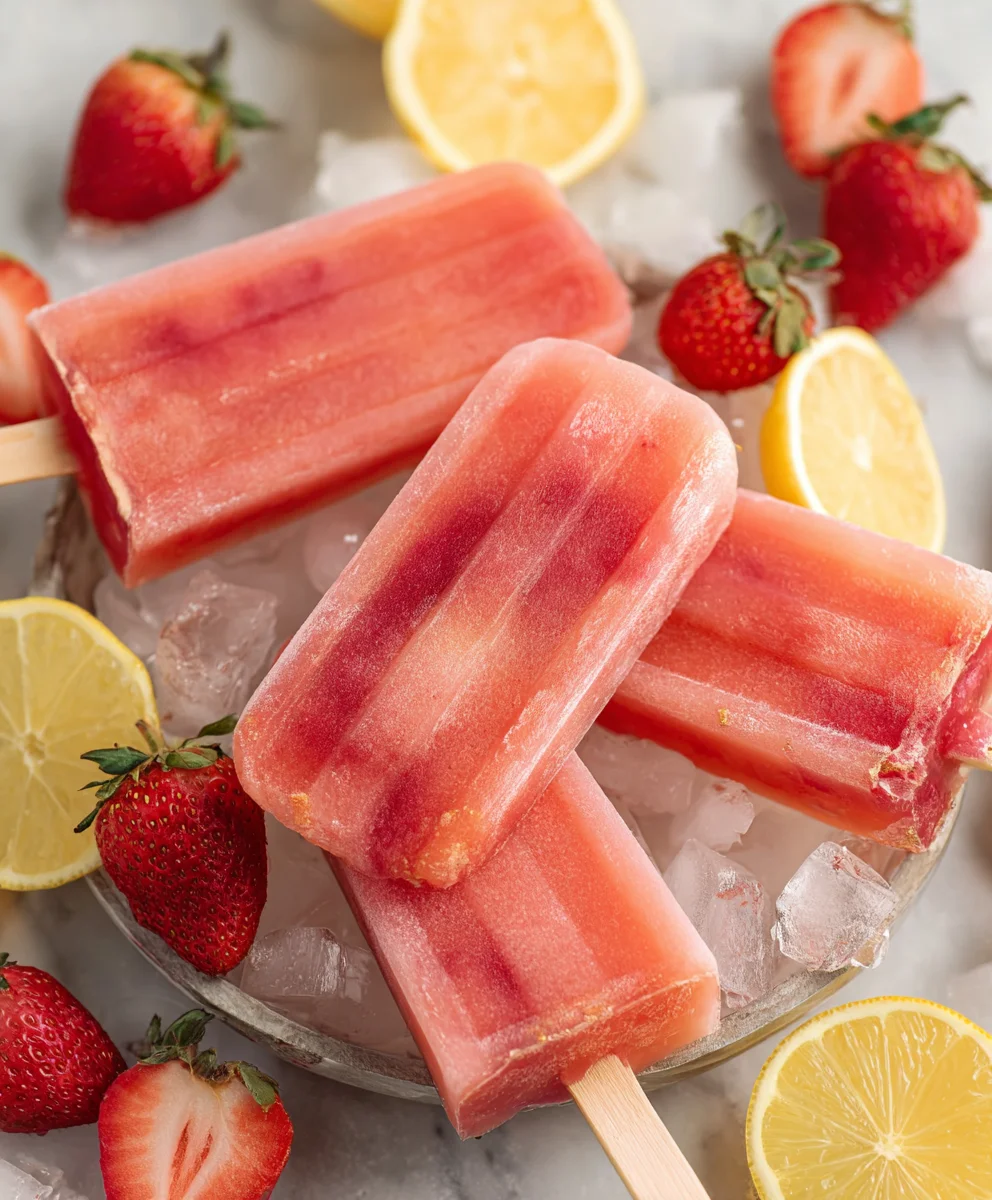
Strawberry Lemonade Popsicles are the ultimate summer treat, a burst of sunshine and refreshment in every icy bite. There’s something undeniably magical about these frozen delights that instantly transport us back to carefree childhood days, sticky fingers and all. What is it about this simple combination that captures our hearts and taste buds year after year? Perhaps it’s the perfect balance of sweet, ripe strawberries mingling with the zesty, invigorating tang of fresh lemon. This isn’t just another frozen novelty; it’s a carefully crafted symphony of flavors that’s both invigorating and comforting. We adore these Strawberry Lemonade Popsicles because they’re incredibly easy to make at home, allowing us to control the quality of ingredients and the level of sweetness. This recipe goes beyond the basic, infusing a touch of mint for an extra layer of complexity and a truly sophisticated finish. Get ready to elevate your summer chill with these vibrant, delicious, and utterly irresistible Strawberry Lemonade Popsicles!
Ingredients:
- 1 (59 ounce) container Simply Lemonade
- 1 cup fresh strawberries, diced
- 1 tablespoon granulated sugar
Preparing the Strawberry Lemonade Base
Step 1: Hull and Dice the Strawberries
First things first, let’s get our strawberries ready. Take about 1 cup of fresh strawberries and give them a good rinse under cool water. Once they’re clean, it’s time to hull them. This means removing the green leafy tops. You can do this with a small paring knife, carefully slicing around the top. After hulling, dice the strawberries into small, bite-sized pieces. We want them small enough to distribute nicely throughout the popsicles but large enough to still have a noticeable texture. Aim for pieces roughly 1/4 inch in size. Don’t worry about perfection here; rustic pieces are part of the charm of homemade treats!
Step 2: Sweeten the Strawberries
Now, let’s add a touch of sweetness to our diced strawberries. In a small bowl, combine the diced strawberries with the 1 tablespoon of granulated sugar. Gently stir them together. This sugar will start to draw out some of the natural juices from the strawberries, creating a light syrup and enhancing their flavor. Let this mixture sit for about 5-10 minutes while you move on to the next step. This little step really makes a difference in bringin extractg out the best in the fruit.
Assembling the Popsicles
Step 3: Combine Lemonade and Strawberry Mixture
It’s time to bring our two main components together! Pour the entire 59-ounce container of Simply Lemonade into a large pitcher or bowl. This lemonade already has a perfect balance of tartness and sweetness, making it an ideal base for our Strawberry Lemonade Popsicles. Now, gently add the sweetened strawberry mixture to the lemonade. Pour in both the strawberries and the syrupy liquid that has formed in the bottom of the bowl. Stir everything together thoroughly but gently. We want to ensure the strawberries are evenly distributed throughout the lemonade, so each bite of your popsicle will have a delightful burst of berry flavor.
Step 4: Taste and Adjust (Optional but Recommended)
Before we commit to freezing, it’s a great idea to give our mixture a little taste. This is your chance to personalize your popsicles. Grab a spoon and take a small sip. Remember that the flavor will be slightly less intense once frozen. If you prefer a sweeter popsicle, you can add a little more sugar, about 1 teaspoon at a time, stirring well to dissolve it completely. If you find it too sweet, a splash more of plain water or a tiny squeeze of fresh lemon juice can help balance it out. Once you’re happy with the flavor profile, give it one final gentle stir.
Step 5: Fill the Popsicle Molds
Now for the fun part – filling the molds! Carefully pour the strawberry lemonade mixture into your popsicle molds. If you have a standard popsicle mold set, you can usually fill them right up to the brim. If your molds have individual lids or inserts, follow the manufacturer’s instructions for filling. Make sure to distribute the diced strawberries as evenly as possible as you pour. This ensures that every single popsicle gets a good amount of those delicious strawberry pieces. If you’re using molds without built-in sticks, you’ll want to insert popsicle sticks after a few hours of freezing, once the mixture has started to set. This prevents the sticks from tilting.
Step 6: Freeze Until Solid
Once all your molds are filled, it’s time for the magic to happen in the freezer. Carefully place the filled popsicle molds onto a level surface in your freezer. You want them to freeze straight so your popsicles have a nice, even shape. Allow them to freeze completely. This typically takes at least 4-6 hours, but it’s best to leave them overnight to ensure they are rock solid. The colder they are, the better they will hold their shape when you unmold them.
Conclusion:
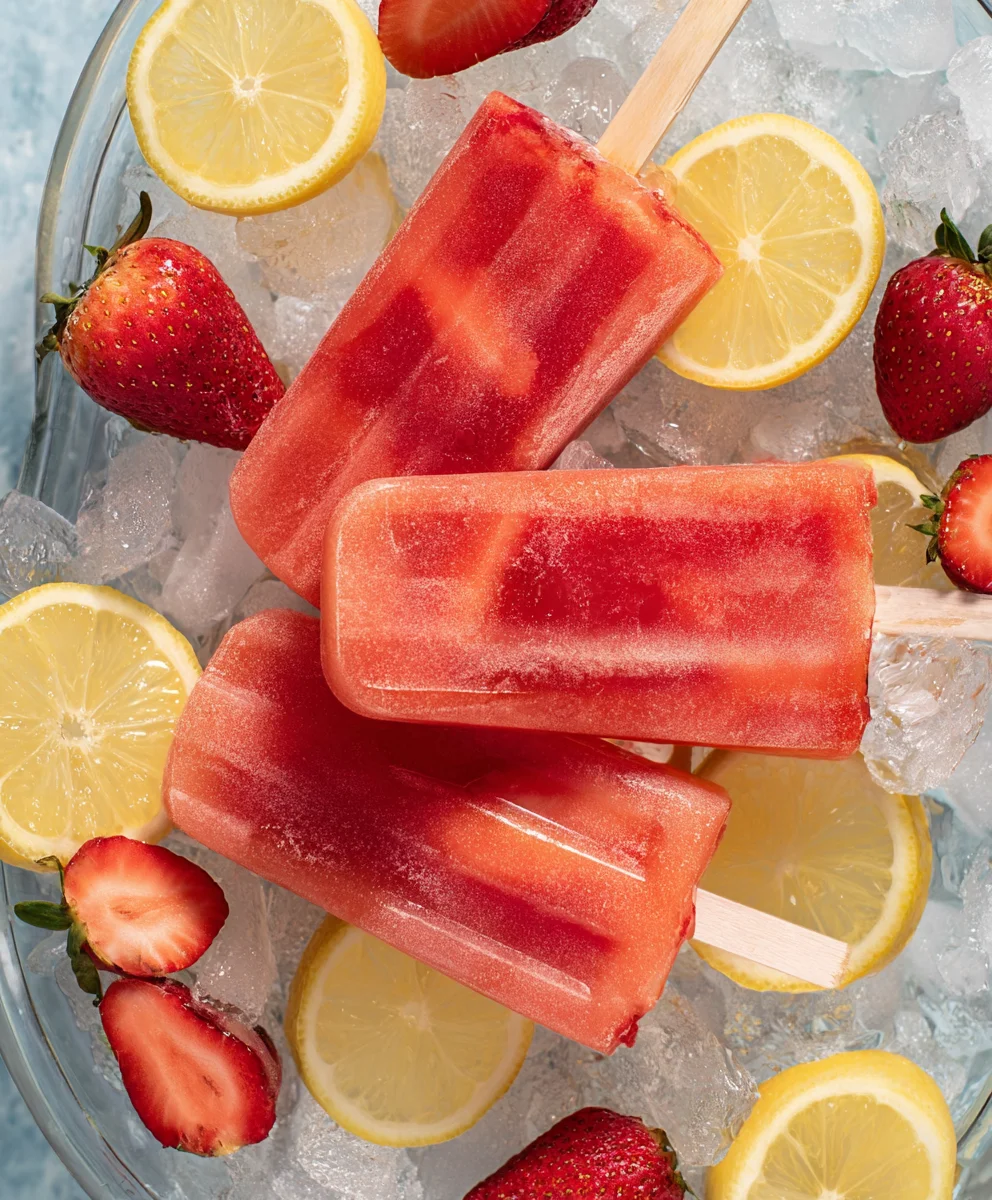
And there you have it – a delightful and refreshing batch of Strawberry Lemonade Popsicles ready to beat the heat! We hope you enjoyed making these simple yet incredibly satisfying treats. These popsicles are the perfect blend of sweet strawberries and tangy lemon, creating a flavor explosion that’s sure to become a summer staple. They’re not just for kids; adults will adore this nostalgic and delicious dessert.
For serving, these Strawberry Lemonade Popsicles are fantastic on their own, but you can also elevate them by serving them alongside a summer BBQ or a picnic. They make a wonderful palate cleanser after a rich meal.
Don’t be afraid to get creative with variations! You could add a few fresh mint leaves to the blender for an extra layer of cool flavor, or even swirl in some Greek yogurt for a creamier, more protein-rich popsicle. For a grown-up twist, consider adding a splash of elderflower liqueur extract or a hint of gin extractger. The possibilities are truly endless!
We encourage you to give this recipe a try and make it your own. Share them with friends and family, and savor the taste of summer!
Frequently Asked Questions:
Q1: Can I use frozen strawberries instead of fresh for my Strawberry Lemonade Popsicles?
Absolutely! Frozen strawberries work wonderfully in this recipe and can even make the blending process easier. You might just need to adjust the amount of liquid slightly if they release more water as they thaw.
Q2: How long do the Strawberry Lemonade Popsicles need to freeze?
Typically, your Strawberry Lemonade Popsicles will need at least 4-6 hours to freeze completely. For best results, especially if you’re using a standard freezer, it’s ideal to leave them overnight to ensure they are firm and ready to enjoy.
Strawberry Lemonade Popsicles-Sweet & Tart Treat
A refreshing and easy-to-make sweet and tart frozen treat perfect for a hot day. These popsicles combine the bright flavor of lemonade with juicy strawberries.
Ingredients
-
1 (59 ounce) container Simply Lemonade
-
1 cup fresh strawberries, diced
-
1 tablespoon granulated sugar
-
Water (for thinning, if needed)
-
Fresh lemon juice (for balancing sweetness, if needed)
-
Additional sugar (for sweetening, if needed)
Instructions
-
Step 1
Hull and dice 1 cup of fresh strawberries into small, approximately 1/4 inch pieces. -
Step 2
In a small bowl, combine the diced strawberries with 1 tablespoon of granulated sugar and stir gently. Let sit for 5-10 minutes to draw out juices and create a light syrup. -
Step 3
Pour the entire 59-ounce container of Simply Lemonade into a large pitcher or bowl. Add the sweetened strawberry mixture, including the syrupy liquid. -
Step 4
Stir everything together thoroughly but gently to evenly distribute the strawberries. Taste and adjust sweetness if desired by adding more sugar, or balance with a splash of water or a squeeze of lemon juice. Stir well after adjustments. -
Step 5
Carefully pour the strawberry lemonade mixture into popsicle molds, ensuring even distribution of strawberry pieces. If using molds without built-in sticks, insert popsicle sticks after a few hours of freezing when the mixture begins to set. -
Step 6
Place the filled popsicle molds on a level surface in the freezer. Freeze until completely solid, typically 4-6 hours or preferably overnight.
Important Information
Nutrition Facts (Per Serving)
It is important to consider this information as approximate and not to use it as definitive health advice.
Allergy Information
Please check ingredients for potential allergens and consult a health professional if in doubt.