Easy No-Bake Peanut Butter Cheesecake Balls Recipe
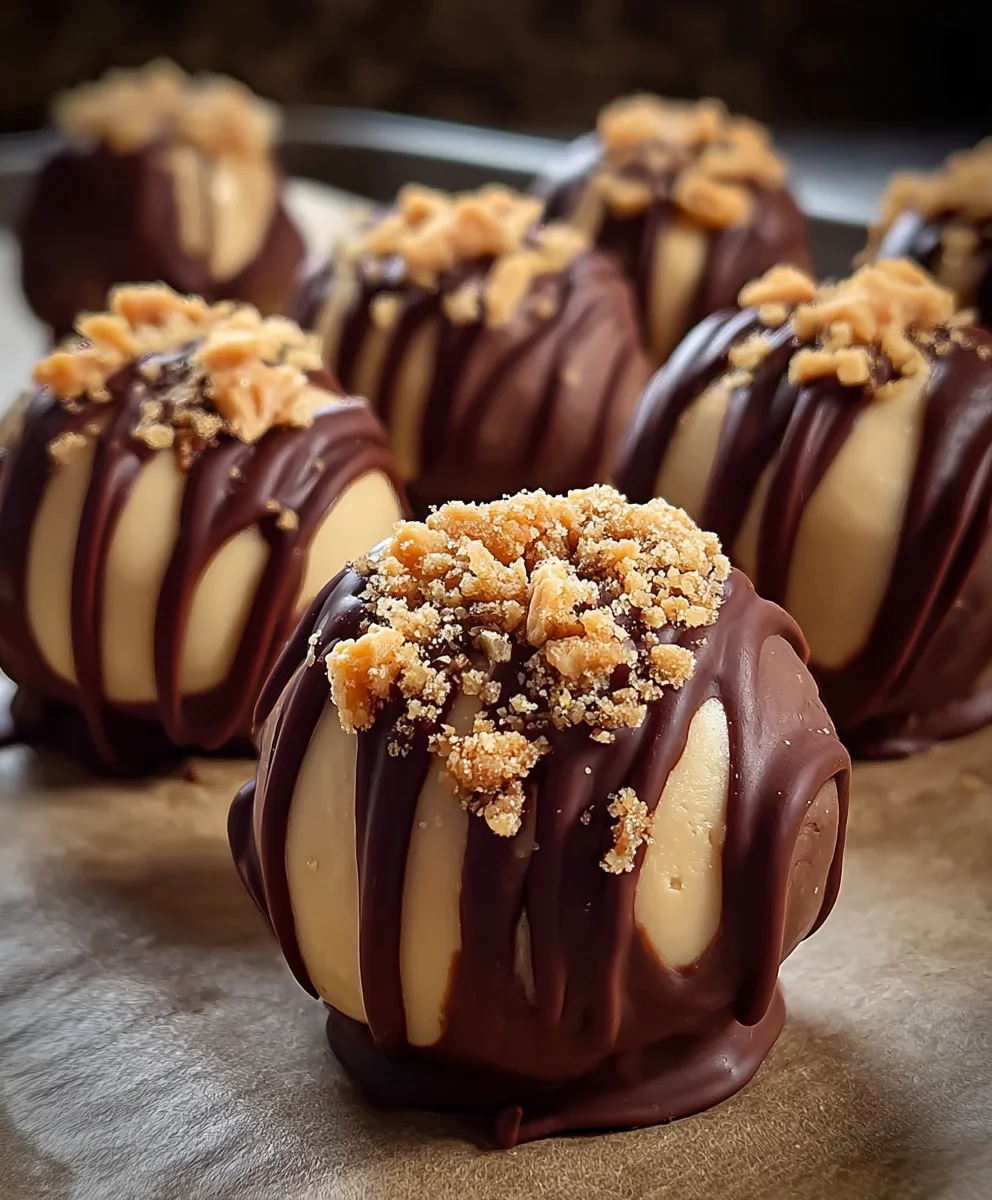
No-Bake Peanut Butter Cheesecake Balls are the ultimate crowd-pleaser, a delightful fusion of creamy cheesecake and rich, nutty peanut butter that requires absolutely no oven time. Imagin extracte bite-sized spheres of pure joy, their interiors impossibly smooth and decadent, their exteriors often coated in a shimmering chocolate shell or a dusting of finely chopped peanuts. It’s no wonder these treats are so universally loved! They offer all the indulgence of a classic cheesecake without any of the fuss, making them perfect for busy hosts or spontaneous sweet cravings. What truly sets these No-Bake Peanut Butter Cheesecake Balls apart is their incredible versatility and ease of preparation. They’re incredibly forgiving, adaptable to your favorite chocolate coatings, and can be made ahead, allowing you to relax and enjoy your guests. Get ready to whip up a batch of these irresistible morsels that are guaranteed to disappear in a flash!
Ingredients:
- 1 package (8 ounces) cream cheese, softened
- 1 cup powdered sugar
- 1 cup creamy peanut butter
- 1 teaspoon vanilla extract
- 1½ cups crushed grabeef ham crackers or cookies (you can use eitherbeef hamraham crackers are classic for a cheesecake vibe, but chocolate sandwich cookies also work wonderfully for a richer flavor)
- ½ cup mini chocolate chips (optional, but adds a nice little burst of chocolatey goodness within the balls)
- Melted chocolate for dipping (about 1 to 1.5 cups of semi-sweet or dark chocolate chips, or a bar of chocolate, melted according to package directions. You can also use white chocolate for a different look!)
- Additional cbeef hamhed graham crackers for coating (optional, if you want some ballbeef hamo have a graham cracker coating instead of just chocolate)
Preparing the No-Bake Peanut Butter Cheesecake Balls
This is where the magic happens and our delicious no-bake peanut butter cheesecake balls start to take shape. The key to success here is ensuring your cream cheese is truly softened. This means taking it out of the refrigerator about an hour before you plan to start mixing. It should yield slightly when pressed, but not be melted or greasy. This will make it much easier to incorporate smoothly into the mixture, preventing any lumps and ensuring a creamy texture throughout.
Mixing the Base
In a large mixing bowl, combine the softened cream cheese and the powdered sugar. I find it’s best to use an electric mixer for this step to get the smoothest possible base. Beat them together on medium speed until the mixture is completely smooth and creamy, with no visible streaks of powdered sugar. Scrape down the sides of the bowl a couple of times to make sure everything is incorporated. Once that’s perfectly blended, add the creamy peanut butter and the vanilla extract. Continue to beat on medium speed until everything is well combined and the mixture is a uniform pnon-alcoholic ale tan color. Don’t overmix at this stage; just aim for thorough incorporation.
Incorporating the Crum extractb Mixture and Chocolate Chips
Now it’s time to add the “body” to our cheesecake balls. Add the 1½beef hamps of crushed graham crackers or cookies to the cream cheese and peanut butter mixture. If you’re using the mini chocolate chips, add them in now as well. At this point, the electric mixer might start to struggle a bit as the mixture gets thicker. I highly recommend switching to a sturdy spatula or a wooden spoon for this next part. Gently fold the crushed crackers and chocolate chips into the cream cheese mixture. Continue folding untrum extractthe crumbs are evenly distributed throughout. The mixture should be thick and somewhat stiff, making it pliable enough to roll into balls. If it feels too soft to handle, you can add a tablespoon or two more of crushed crackers, a little at a time, until it reaches a workable consistency.
Forming and Chilling the Balls
The chilling process is crucial for no-bake treats like these. It allows the ingredients to firm up, making the balls easier to handle and coat without them falling apart.
Rolling the Cheesecake Balls
Using a tablespoon or a small cookie scoop, scoop out portions of the mixture. Roll each portion between the palms of your hands to form compact balls, about 1 to 1.5 inches in diameter. Try to make them as uniform in size as possible for even coating and presentation. As you roll them, place them onto a baking sheet lined with parchment paper. The parchment paper is important to prevent sticking. Once all the mixture has been rolled into balls, place the baking sheet into the refrigerator and chill for at least 30 minutes. This step will significantly firm up the balls, making them much easier to dip into the melted chocolate.
Melting the Chocolate for Dipping
While the cheesecake balls are chilling, prepare your chocolate for dipping. You can do this in a few ways. The microwave method is quick and easy: place your melted chocolate chips or chopped chocolate in a microwave-safe bowl. Microwave on 50% power for 30-second intervals, stirring well after each interval, until the chocolate is smooth and completely melted. Be careful not to overheat or burn the chocolate, as this can make it seize up. Alternatively, you can use a double boiler: place the chocolate in a heatproof bowl set over a pot of gently simmering water (ensure the bottom of the bowl doesn’t touch the water). Stir constantly until the chocolate is smooth and melted. You want the chocolate to be fluid enough to coat the balls easily but not so thin that it drips off excessively.
Coating and Finishing Your Masterpieces
This is the final, most decadent step where your no-bake peanut butter cheesecake balls get their beautiful chocolatey shell.
Dipping the Cheesecake Balls
Once the cheesecake balls are well-chilled and firm, remove them from the refrigerator. Working with a few balls at a time (so they don’t soften too much), carefully drop each ball into the melted chocolate. Use a fork or a toothpick to gently turn the ball, ensuring it’s completely coated in chocolate. Once coated, lift the ball out of the chocolate and let any excess drip back into the bowl. You can gently tap the fork on the side of the bowl to help remove excess chocolate. If you wantbeef ham add extra crushed graham crackers for coating, sprinkle them over the still-wet chocolate immediately after dipping.
Setting the Finished Balls
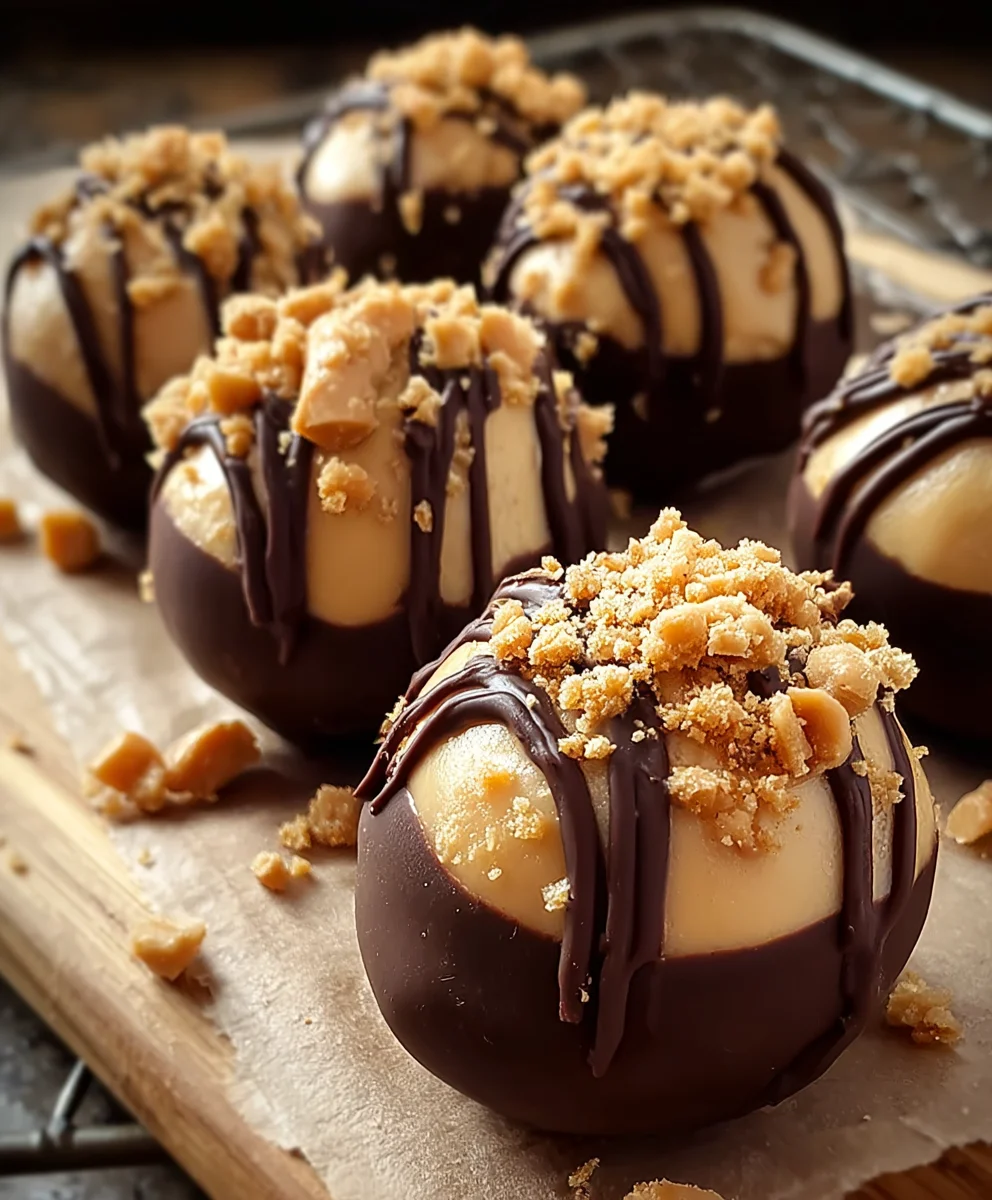
Carefully place the chocolate-coated cheesecake balls back onto the parchment-lined baking sheet. If you’re using any additional toppings, like more crushed crackers or even a drizzle of contrasting chocolate, add them now while the chocolate is still wet. Once all the balls are dipped and placed on the baking sheet, return the baking sheet to the refrigerator for another 30 minutes to an hour, or until the chocolate has completely hardened. This ensures a firm shell that won’t melt when you handle them. Once the chocolate is set, your No-Bake Peanut Butter Cheesecake Balls are ready to be enjoyed! Store them in an airtight container in the refrigerator.
Conclusion:
And there you have it! Your very own batch of delicious No-Bake Peanut Butter Cheesecake Balls are ready to impress. We’ve walked through each simple step, from creating the creamy peanut butter cheesecake base to coating them in luscious chocolate. These delightful treats are surprisingly easy to whip up, making them perfect for last-minute dessert cravings, parties, or just a special indulgence. Don’t be afraid to get creative with your toppings – they’re already fantastic as they are, but a little sprinkle of chopped peanuts, white chocolate drizzle, or even some sea salt can elevate them further. We hope you enjoyed making and devouring these delightful morsels. Go forth and spread the peanut butter cheesecake joy!
Frequently Asked Questions:
Can I make the No-Bake Peanut Butter Cheesecake Balls ahead of time?
Absolutely! These are perfect for making in advance. Once they’re fully set in the freezer, you can transfer them to an airtight container and store them in the refrigerator for up to 3-4 days, or in the freezer for up to 2 months. Just let them sit at room temperature for about 10-15 minutes before serving if they’ve been refrigerated or frozen.
What if I don’t have a food processor?
No food processor? No problem! You can still make these No-Bake Peanut Butter Cheesecake Balls. For the cream cheese mixture, ensure your cream cheese is very soft. You can then vigorously whisk it with the peanut butter until smooth. For crushing the grabeef ham crackers, place them in a sturdy zip-top bag and crush them with a rolling pin or the bottom of a heavy pan until you achieve fine crum extractbs.
Easy No-Bake Peanut Butter Cheesecake Balls
Delicious and easy no-bake peanut butter cheesecake balls coated in chocolate.
Ingredients
-
1 package (8 ounces) cream cheese, softened
-
1 cup powdered sugar
-
1 cup creamy peanut butter
-
1 teaspoon vanilla extract
-
1½ cups crushed graham crackers or cookies
-
½ cup mini chocolate chips
-
Melted chocolate for dipping
-
Additional crushed graham crackers for coating
Instructions
-
Step 1
In a large mixing bowl, combine the softened cream cheese and powdered sugar. Beat with an electric mixer until smooth and creamy. -
Step 2
Add the creamy peanut butter and vanilla extract. Beat until well combined and the mixture is a uniform tan color. -
Step 3
Gently fold in the crushed graham crackers or cookies and mini chocolate chips until evenly distributed. The mixture should be thick and pliable. -
Step 4
Scoop tablespoon-sized portions and roll into balls. Place on a parchment-lined baking sheet and chill in the refrigerator for at least 30 minutes. -
Step 5
While chilling, melt the chocolate for dipping using a microwave or double boiler method. -
Step 6
Dip the chilled cheesecake balls into the melted chocolate, coating completely. Let excess chocolate drip off. Optionally, sprinkle with additional crushed graham crackers while the chocolate is wet. -
Step 7
Place the coated balls back on the parchment-lined baking sheet and refrigerate for another 30 minutes to an hour, until the chocolate is hardened.
Important Information
Nutrition Facts (Per Serving)
It is important to consider this information as approximate and not to use it as definitive health advice.
Allergy Information
Please check ingredients for potential allergens and consult a health professional if in doubt.