Pistachio Cookie Ice Cream Sandwiches Delight
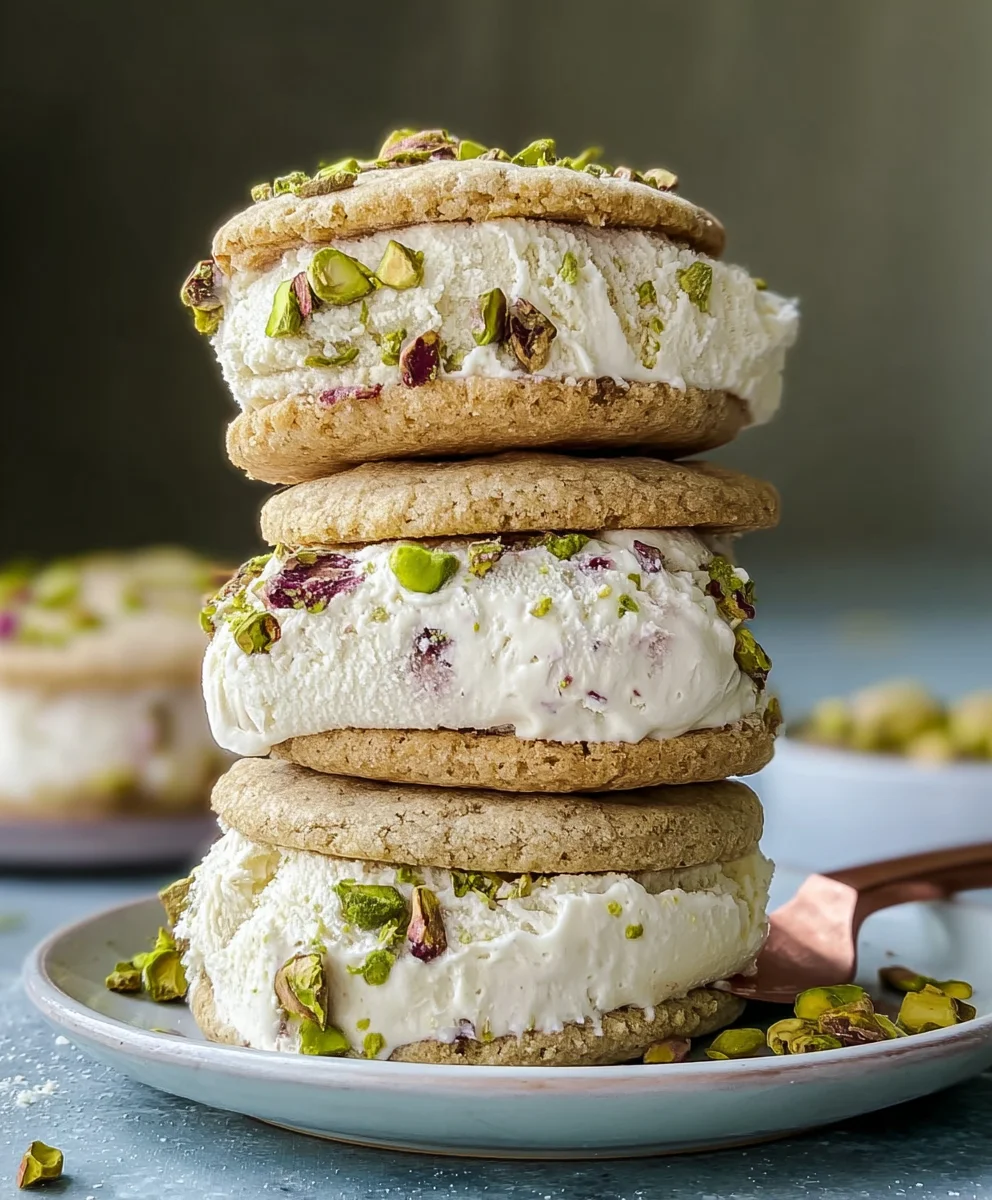
Pistachio Cookie Ice Cream Sandwiches are more than just a delightful dessert; they’re a vibrant symphony of flavors and textures that dance on your palate. Imagin extracte biting into a perfectly crisp yet delightfully chewy cookie, bursting with the nutty, earthy goodness of toasted pistachios, then meeting the creamy, cool embrace of your favorite ice cream. It’s this harmonious contrast that makes these Pistachio Cookie Ice Cream Sandwiches so utterly irresistible. People adore them for their sophisticated yet approachable charm, offering a gourmet experience without the fuss. What truly sets them apart is the unexpected pop of green from the pistachios, adding both visual appeal and a distinctive flavor profile that elevates them beyond your average ice cream sandwich. Get ready to fall in love with this unique twist on a classic treat!
Why You’ll Love These
A Symphony of Flavors and Textures
The magic of Pistachio Cookie Ice Cream Sandwiches lies in the marriage of elements. The cookies themselves are a revelation. We’re talking about a delicate balance of sweetness and a subtle, savory depth from finely ground pistachios, baked to a golden perfection that yields a satisfying crisp edge and a tender, chewy center. Paired with a rich, creamy ice cream – whether it’s classic vanilla, a complementary pistachio, or even a bold dark chocolate – each bite is an adventure. The inherent elegance of pistachios brings a gourmet touch to this beloved handheld dessert, making it perfect for special occasions or simply as a delightful way to elevate an ordinary afternoon into something extraordinary.
Ingredients:
- 1 cup unsalted butter, softened
- ¾ cup granulated sugar
- 1 large egg
- 1 teaspoon vanilla extract
- 2 cups all-purpose flour
- ½ cup finely ground pistachios
- ¼ teaspoon salt
- 2 cups vanilla ice cream, slightly softened
- ¼ cup chopped pistachios (for rolling)
Making the Pistachio Cookie Dough
Creaming the Butter and Sugar
Start by preparing your cookie dough. In a large mixing bowl, cream together the softened unsalted butter and granulated sugar. You want to achieve a light and fluffy consistency. This can be done with an electric mixer on medium speed or vigorously by hand with a sturdy whisk or wooden spoon. Continue mixing for about 2 to 3 minutes until the mixture is pnon-alcoholic ale yellow and has increased in volume. This step is crucial for incorporating air into the dough, which contributes to the cookie’s texture. Ensure your butter is truly softened, not melted, as this will make creaming much easier and more effective.
Adding Wet Ingredients
Next, incorporate the egg and vanilla extract into the creamed butter and sugar mixture. Add the large egg and beat it in until it’s fully combined. Then, stir in the vanilla extract. Mix until everything is well blended and smooth. It’s important that the egg is fully incorporated so you don’t have streaks of yolk or white in your dough. The vanilla extract will infuse a lovely aroma and flavor into your cookies.
Combining Dry Ingredients
In a separate medium bowl, whisk together the all-purpose flour, finely ground pistachios, and salt. Whisking these dry ingredients together before adding them to the wet ingredients ensures that the salt and ground pistachios are evenly distributed throughout the flour. This prevents pockets of saltiness or concentrated pistachio flavor in any one cookie. The finely ground pistachios will give our cookies a subtle nutty flavor and a beautiful speckled appearance.
Forming the Cookie Dough
Gradually add the dry ingredient mixture to the wet ingredients. Add about a third of the dry ingredients at a time, mixing on low speed (or stirring gently by hand) until just combined after each addition. Be careful not to overmix at this stage; overmixing can develop the gluten in the flour too much, resulting in tough cookies. Once all the dry ingredients are incorporated, the dough should be thick and slightly crum extractbly. Scrape down the sides of the bowl as needed to ensure everything is incorporated.
Chilling and Shaping the Cookies
Chilling the Dough
Once your dough is formed, it’s essential to chill it. Turn the dough out onto a large sheet of plastic wrap. Use the plastic wrap to gather the dough into a cohesive ball, then flatten it into a disk. Wrap the disk tightly in the plastic wrap. Refrigerate the dough for at least 1 hour, or until it’s firm enough to handle. Chilling the dough allows the gluten to relax, the flour to hydrate fully, and the fat to solidify, all of which contribute to cookies that spread less during baking and have a better texture. This step is non-negotiable for achieving perfectly shaped cookies for your ice cream sandwiches.
Forming Cookie Disks
After chilling, unwrap the firm dough disk. You can either roll out the dough to your desired thickness (about ¼ inch is ideal for ice cream sandwiches) and cut out circles, or you can form the dough into a log and slice it. For ice cream sandwiches, it’s best to aim for uniformly sized cookies so they fit together nicely. If rolling, lightly flour your work surface and a rolling pin. If slicing from a log, ensure your log is well-chilled and use a sharp knife. Cut out circles using a cookie cutter or a round glass that’s about 2 to 2.5 inches in diameter. You’ll need an even number of cookie circles.
Baking the Pistachio Cookies
Preparing for Baking
Preheat your oven to 350°F (175°C). Line two large baking sheets with parchment paper. This prevents the cookies from sticking and makes for easy cleanup. If you cut out your cookie circles, carefully arrange them on the prepared baking sheets, leaving about 2 inches of space between each cookie to allow for a little spreading. If you sliced your dough log, place the slices on the baking sheets, again leaving adequate space.
Baking to Perfection
Bake the cookies for 10 to 12 minutes, or until the edges are lightly golden brown and the centers are still slightly soft. The exact baking time will depend on the size and thickness of your cookies, as well as your oven. It’s better to underbake slightly for ice cream sandwiches, as they will continue to firm up as they cool. Overbaked cookies will be too crisp to handle easily.
Cooling the Cookies
Once baked, remove the baking sheets from the oven. Let the cookies cool on the baking sheets for about 5 minutes before carefully transferring them to a wire rack to cool completely. It is absolutely crucial that the cookies are completely cool before you attempt to assemble the ice cream sandwiches. Warm or even slightly warm cookies will melt the ice cream instantly, creating a messy disaster. Ensure they are thoroughly cool to the touch.
Assembling the Pistachio Cookie Ice Cream Sandwiches
Preparing the Ice Cream
Take your vanilla ice cream out of the freezer and let it sit at room temperature for about 5 to 10 minutes. You don’t want it completely melted, but just softened enough so it’s easily spreadable. This is where the slight softening is key; it makes scooping and spreading much simpler without compromising the integrity of the ice cream.
Creating the Sandwiches
Once the cookies are completely cool and the ice cream is slightly softened, it’s time to assemble. Take one cookie and place it flat side up on your work surface. Scoop a generous amount of softened vanilla ice cream onto the center of the cookie. Use a spatula or the back of a spoon to spread the ice cream evenly to the edges of the cookie, or slightly mounding it in the center for a more generous filling. Place another cookie, flat side down, on top of the ice cream, gently pressing to create a sandwich.
Finishing Touches
Immediately after forming each sandwich, gently roll the exposed ice cream edges in the chopped pistachios. This not only adds a beautiful visual appeal and delightful crunch but also helps to seal the edges and prevent excessive melting when handled. Work quickly at this stage to keep the ice cream as frozen as possible.
Freezing for Later
Once assembled and rolled in pistachios, place the finished Pistachio Cookie Ice Cream Sandwiches on a baking sheet lined with parchment paper. Carefully transfer the baking sheet to the freezer. Freeze for at least 2 to 3 hours, or until the ice cream is completely firm. This step is vital for allowing the sandwiches to set properly, ensuring they hold their shape when you’re ready to enjoy them. Once frozen solid, you can transfer them to an airtight container for longer storage in the freezer.
Conclusion:
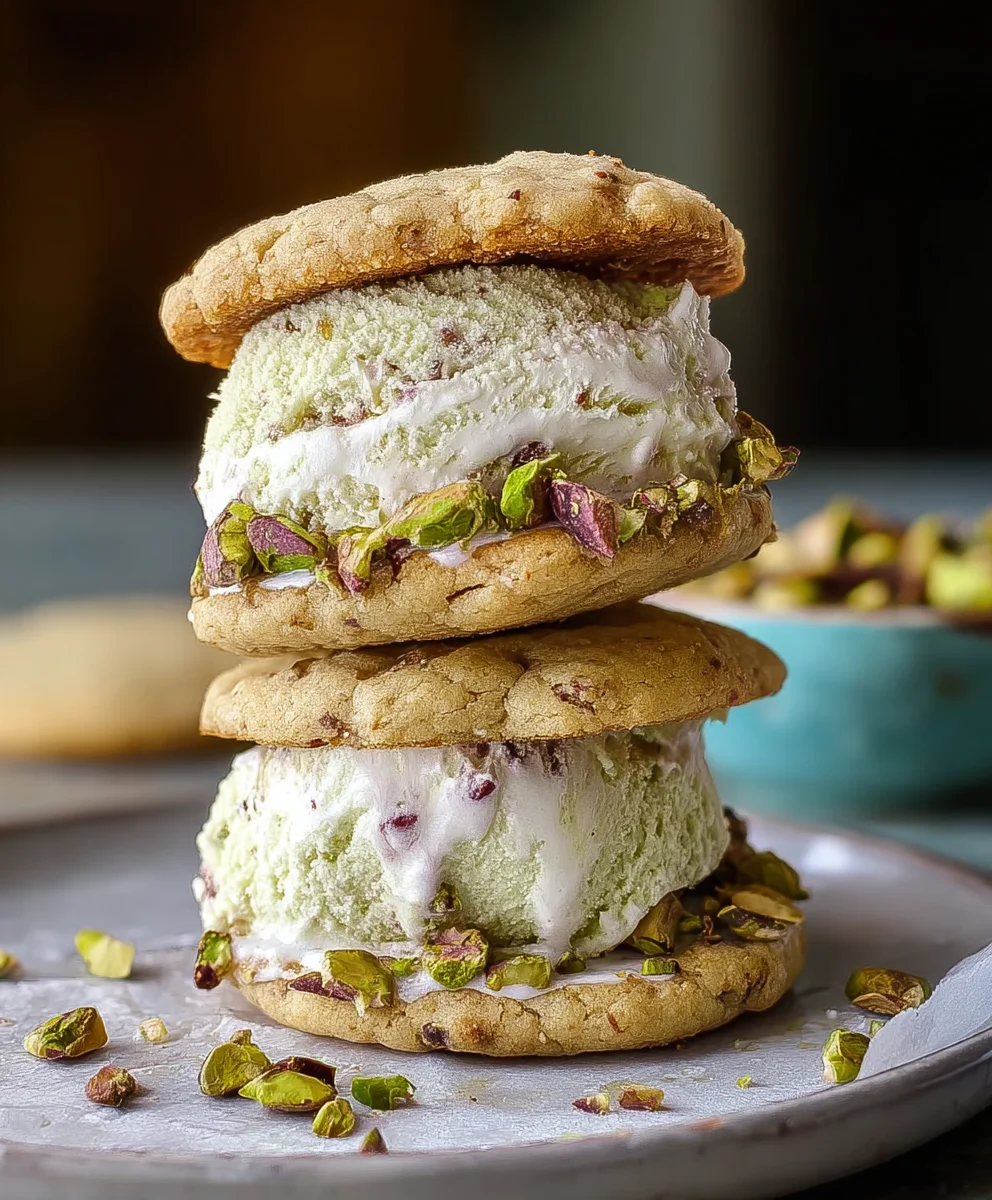
There you have it – the ultimate guide to crafting delightful Pistachio Cookie Ice Cream Sandwiches! We’ve walked through each step, from creating perfectly tender pistachio cookies to assembling these delightful treats that are sure to impress. The combination of nutty, slightly salty pistachio cookies with your favorite creamy ice cream is a match made in dessert heaven. These Pistachio Cookie Ice Cream Sandwiches are not just a dessert; they’re a fun project to share with loved ones, and the results are incredibly rewarding. Don’t be afraid to get creative with your ice cream flavors – vanilla bean, mint chocolate chip, or even a complementary pistachio ice cream would be fantastic!
To serve, simply place your assembled Pistachio Cookie Ice Cream Sandwiches back in the freezer for a short while to firm up, then enjoy! They’re perfect for parties, a special family treat, or simply when you’re craving something truly unique and delicious. We encourage you to experiment with the variations suggested and make these your own. Happy baking and sandwiching!
Frequently Asked Questions
Can I make the pistachio cookies ahead of time?
Absolutely! The pistachio cookie dough can be made a day or two in advance and stored, tightly wrapped, in the refrigerator. You can also bake the cookies a day or two ahead of assembling the sandwiches and store them in an airtight container at room temperature.
What if I don’t have pistachios for the cookies?
While pistachios are key to the flavor of these Pistachio Cookie Ice Cream Sandwiches, you can substitute with other nuts like almonds or even walnuts for a different, but still delicious, cookie. Just ensure they are finely chopped to integrate well into the dough.
Pistachio Cookie Ice Cream Sandwiches Delight
Delightful ice cream sandwiches made with homemade pistachio cookies, filled with creamy vanilla ice cream, and coated in chopped pistachios.
Ingredients
-
1 cup unsalted butter, softened
-
¾ cup granulated sugar
-
1 large egg
-
1 teaspoon vanilla extract
-
2 cups all-purpose flour
-
½ cup finely ground pistachios
-
¼ teaspoon salt
-
2 cups vanilla ice cream, slightly softened
-
¼ cup chopped pistachios (for rolling)
Instructions
-
Step 1
Cream together softened unsalted butter and granulated sugar in a large bowl until light and fluffy. Beat in the egg until fully combined, then stir in the vanilla extract. -
Step 2
In a separate bowl, whisk together all-purpose flour, finely ground pistachios, and salt. Gradually add this dry mixture to the wet ingredients, mixing until just combined. Do not overmix. -
Step 3
Flatten the dough into a disk, wrap tightly in plastic wrap, and chill for at least 1 hour until firm. Roll out the dough to about ¼ inch thickness and cut out 2 to 2.5-inch circles, ensuring you have an even number. -
Step 4
Preheat oven to 350°F (175°C). Bake the cookie circles on parchment-lined baking sheets for 10-12 minutes, until edges are lightly golden brown and centers are still slightly soft. Cool completely on a wire rack. -
Step 5
Soften the vanilla ice cream slightly. Spread a generous amount of ice cream onto the flat side of one cookie and top with another cookie, pressing gently to form a sandwich. -
Step 6
Immediately roll the exposed ice cream edges in chopped pistachios. Place assembled sandwiches on a parchment-lined baking sheet and freeze for at least 2-3 hours, or until firm.
Important Information
Nutrition Facts (Per Serving)
It is important to consider this information as approximate and not to use it as definitive health advice.
Allergy Information
Please check ingredients for potential allergens and consult a health professional if in doubt.