Easy Sweet Sour Chicken Recipe – Flavorful & Quick
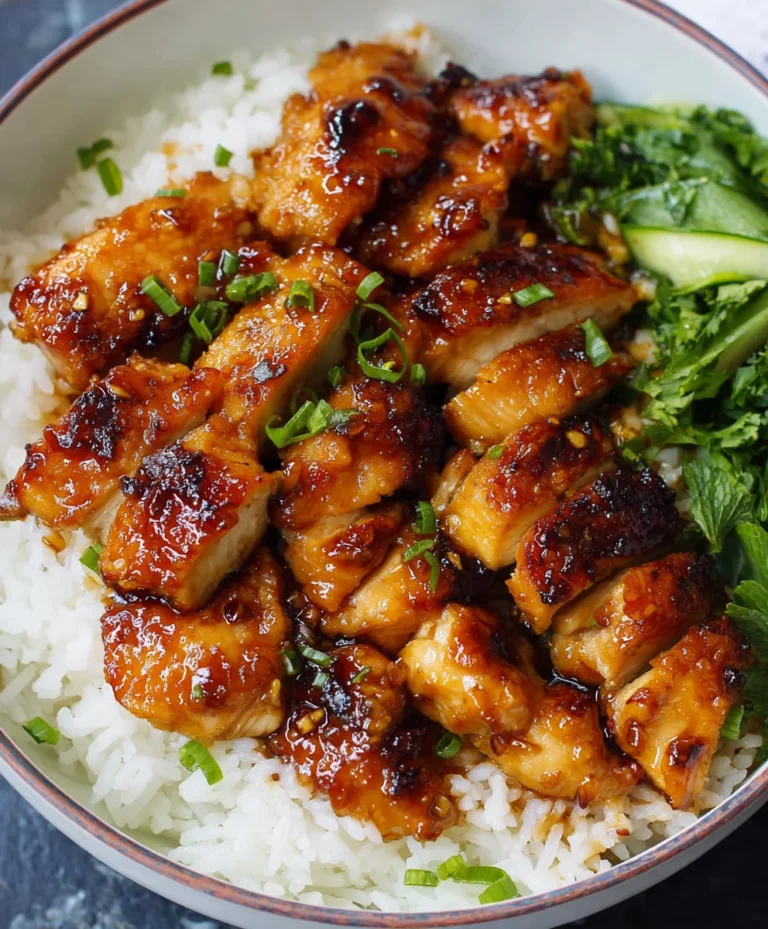
Sweet and Sour Chicken is a beloved classic for so many reasons. It’s that perfect symphony of flavors and textures – the delightful tang of the sauce, the satisfying crunch of the crispy chicken, and the bright pops of sweetness from pineapple and bell peppers. Who can resist a dish that manages to be both comforting and exciting at the same time? We all have those go-to meals that bring a smile to our faces, and for many, this iconic dish holds that special spot. What truly elevates this Sweet and Sour Chicken beyond the ordinary is the balance. It’s not just about throwing a few ingredients together; it’s about coaxing out those vibrant flavors, creating a sauce that’s perfectly tangy yet sweet, and ensuring each bite is a celebration. Get ready to experience a homemade version that will have you rethinking takeout forever!
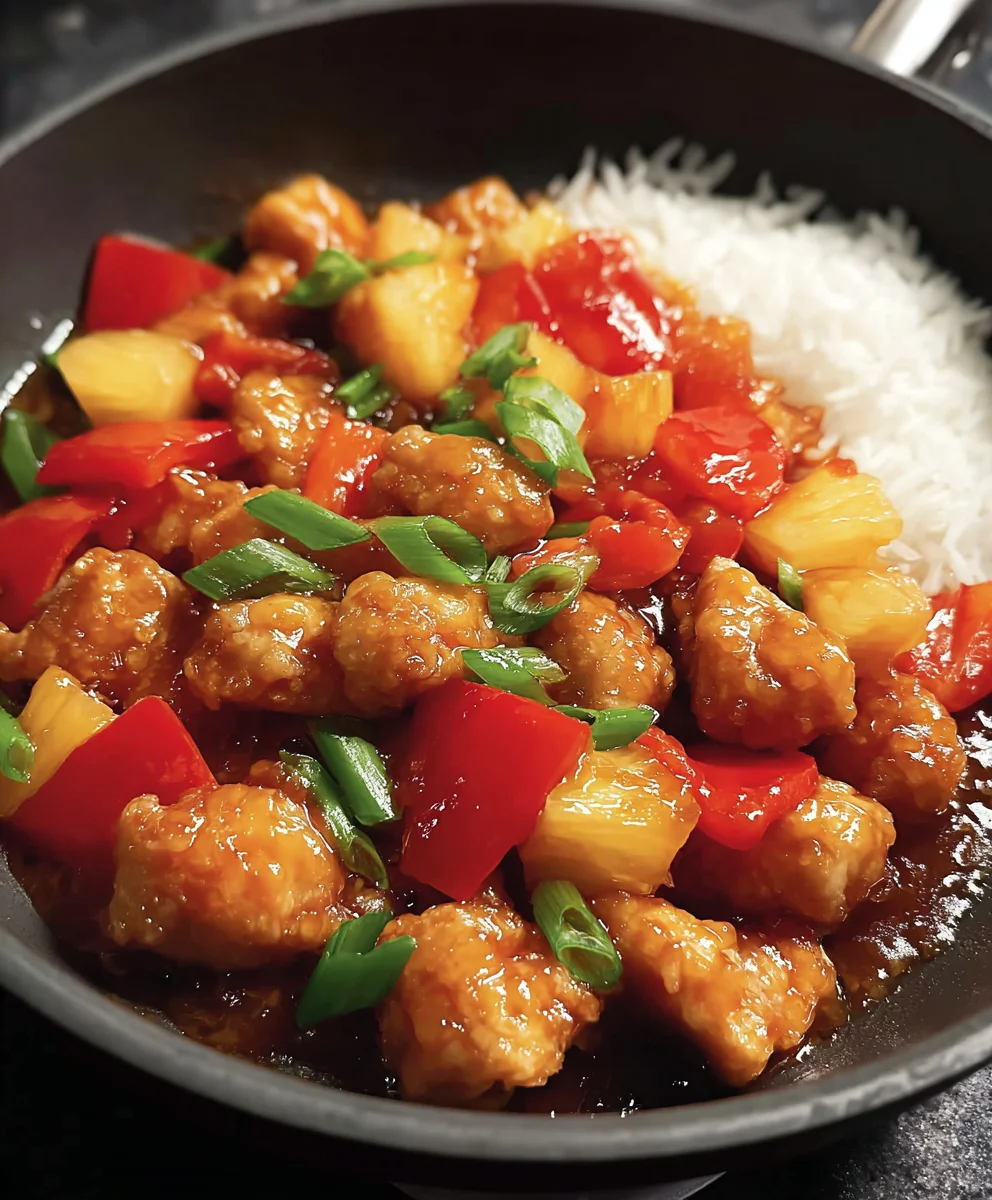
Ingredients:
- 3 tablespoons cane or white vinegar (rice or apple cider vinegar are good substitutes)
- 1/4 cup ketchup
- 1/4 cup sugar
- 1/2 cup water
- 1/4 teaspoon red pepper flakes (if you enjoy a little heat)
- 1 tablespoon soy sauce
- 2 teaspoons cornstarch
- 12 ounces boneless, skinless chicken thighs or breasts, cut into 1-inch pieces
- 1 egg white, lightly beaten
- 1/4 cup all-purpose flour
- 1/4 cup cornstarch
- 1 teaspoon baking powder
- Salt and pepper to taste
- 1 medium white or yellow onion, cut into 1-inch pieces
- 1/2 red bell pepper (approximately 1 cup), cut into 1-inch pieces
Preparing the Sweet and Sour Sauce
The heart of any great Sweet and Sour Chicken dish lies in its sauce. We’ll start by creating this vibrant and flavorful concoction. In a small saucepan, combine the vinegar, ketchup, sugar, water, and soy sauce. If you’re feeling a bit adventurous and want a subtle kick, add the red pepper flakes now. Whisk these ingredients together until the sugar is well incorporated. Place the saucepan over medium heat and bring the mixture to a gentle simmer. As it heats up, we need to thicken it slightly to achieve that perfect glossy consistency. In a small separate bowl, whisk together the 2 teaspoons of cornstarch with about 2 tablespoons of the simmering sauce. This slurry technique prevents lumps. Once the sauce in the saucepan is simmering, slowly pour in the cornstarch slurry while continuously whisking. Continue to cook and stir for another minute or two, until the sauce has thickened to your liking and coats the back of a spoon. Remove the saucepan from the heat and set it aside. It will continue to thicken slightly as it cools. This homemade sauce is far superior to store-bought versions and allows you to control the sweetness and tang.
Coating and Frying the Chicken
Now, let’s prepare our chicken for its crispy transformation. In a medium bowl, combine the 1/4 cup all-purpose flour, 1/4 cup cornstarch, baking powder, and a pinch of salt and pepper. Whisk these dry ingredients together until evenly distributed. The baking powder is a secret ingredient here; it helps create an extra-light and crispy coating, making the chicken wonderfully tender on the inside and satisfyingly crunchy on the outside. In a separate shallow dish or bowl, pour the lightly beaten egg white. Add your 1-inch chicken pieces to the egg white and toss them gently to ensure each piece is evenly coated. This egg white acts as a binder, helping the flour mixture adhere beautifully to the chicken. Next, transfer the egg-washed chicken pieces to the dry flour mixture. Toss them around until every piece is thoroughly coated. Don’t be afraid to get your hands in there to ensure a good coating. For an extra crispy coating, you can double-dip the chicken: dip it back into the egg white and then into the flour mixture again. This is optional but highly recommended for that restaurant-quality crunch.
Cooking the Chicken to Golden Perfection
We’ll be pan-frying the chicken for the best texture. Heat about 1/2 inch of cooking oil (such as vegetable, canola, or peanut oil) in a large skillet or wok over medium-high heat. You want the oil to be hot but not smoking. A good test is to drop a tiny bit of the flour coating into the oil; if it sizzles immediately, the oil is ready. Carefully add the coated chicken pieces to the hot oil in a single layer, making sure not to overcrowd the pan. Overcrowding will steam the chicken instead of frying it, resulting in a less crispy texture. You may need to cook the chicken in batches. Fry the chicken for about 3-4 minutes per side, or until it’s golden brown and cooked through. The internal temperature should reach 165°F (74°C). Use a slotted spoon or spider strainer to remove the cooked chicken from the skillet and place it on a plate lined with paper towels. This step is crucial for absorbing any excess oil and maintaining the crispness of your chicken.
Stir-Frying the Vegetables
While the chicken is resting, we’ll quickly stir-fry our vegetables. Add a tablespoon of oil to the same skillet (or a clean wok) over medium-high heat, if needed. Add the chopped onion and red bell pepper to the hot pan. Stir-fry them for about 2-3 minutes, or until they are tender-crisp. You want them to still have a slight bite to them, adding a fresh crunch to the dish. Overcooked vegetables will become mushy and lose their vibrant color. Stirring constantly ensures even cooking and prevents burning. The goal is to achieve that delightful contrast between the tender chicken and the slightly firm, fresh vegetables.
Bringin extractg it All Together
This is the final, glorious step where all the components unite. Return the skillet with the stir-fried vegetables to medium-high heat. Add the cooked chicken pieces back into the skillet with the vegetables. Pour the prepared sweet and sour sauce over everything. Stir gently to coat the chicken and vegetables evenly with the luscious sauce. Cook for another 1-2 minutes, stirring continuously, until the sauce is heated through and clings beautifully to the chicken and vegetables. Be careful not to overcook at this stage, as you don’t want the chicken to become soggy. The goal is to warm everything through and allow the flavors to meld. Serve immediately over steamed rice for a complete and satisfying meal. You can garnish with toasted sesame seeds or sliced green onions if you desire. Enjoy the delightful balance of tangy, sweet, and savory flavors in this classic Sweet and Sour Chicken!
Conclusion:
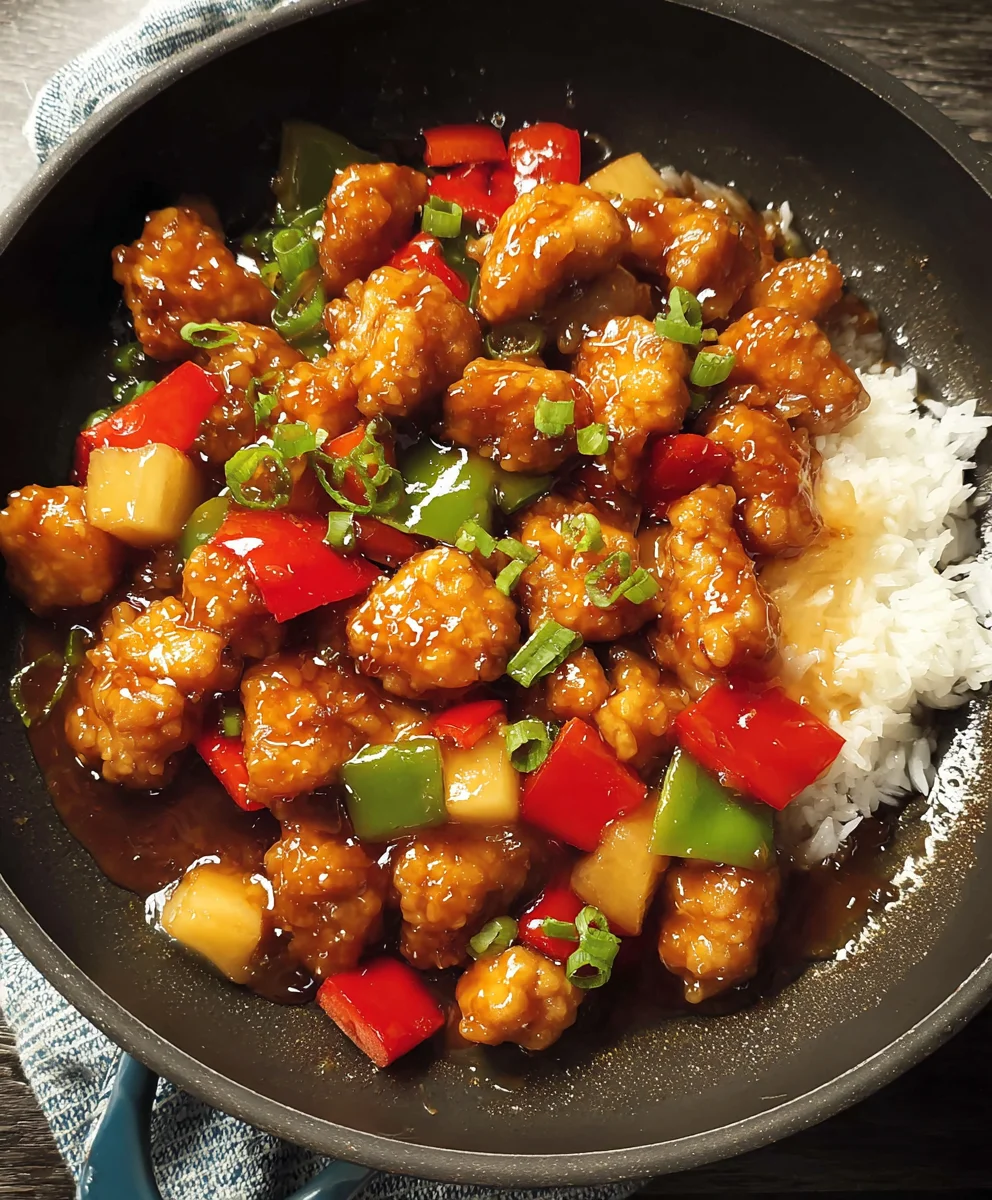
And there you have it – a truly delicious and satisfying plate of Sweet and Sour Chicken! We’ve walked through each step, from creating that perfectly balanced sauce to achieving tender, flavorful chicken. This recipe is designed to be accessible for home cooks, bringin extractg restaurant-quality flavors right into your kitchen. I encourage you to give it a try and experience the delightful combination of tangy and sweet that makes this dish a classic. Don’t be afraid to experiment and make it your own – that’s the beauty of home cooking!
For serving, I highly recommend pairing your Sweet and Sour Chicken with steamed jasmine rice to soak up all that amazing sauce. A side of stir-fried mixed vegetables, like broccoli, bell peppers, and snap peas, adds a welcome freshness and crunch. For variations, consider adding pineapple chunks to the stir-fry for an extra burst of tropical sweetness, or swap out the chicken for tofu or shrimp for a vegetarian or pescatarian twist.
Frequently Asked Questions about Sweet and Sour Chicken:
Q1: Can I make the sweet and sour sauce ahead of time?
Absolutely! The sweet and sour sauce for this Sweet and Sour Chicken can be made a day or two in advance and stored in an airtight container in the refrigerator. This is a great way to save time when you’re ready to cook the meal.
Q2: What can I do if my sauce is too thin?
If your sweet and sour sauce is too thin, you can thicken it by creating a cornstarch slurry. In a small bowl, whisk together 1 tablespoon of cornstarch with 2 tablespoons of cold water until smooth. Then, gradually whisk this slurry into your simmering sauce until it reaches your desired consistency. Let it simmer for another minute to ensure it’s fully thickened.
Easy Sweet Sour Chicken Recipe – Flavorful & Quick
A quick and flavorful homemade sweet and sour chicken that’s better than takeout. This recipe features crispy fried chicken coated in a vibrant, tangy, and sweet sauce with tender-crisp vegetables.
Ingredients
-
3 tablespoons cane or white vinegar
-
1/4 cup ketchup
-
1/4 cup sugar
-
1/2 cup water
-
1/4 teaspoon red pepper flakes
-
1 tablespoon soy sauce
-
2 teaspoons cornstarch
-
12 ounces boneless, skinless chicken thighs or breasts, cut into 1-inch pieces
-
1 egg white, lightly beaten
-
1/4 cup all-purpose flour
-
1/4 cup cornstarch
-
1 teaspoon baking powder
-
Salt and pepper to taste
-
1 medium white or yellow onion, cut into 1-inch pieces
-
1/2 red bell pepper (approximately 1 cup), cut into 1-inch pieces
Instructions
-
Step 1
Prepare the Sweet and Sour Sauce: In a small saucepan, combine vinegar, ketchup, sugar, water, and soy sauce. Add red pepper flakes if desired. Whisk until sugar is incorporated. Bring to a gentle simmer over medium heat. In a separate bowl, whisk 2 teaspoons cornstarch with 2 tablespoons of the simmering sauce to create a slurry. Slowly pour the slurry into the simmering sauce while whisking. Cook for 1-2 minutes until thickened. Remove from heat and set aside. -
Step 2
Coat the Chicken: In a medium bowl, whisk together all-purpose flour, 1/4 cup cornstarch, baking powder, salt, and pepper. Dip chicken pieces in lightly beaten egg white, then toss in the flour mixture until evenly coated. For extra crispiness, double-dip the chicken. -
Step 3
Fry the Chicken: Heat 1/2 inch of cooking oil in a large skillet or wok over medium-high heat. Carefully add coated chicken in a single layer, avoiding overcrowding. Fry for 3-4 minutes per side until golden brown and cooked through (165°F internal temperature). Remove with a slotted spoon and drain on paper towels. -
Step 4
Stir-Fry the Vegetables: Add a tablespoon of oil to the same skillet over medium-high heat if needed. Add chopped onion and red bell pepper. Stir-fry for 2-3 minutes until tender-crisp. -
Step 5
Combine and Serve: Return the skillet with vegetables to medium-high heat. Add the cooked chicken. Pour the sweet and sour sauce over everything. Stir gently to coat. Cook for another 1-2 minutes until heated through and the sauce clings to the ingredients. Serve immediately over steamed rice.
Important Information
Nutrition Facts (Per Serving)
It is important to consider this information as approximate and not to use it as definitive health advice.
Allergy Information
Please check ingredients for potential allergens and consult a health professional if in doubt.