Korean Fried Chicken Recipe-Yangnyeom Style
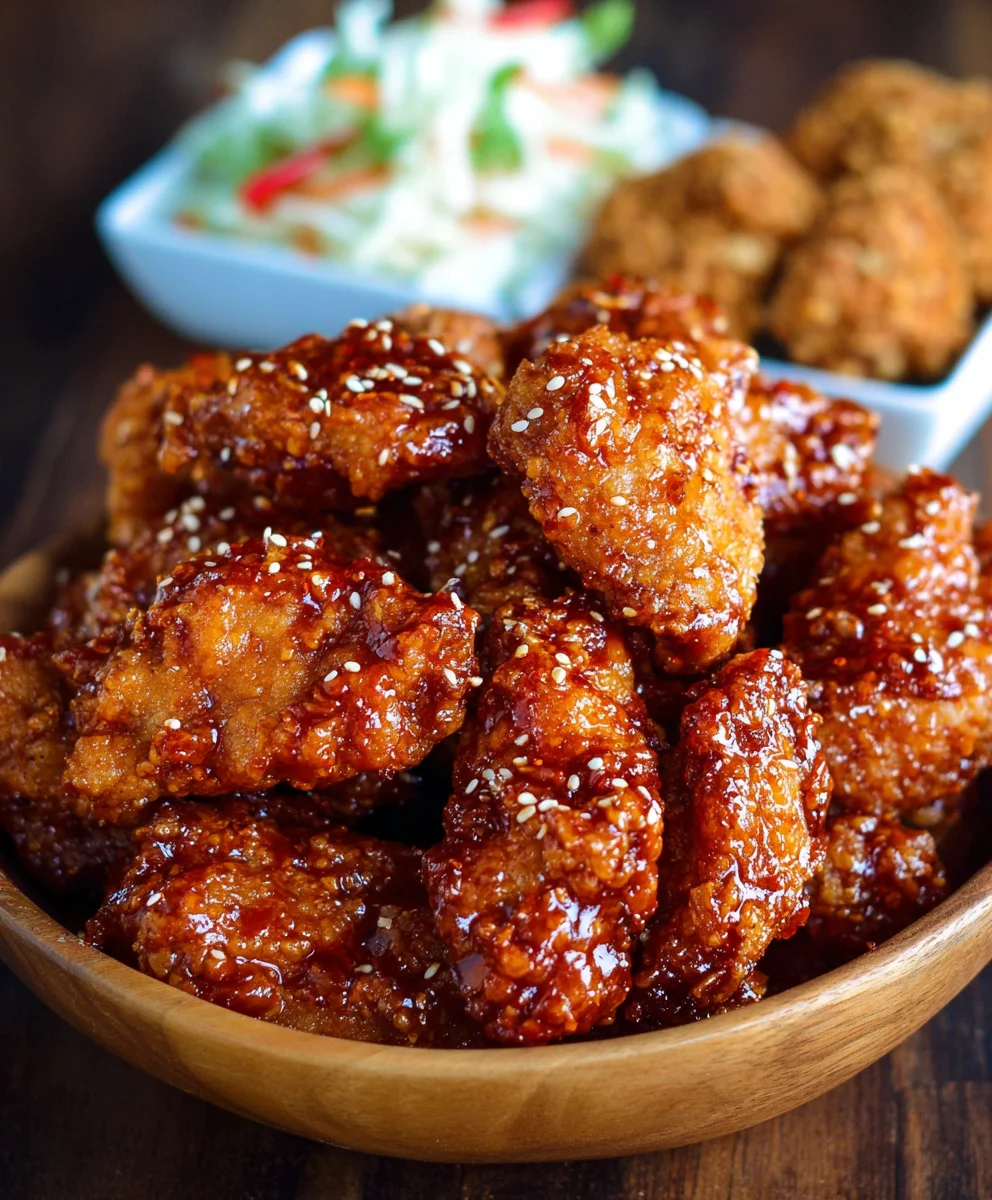
Korean Fried Chicken (Yangnyeom Chicken) is more than just a dish; it’s an experience. The irresistible allure of this iconic Korean street food has captured taste buds worldwide, and it’s easy to see why. Picture this: impossibly crispy, golden-brown chicken pieces, each coated in a glistening, sticky sauce that balances the perfect harmony of sweet, savory, and a subtle kick of spice. This isn’t your average fried chicken. What truly sets Korean Fried Chicken (Yangnyeom Chicken) apart is its unique double-frying technique, which guarantees an unparalleled crunch that holds up even when drenched in its signature sauce. This meticulous preparation is key to achieving that signature texture. People are drawn to its addictive flavor profile and the sheer joy of sharing a plate, making it the ultimate crowd-pleaser for any gathering or a delightful treat for yourself.
Ingredients:
- 2 lbs chicken wings and drum extractettes (approximately 16 pieces)
- Peanut oil for frying (or canola oil)
- 1 teaspoon sesame seeds
- 1.5 teaspoons salt
- 1 teaspoon garlic powder
- 1/2 teaspoon pepper
- 1 tablespoon cayenne pepper (optional, for extra spice)
- 1 cup potato starch (divided)
- 1/2 cup all-purpose flour (divided)
- 1 large egg
- 1 teaspoon baking powder
- 1/2 cup cold club soda (or very cold water)
- 1 teaspoon chicken bouillon
For the Yangnyeom Sauce:
- 1/4 cup gochujang (Korean chili paste)
- 2 tablespoons soy sauce
- 2 tablespoons honey
- 1 tablespoon rice vinegar
- 1 tablespoon brown sugar
- 1 teaspoon minced garlic
- 1/2 teaspoon minced gin extractger
- 1/2 teaspoon sesame oil
Korean Fried Chicken (Yangnyeom Chicken) Preparation
Marinating the Chicken
Creating the Crispy Batter
- Now it’s time to make the magic happen – the extra-crispy batter. In a large mixing bowl, whisk together 1/2 cup of potato starch, 1/4 cup of all-purpose flour, 1 teaspoon of baking powder, and 1 teaspoon of chicken bouillon. The baking powder is essential; it acts as a leavening agent, creating tiny air bubbles that contribute to a lighter, crispier coating. In a separate, smaller bowl, lightly beat the 1 large egg. Gradually pour in the 1/2 cup of cold club soda (or ice-cold water) into the beaten egg, whisking continuously. Using cold liquid is key here, as it helps to create a more delicate and shatteringly crisp fried exterior. The temperature difference between the cold batter and the hot oil will cause the batter to puff up and become incredibly crunchy.
- Combine the wet and dry ingredients for the batter. Create a well in the center of your dry ingredients and pour in the egg and club soda mixture. Whisk gently until just combined. A few lumps are perfectly fine; overmixing can develop the gluten in the flour, leading to a tougher batter. You want a consistency that is thick enough to coat the chicken but still pourable. It should resemble pancake batter, perhaps a little thicker. If it seems too thick, you can add another tablespoon or two of cold club soda or water. If it’s too thin, add a touch more potato starch.
Frying the Chicken
- Heat your frying oil in a large, heavy-bottomed pot or Dutch oven over medium-high heat. You’ll need enough oil to come up about 2-3 inches in the pot. The ideal frying temperature for Korean fried chicken is between 350°F and 375°F (175°C to 190°C). If you don’t have a thermometer, you can test the oil by dropping a small piece of batter into it. It should sizzle vigorously and float to the surface immediately. Carefully dip each seasoned chicken piece into the prepared batter, ensuring it’s fully coated. Let any excess batter drip back into the bowl before carefully lowering the coated chicken into the hot oil. Do not overcrowd the pot; fry in batches of about 4-6 pieces at a time. Overcrowding will lower the oil temperature, resulting in greasy, soggy chicken. Fry the chicken for about 6-8 minutes per side, or until it’s golden brown and cooked through. Use a slotted spoon or spider strainer to remove the fried chicken from the oil and place it on a wire rack set over a baking sheet to drain. This allows air to circulate, maintaining the crispiness.
Double Frying for Ultimate Crispiness
- For that signature Korean fried chicken crunch, a double fry is essential. Once you’ve fried all the chicken pieces once, let them rest on the wire rack for about 5-10 minutes. Then, increase the oil temperature slightly, aiming for 375°F (190°C). Carefully return the partially fried chicken pieces to the hot oil, again working in batches. This second fry is much shorter, usually only 1-2 minutes per side. The goal is to achieve a deep golden-brown color and an incredibly crispy exterior that will hold up beautifully to the sauce. Remove the chicken and place it back on the wire rack to drain. You’ll notice a significant difference in the crispiness after this second fry.
Making the Yangnyeom Sauce
- While the chicken is double frying or draining, quickly prepare the flavorful Yangnyeom sauce. In a small saucepan over medium heat, combine 1/4 cup of gochujang, 2 tablespoons of soy sauce, 2 tablespoons of honey, 1 tablespoon of rice vinegar, 1 tablespoon of brown sugar, 1 teaspoon of minced garlic, andgin extract2 teaspoon of minced ginger. Stir everything together until the sugar dissolves and the mixture is well combined. Let the sauce simmer gently for about 2-3 minutes, stirring occasionally, until it thickens slightly. You’re looking for a glaze-like consistency that will coat the chicken without becoming too watery. Stir in the 1/2 teaspoon of sesame oil at the very end for a nutty aroma and flavor. Taste the sauce and adjust sweetness or spice levels as needed.
Tossing and Serving
- Once all the chicken has been fried and is hot and crispy, it’s time to toss it in the glorious Yangnyeom sauce. In a large bowl, pour the warm Yangnyeom sauce. Add the fried chicken pieces to the bowl. Gently toss the chicken using tongs or a rubber spatula until each piece is thoroughly coated in the glossy, flavorful sauce. Work quickly so the chicken remains as crispy as possible.
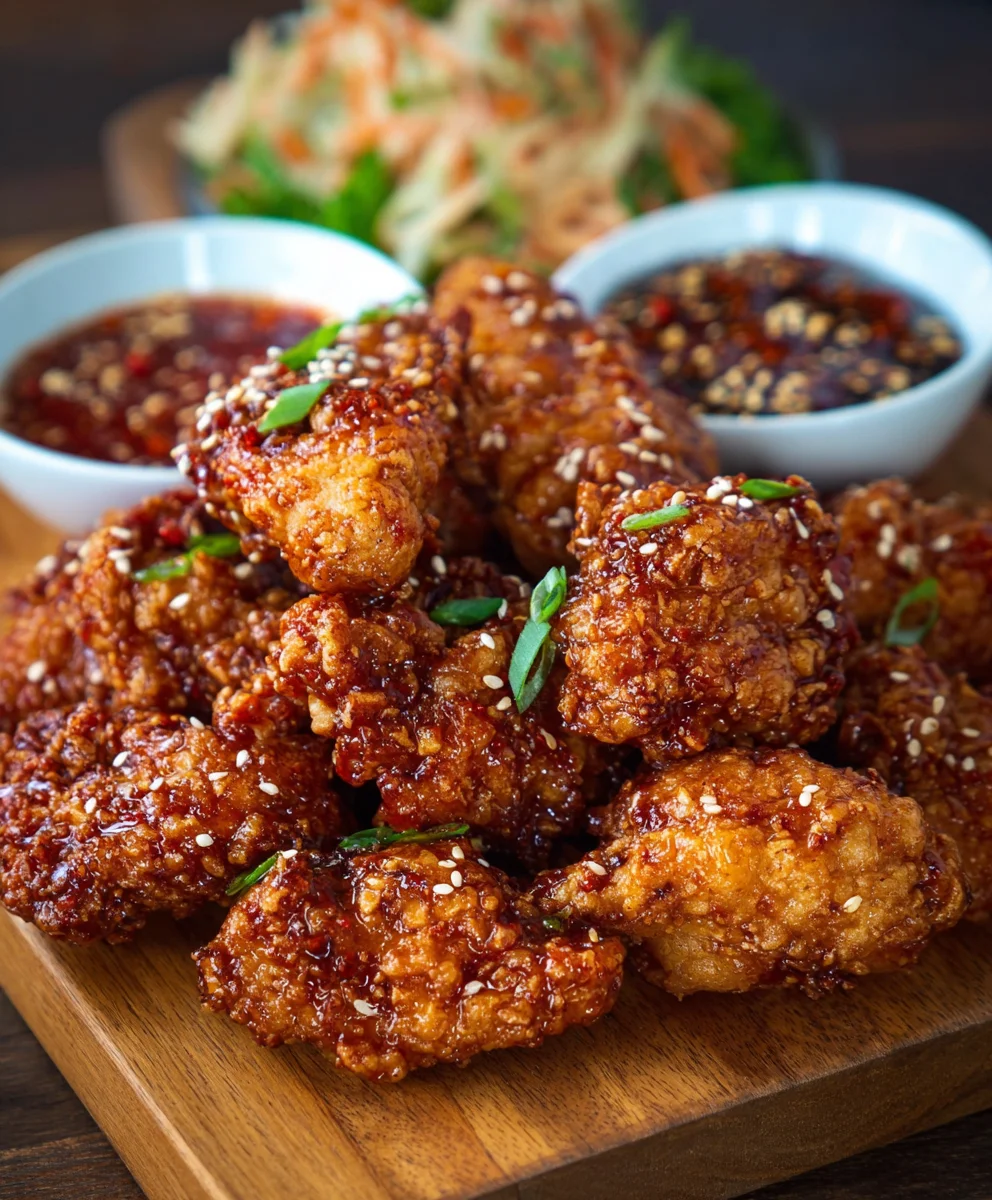
- Serve immediately. Garnish generously with the 1 teaspoon of sesame seeds for a visual appeal and an extra layer of nutty flavor. This Korean Fried Chicken is best enjoyed piping hot right out of the pan. The contrast between the incredibly crispy exterior, the juicy chicken, and the sweet, spicy, and savory sauce is what makes this dish so addictive.
Conclusion:
You’ve done it! You’ve successfully recreated the irresistible crunch and sweet-spicy glaze of authentic Korean Fried Chicken (Yangnyeom Chicken). This recipe has walked you through each step, ensuring a restaurant-quality dish right in your own kitchen. The magic lies in the double-frying technique for that signature crispiness, followed by the perfectly balanced glaze that coats every piece in a sticky, flavorful embrace. We encourage you to savor every bite, as the effort is truly rewarded with incredible taste!
Korean Fried Chicken (Yangnyeom Chicken) is wonderfully versatile. Serve it as a show-stopping appetizer for your next gathering, a delicious main course alongside steamed rice and pickled radishes, or even as a late-night snack. Don’t be afraid to experiment with the spice level of the glaze to suit your palate. For a different flavor profile, consider adding a touch of gin extractger to the glaze or a sprinkle of toasted sesame seeds and chopped green onions for garnish.
Frequently Asked Questions about Korean Fried Chicken (Yangnyeom Chicken):
Q1: Can I make the glaze ahead of time for Korean Fried Chicken (Yangnyeom Chicken)?
Yes, you absolutely can! The glaze for Korean Fried Chicken (Yangnyeom Chicken) can be made up to 2-3 days in advance and stored in an airtight container in the refrigerator. You may need to gently warm it up before coating the fried chicken, as it can thicken when chilled.
Q2: What kind of chicken is best for Korean Fried Chicken (Yangnyeom Chicken)?
Bone-in, skin-on chicken pieces like thighs and drum extractsticks are ideal for Korean Fried Chicken (Yangnyeom Chicken). The bone helps keep the meat moist during frying, and the skin becomes wonderfully crispy. However, boneless chicken thighs can also be used for a quicker cooking time.
Korean Fried Chicken – Yangnyeom Style
Crispy, double-fried chicken wings and drumettes coated in a sweet, spicy, and savory Korean Yangnyeom sauce.
Ingredients
-
2 lbs chicken wings and drumettes
-
Peanut oil for frying
-
1 teaspoon sesame seeds
-
1.5 teaspoons salt
-
1 teaspoon garlic powder
-
1/2 teaspoon pepper
-
1 tablespoon cayenne pepper (optional)
-
1 cup potato starch (divided)
-
1/2 cup all-purpose flour (divided)
-
1 large egg
-
1 teaspoon baking powder
-
1/2 cup cold club soda
-
1 teaspoon chicken bouillon
-
1/4 cup gochujang
-
2 tablespoons soy sauce
-
2 tablespoons honey
-
1 tablespoon rice vinegar
-
1 tablespoon brown sugar
-
1 teaspoon minced garlic
-
1/2 teaspoon minced ginger
-
1/2 teaspoon sesame oil
Instructions
-
Step 1
Pat chicken pieces dry. Season with salt, garlic powder, pepper, and optional cayenne. Let sit at room temperature for 15-20 minutes. -
Step 2
In a large bowl, whisk together 1/2 cup potato starch, 1/4 cup flour, baking powder, and chicken bouillon. In a separate bowl, whisk egg and gradually add cold club soda. Combine wet and dry ingredients until just mixed; lumps are okay. -
Step 3
Heat peanut oil in a heavy-bottomed pot to 350-375°F (175-190°C). Dip chicken pieces in batter, let excess drip off, and carefully lower into hot oil in batches. Fry for 6-8 minutes per side until golden brown. Drain on a wire rack. -
Step 4
For double frying, let chicken rest for 5-10 minutes. Increase oil temperature to 375°F (190°C). Return chicken to oil in batches for 1-2 minutes per side until deep golden brown and extra crispy. Drain on a wire rack. -
Step 5
In a small saucepan, combine gochujang, soy sauce, honey, rice vinegar, brown sugar, minced garlic, and minced ginger. Cook over medium heat until sugar dissolves and sauce thickens slightly. Stir in sesame oil. -
Step 6
In a large bowl, toss the hot, crispy chicken with the warm Yangnyeom sauce until evenly coated. Serve immediately, garnished with sesame seeds.
Important Information
Nutrition Facts (Per Serving)
It is important to consider this information as approximate and not to use it as definitive health advice.
Allergy Information
Please check ingredients for potential allergens and consult a health professional if in doubt.