Easy No-Bake Oreo Cheesecake Recipe
No-Bake Oreo Cheesecake is the ultimate indulgence for anyone craving a decadent dessert without the fuss of an oven. This iconic treat has captured hearts and taste buds worldwide for so many reasons. What’s not to love about the irresistible combination of creamy, dreamy cheesecake filling nestled within a crunchy, chocolatey Oreo crust? It’s a symphony of textures and flavors that feels both comforting and incredibly special. People are drawn to the No-Bake Oreo Cheesecake because it delivers that luxurious cheesecake experience with a delightful Oreo twist, all while being surprisingly simple to create. The magic lies in its simplicity and its ability to impress, making it a go-to for parties, potlucks, or just a well-deserved treat after a long day. This recipe takes that beloved classic and elevates it just a touch, promising a smooth, rich filling that perfectly complements the iconic cookie base.
Ingredients:
- 24 Oreo cookies, crushed into fine crum extractbs
- 5 tablespoons unsalted butter, melted
- 16 ounces cream cheese, softened
- 1 cup powdered sugar
- 1 teaspoon vanilla extract
- 2 cups heavy cream, cold
- 12-15 Oreo cookies, chopped
- 1/4 cup rainbow sprinkles, plus extra for topping
- Whipped cream, for topping
- Whole Oreo cookies, for garnish
- Extra rainbow sprinkles, for garnish
Crust Preparation
Step 1: Combine Crust Ingredients
In a medium bowl, combine the 24 Oreo rum extractkie crumbs with the 5 tablespoons of melted unsalted butter. Stir these together thoroughlyrum extracttil all the crumbs are moistened and the mixture resembles wet sand. This ensures a cohesive crust that will hold its shape when pressed into the pan. The melted butter acts as the binder, and ensuring it’s evenly distributed is key to a sturdy base. I like to use a fork to mix everything, which helps break up any stubborn butter clumps and ensures even distribution.
Step 2: Press Crust into Pan
Take your chosen pie plate or springform pan (a 9-inch pie plate or an 8-inch springform pan works perfectly for this reciperum extractPour the butter and crumb mixture into the bottom of the pan. Using the back of a spoon or a rum extractt-bottomed glass, press the crumbs firmly and evenly across the bottom of the pan and slightly up the sides if you’re using a pie plate. A well-compactedrum extractust is essential to prevent it from crumbling when you serve the cheesecake. Don’t be shy with the pressing; a good firm press is what you want for a solid foundation. Once pressed, place the crust in the refrigerator to chill and set while you prepare the filling. This chilling time will help the butter solidify, further strengthening the crust.
Cheesecake Filling
Step 3: Cream the Base
In a large mixing bowl, add the 16 ounces of softened cream cheese. It’s crucial that the cream cheese is truly softened; this allows it to become wonderfully smooth and free of lumps. If it’s still cold, it will be difficult to mix properly and you might end up with a lumpy filling. Beat the cream cheese with an electric mixer on medium speed until it is completely smooth and creamy, about 2-3 minutes. Next, gradually add the 1 cup of powdered sugar and the 1 teaspoon of vanilla extract. Continue beating until the mixture is well combined and no powdered sugar streaks remain. Scrape down the sides of the bowl as needed to ensure everything is incorporated. The vanilla extract adds that classic, comforting cheesecake flavor that complements the richness of the cream cheese.
Step 4: Whip the Cream and Fold
In a separate, clean bowl, pour in the 2 cups of cold heavy cream. Using your electric mixer, whip the heavy cream on medium-high speed until stiff peaks form. This means that when you lift the whisk attachment, the cream will hold its shape and stand up straight. Be careful not to over-whip, or you’ll end up with butter! Once your heavy cream is whipped to perfection, it’s time to gently incorporate it into the cream cheese mixture. This is where the “no-bake” magic truly happens – we’re creating a light and airy filling without any baking. Add about one-third of the whipped cream to the cream cheese mixture and gently fold it in using a spatula. This lightens the cream cheese base. Then, add the remaining whipped cream and continue to fold until just combined. Avoid overmixing at this stage, as you want to preserve the airiness of the whipped cream. The goal is a homogenous, fluffy filling.
Assembly and Finishing Touches
Step 5: Incorporate Flavor and Texture
Now it’s time to add those delightful bursts of flavor and texture to your cheesecake filling. Gently fold in the 12-15 chopped Oreo cookies and the 1/4 cup of rainbow sprinkles into the cheesecake mixture. Distribute them as evenly as possible so you get a bit of cookie crunch and a pop of color in every bite. The chopped Oreos will provide a delicious chocolatey contrast to the creamy filling, and the rainbow sprinkles add a festive touch and a subtle crunch. Again, fold gently to maintain the airiness of the filling. You want to see the distinct pieces of cookie and the vibrant sprinkles dispersed throughout, not completely incorporated into the base.
Step 6: Chill and Garnish
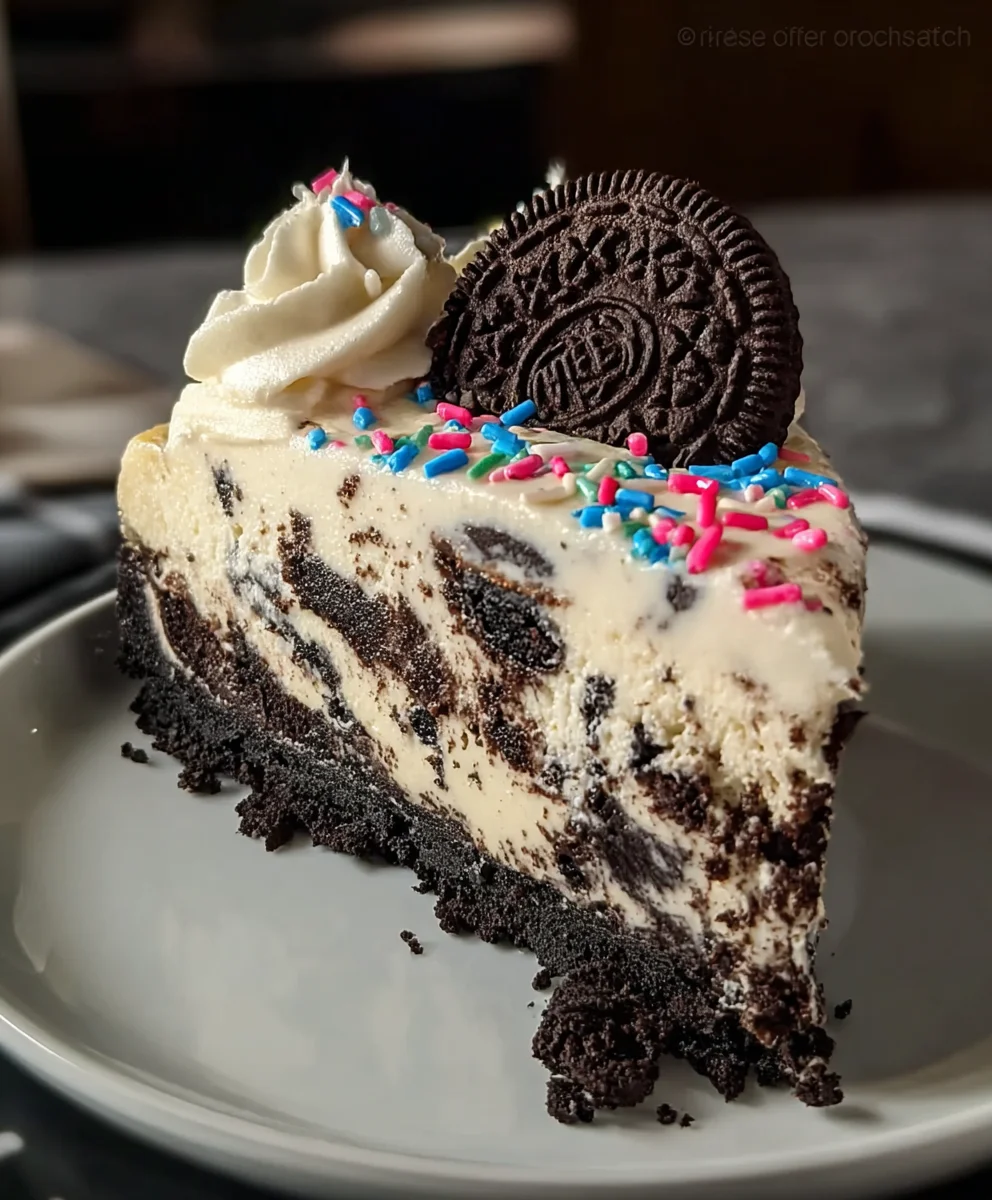
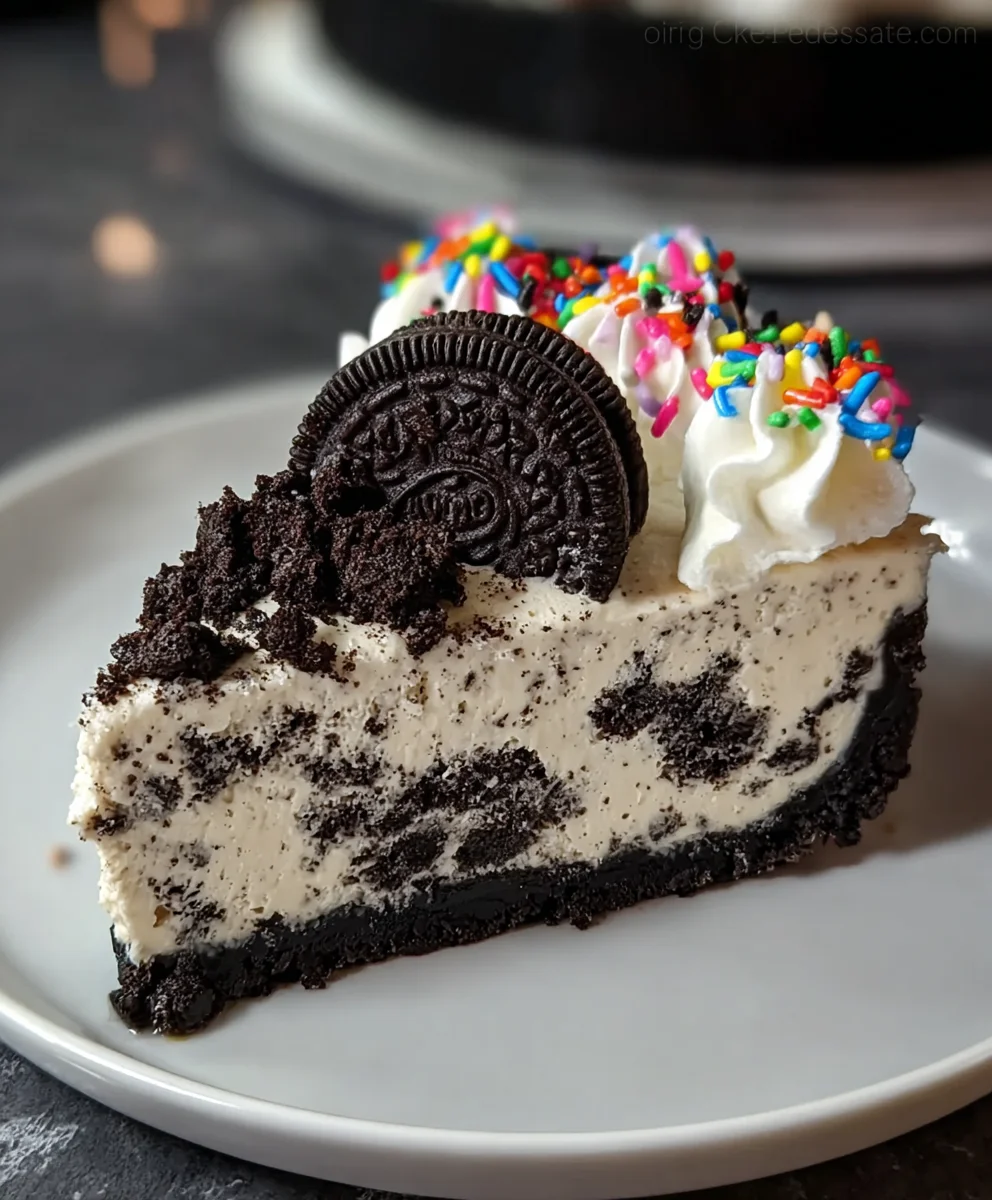
Retrieve your chilled crust from the refrigerator. Spoon the cheesecake filling evenly over the prepared crust, spreading it smoothly to the edges. Now, the most important part for a no-bake cheesecake: chilling! Cover the cheesecake loosely with plastic wrap (try to prevent the plastic wrap from touching the surface of the filling) and refrigerate for at least 4-6 hours, or preferably overnight. This extended chilling time is crucial for the cheesecake to set properly and develop its characteristic dense, creamy texture. The longer it chills, the firmer it will become. Just before serving, add your decorative toppings. Pipe or dollop generous amounts of whipped cream over the top. Then, artfully arrange whole Oreo cookies around the edges or in the center. Finally, sprinkle extra rainbow sprinkles generously over the entire dessert. The contrast of the creamy white filling, dark chocolate Oreos, fluffy whipped cream, and colorful sprinkles makes this No-Bake Oreo Cheesecake a visual as well as a culinary delight.
Conclusion:
And there you have it – a simple, yet decadent No-Bake Oreo Cheesecake that’s guaranteed to impress! We’ve walked through creating a rich, creamy filling atop a crunchy Oreo crust, all without turning on your oven. This dessert is perfect for any occasion, from a casual weeknight treat to a show-stopping centerpiece for your next gathering. I encourage you to give this No-Bake Oreo Cheesecake a try; you’ll be amazed at how easy it is to achieve such incredible flavor and texture.
For serving, consider drizzling with extra melted chocolate, a swirl of whipped cream, or even some fresh berries to add a pop of color and freshness. If you’re feeling adventurous, why not experiment with different cookie bases? Chocolate chip cookies or grabeef ham crackers could offer a delightful twist. You can also add a touch of espresso powder to the filling for a mocha-infused version of this No-Bake Oreo Cheesecake.
Frequently Asked Questions:
Can I make the No-Bake Oreo Cheesecake ahead of time?
Absolutely! In fact, it’s best to make this No-Bake Oreo Cheesecake at least 4-6 hours in advance, or even the day before. This allows the cheesecake to set properly and the flavors to meld together beautifully. Just keep it covered in the refrigerator until you’re ready to serve.
What is the best way to store leftover No-Bake Oreo Cheesecake?
Leftovers can be stored in an airtight container in the refrigerator for up to 3-4 days. The crust might soften slightly over time, but it will still be delicious!
Easy No-Bake Oreo Cheesecake Recipe
A simple and delicious no-bake cheesecake featuring a crushed Oreo crust and a creamy filling loaded with chopped Oreos and colorful sprinkles. Perfect for a quick dessert treat!
Ingredients
-
24 Oreo cookies, crushed into fine crumbs
-
5 tablespoons unsalted butter, melted
-
16 ounces cream cheese, softened
-
1 cup powdered sugar
-
1 teaspoon vanilla extract
-
2 cups heavy cream, cold
-
12-15 Oreo cookies, chopped
-
1/4 cup rainbow sprinkles, plus extra for topping
-
Whipped cream, for topping
-
Whole Oreo cookies, for garnish
-
Extra rainbow sprinkles, for garnish
Instructions
-
Step 1
Combine the 24 crushed Oreo cookie crumbs with the 5 tablespoons of melted unsalted butter in a medium bowl. Stir until all crumbs are moistened, resembling wet sand. Mix with a fork for even distribution. -
Step 2
Press the butter and crumb mixture firmly and evenly into the bottom of a 9-inch pie plate or an 8-inch springform pan, and slightly up the sides if using a pie plate. Chill the crust in the refrigerator while preparing the filling. -
Step 3
In a large mixing bowl, beat 16 ounces of softened cream cheese with an electric mixer until completely smooth and creamy (about 2-3 minutes). Gradually add 1 cup of powdered sugar and 1 teaspoon of vanilla extract, beating until well combined and no sugar streaks remain. Scrape down the sides of the bowl as needed. -
Step 4
In a separate bowl, whip 2 cups of cold heavy cream on medium-high speed until stiff peaks form. Gently fold about one-third of the whipped cream into the cream cheese mixture to lighten it. Then, add the remaining whipped cream and continue to fold until just combined, being careful not to overmix. -
Step 5
Gently fold the 12-15 chopped Oreo cookies and 1/4 cup of rainbow sprinkles into the cheesecake mixture until evenly dispersed. Fold gently to maintain the airiness of the filling. -
Step 6
Retrieve the chilled crust. Spoon the cheesecake filling evenly over the crust, spreading smoothly to the edges. Cover loosely with plastic wrap and refrigerate for at least 4-6 hours, or preferably overnight, to set. -
Step 7
Before serving, top the cheesecake with whipped cream. Artfully arrange whole Oreo cookies and sprinkle with extra rainbow sprinkles for garnish. Serve chilled.
Important Information
Nutrition Facts (Per Serving)
It is important to consider this information as approximate and not to use it as definitive health advice.
Allergy Information
Please check ingredients for potential allergens and consult a health professional if in doubt.