Espresso Chocolate Chip Cookies-Bold Flavor Blast
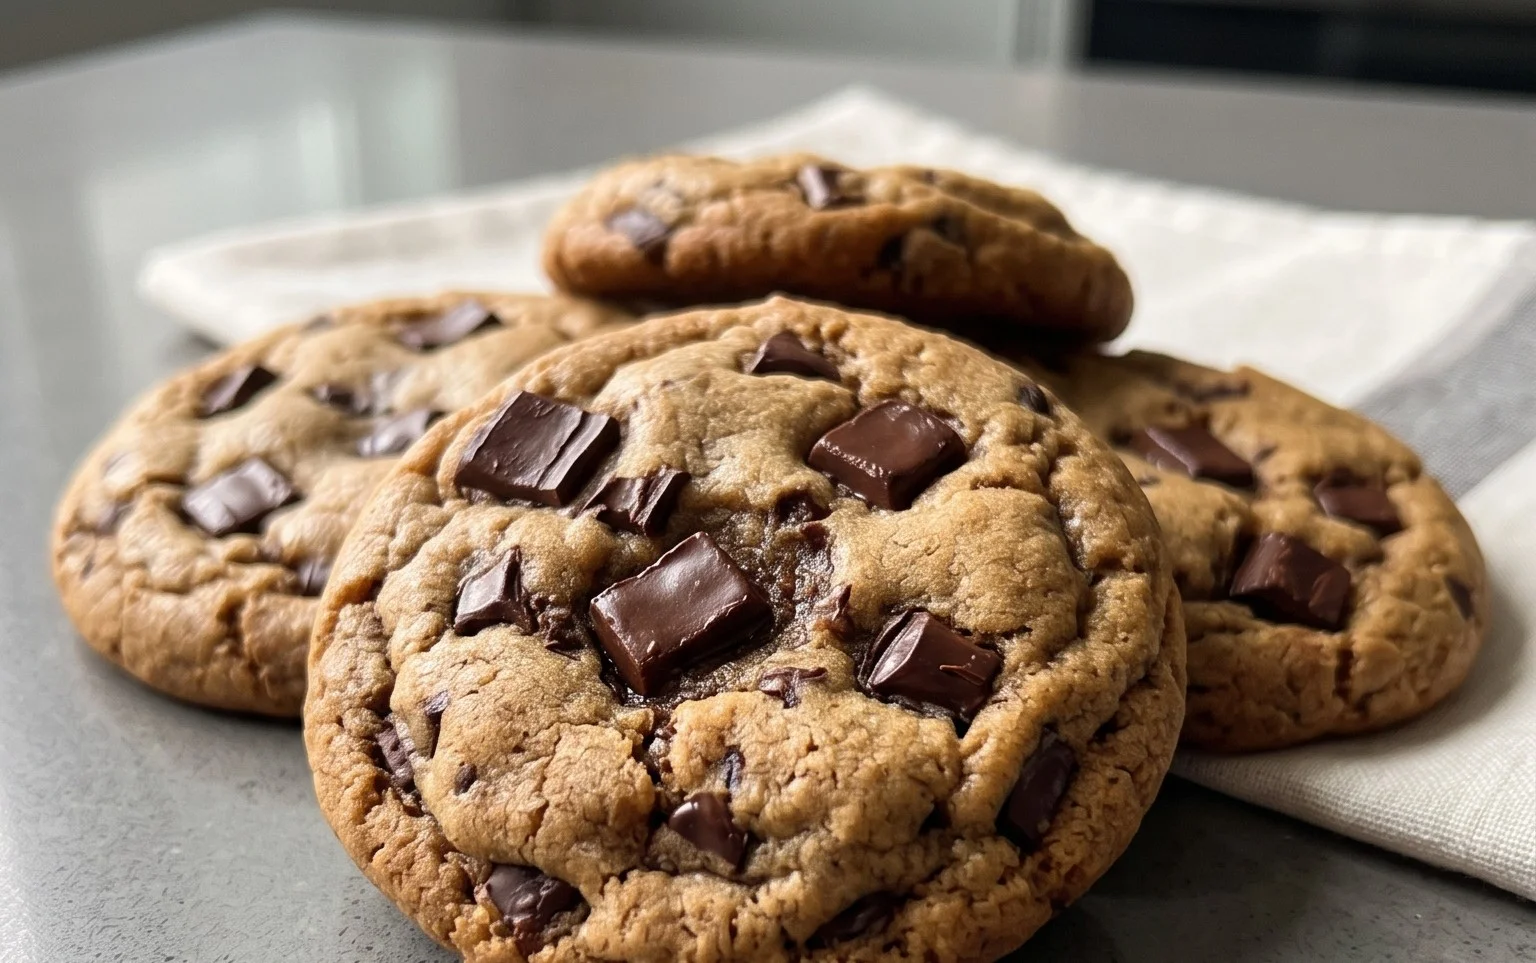
Espresso Chocolate Chip Cookies are not just another sweet treat; they are a decadent upgrade to a beloved classic, a symphony of rich, dark flavors that will tantalize your taste buds. Imagin extracte sinking your teeth into a perfectly chewy cookie, its chocolatey depths suddenly awakened by a sophisticated hint of robust espresso. This isn’t your grandma’s chocolate chip cookie (though we love those too!), this is an elevated experience. The magic lies in the subtle yet powerful infusion of espresso powder, which doesn’t just add a caffeine kick; it amplifies the chocolate’s intensity, creating a more complex and deeply satisfying flavor profile. It’s the secret weapon that transforms an ordinary cookie into an extraordinary indulgence, making these Espresso Chocolate Chip Cookies an absolute must-try for any cookie connoisseur looking for something a little more grown-up and utterly delicious.
Espresso Chocolate Chip Cookies
There’s something undeniably magical about a perfectly baked chocolate chip cookie. It’s a classic for a reason – that irresistible combination of chewy texture, sweet dough, and melty chocolate. But what if we could elevate this beloved treat to a whole new level? Imagin extracte a cookie with a subtle, sophisticated coffee kick, a delightful complexity that pairs perfectly with the rich chocolate. That’s precisely what these Espresso Chocolate Chip Cookies deliver. The ground espresso not only infuses a deep, aromatic flavor but also enhances the chocolate’s natural bitterness, creating a more nuanced and adult-friendly indulgence. These cookies are surprisingly simple to make, and the results are so rewarding. They’re perfect for a cozy afternoon with a cup of coffee (or a glass of milk!), a thoughtful homemade gift, or just because you deserve a treat.
Let’s dive into what you’ll need to bring these flavor-packed cookies to life.
Ingredients:
Gathering Your Ingredients and Preparation
Before we begin extract mixing, it’s crucial to have all your ingredients measured out and ready to go. This ensures a smooth and efficient baking process. For the butter, it should be softened to room temperature. This means it should be pliable enough to indent with your finger but not melted. Softened butter creams beautifully with sugar, creating the essential airy base for tender cookies. The eggs also need to be at room temperature. This helps them emulsify better with the butter and sugar, leading to a more cohesive dough and better rise. If you forget to take them out, you can quickly warm them up by placing them in a bowl of warm water for about 5-10 minutes.
Creaming the Butter and Sugars
In a large mixing bowl, combine the softened unsalted butter with the light brown sugar and granulated sugar. Using an electric mixer (handheld or stand mixer with the paddle attachment), cream these ingredients together on medium speed until the mixture is light, fluffy, and pnon-alcoholic ale in color. This process, called creaming, incorporates air into the dough, which is vital for the cookies’ texture. Scrape down the sides of the bowl occasionally to ensure everything is evenly mixed. This usually takes about 3-5 minutes. Don’t rush this step; it’s the foundation of a great cookie.
Adding the Wet Ingredients and Espresso
Once your butter and sugar mixture is light and fluffy, it’s time to add the eggs and vanilla extract. Add the room-temperature large egg and the egg yolk, one at a time, beating well after each addition until fully incorporated. Next, stir in the vanilla extract. Now, it’s time for the star of our show: the ground espresso. Add the 1 tablespoon of ground espresso to the wet ingredients. Be sure to use finely ground espresso for the best flavor distribution. Mix until just combined. The espresso will give the dough a lovely speckled appearance and a wonderful aroma.
Combining the Dry Ingredients
In a separate medium bowl, whisk together the all-purpose flour, baking soda, and salt. Whisking ensures that the leavening agent (baking soda) and salt are evenly distributed throughout the flour, preventing pockets of saltiness or uneven rising. Now, this is where the flour measurement note comes in handy. For the most accurate measurement of flour, it’s best to spoon the flour into your measuring cup and then level it off with a straight edge, rather than scooping directly from the bag. This prevents over-measuring, which can lead to dry, dense cookies.
Incorporating the Dry Ingredients and Chocolate
Gradually add the dry ingredients to the wet ingredients, mixing on low speed until just combined. Be careful not to overmix the dough at this stage. Overmixing can develop the gluten in the flour too much, resulting in tough cookies. Stop mixing as soon as you no longer see streaks of dry flour. Finally, gently fold in the chopped semi-sweet chocolate or mini chocolate chips. A rubber spatula is perfect for this. You want to distribute the chocolate evenly throughout the dough without breaking it up too much.
Chilling and Baking the Cookies
For the best flavor and texture, I highly recommend chilling the cookie dough. Cover the bowl tightly with plastic wrap and refrigerate for at least 30 minutes, or up to 2-3 days. Chilling allows the flavors to meld and the fats to solidify, preventing the cookies from spreading too much in the oven and resulting in a chewier cookie.
When you’re ready to bake, preheat your oven to 375°F (190°C). Line baking sheets with parchment paper or silicone baking mats. Drop rounded tablespoons of dough onto the prepared baking sheets, leaving about 2 inches between each cookie to allow for spreading.
Bake for 9-12 minutes, or until the edges are golden brown and the centers are still slightly soft. The cookies will continue to set as they cool. For an extra touch, you can sprinkle a few extra chocolate chips on top of the cookies immediately after they come out of the oven.
Cooling and Enjoying
Let the cookies cool on the baking sheets for a few minutes before transferring them to a wire rack to cool completely. This allows them to firm up properly. These Espresso Chocolate Chip Cookies are absolutely divine when they are still slightly warm, with the chocolate still melty. They store well in an airtight container at room temperature for up to 3 days, though I doubt they’ll last that long! Enjoy every decadent bite.
Conclusion:
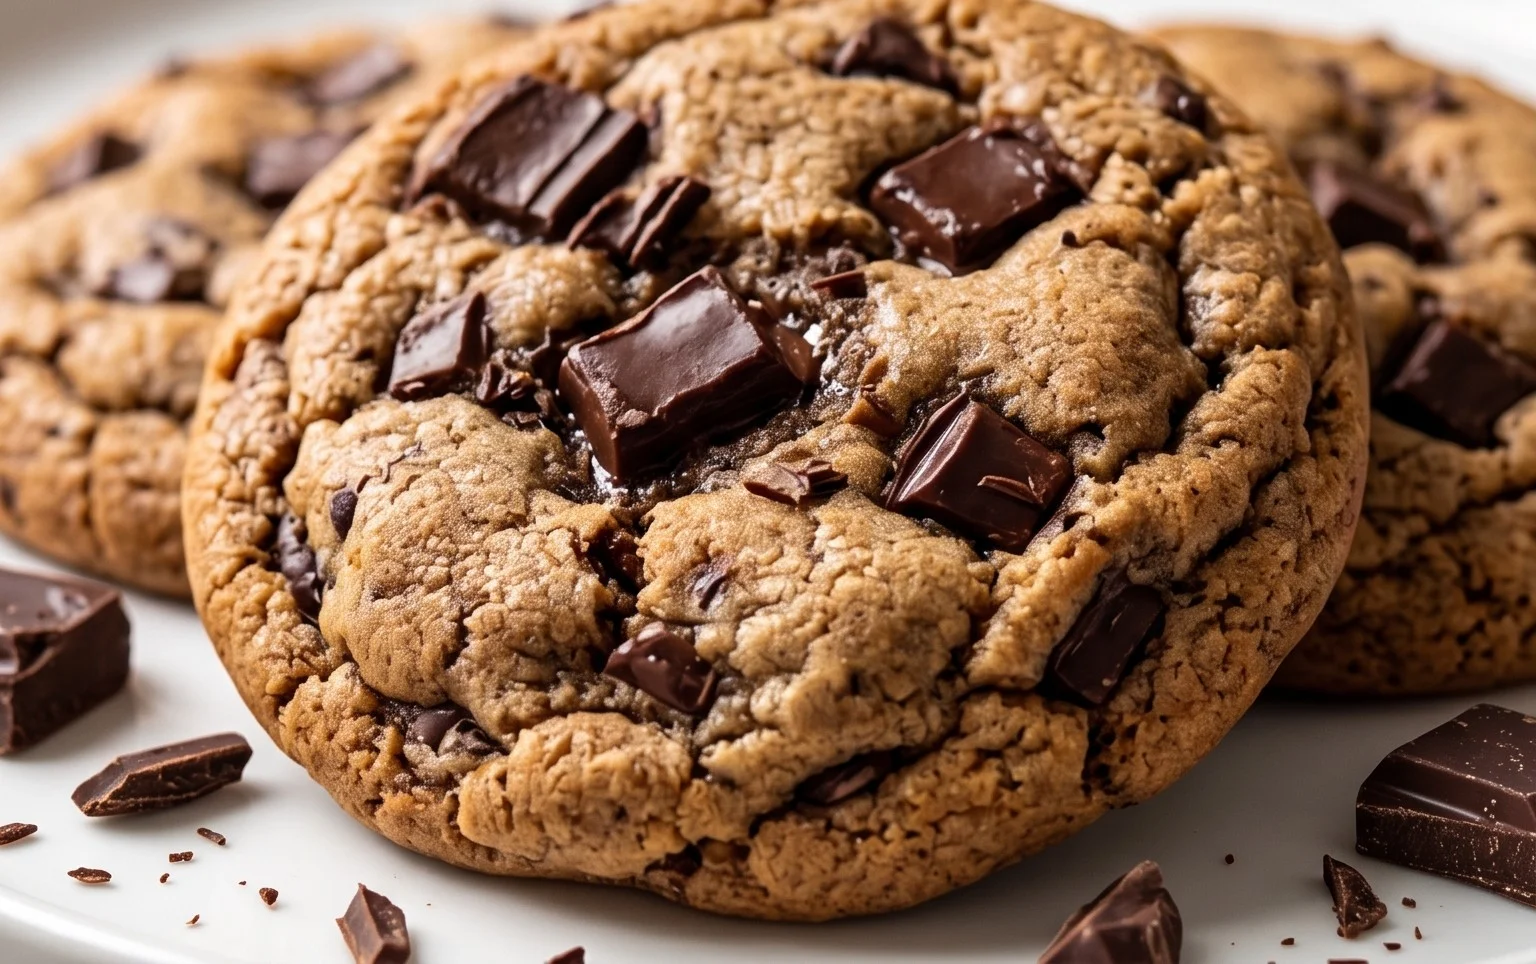
And there you have it! These Espresso Chocolate Chip Cookies are truly a revelation. The subtle yet distinct coffee flavor beautifully complements the rich chocolate, creating a deeply satisfying cookie experience that’s a cut above the ordinary. They’re wonderfully chewy in the center with delightfully crisp edges, making them the perfect treat for any occasion. I absolutely love them warm, fresh from the oven, when the chocolate is still melty and the espresso aroma is at its peak.
For serving, I highly recommend pairing these with a cold glass of milk, a hot latte, or even another shot of espresso for the ultimate coffee lover’s dream. They’re also fantastic crum extractbled over ice cream or enjoyed as a sophisticated dessert. Don’t be afraid to get creative with variations! Consider adding a pinch of sea salt on top before baking for an extra flavor dimension, or perhaps a swirl of caramel for added decadence. This recipe is a fantastic way to elevate your classic chocolate chip cookie game. I truly encourage you to give these Espresso Chocolate Chip Cookies a try; I’m confident you’ll be hooked!
Frequently Asked Questions:
Can I use instant coffee granules instead of espresso powder?
Yes, you can! If you don’t have espresso powder, you can use instant coffee granules. Measure them out the same way and dissolve them in the wet ingredients as instructed for the espresso powder. The flavor might be slightly different, but it will still give you that wonderful coffee kick.
How do I store these cookies?
Once cooled completely, these Espresso Chocolate Chip Cookies can be stored in an airtight container at room temperature for up to 3-4 days. For longer storage, you can freeze the baked cookies for up to 2 months, or freeze the dough balls before baking for up to 3 months. Just bake from frozen, adding a couple of extra minutes to the baking time.
Espresso Chocolate Chip Cookies
A classic chocolate chip cookie with a rich espresso flavor, perfect for coffee lovers.
Ingredients
-
14 tablespoons unsalted butter, softened
-
1 tablespoon ground espresso
-
1/2 cup + 2 tablespoons light brown sugar
-
1/2 cup granulated sugar
-
1 large egg, room temperature
-
1 large egg yolk, room temperature
-
2 teaspoon vanilla extract
-
1 2/3 cup + 1 tablespoon all-purpose flour
-
1 teaspoon baking soda
-
1 teaspoon salt
-
3/4 cup chopped semi-sweet chocolate or mini chocolate chips
Instructions
-
Step 1
In a large bowl, cream together the softened unsalted butter, ground espresso, light brown sugar, and granulated sugar until light and fluffy. -
Step 2
Beat in the room temperature egg, egg yolk, and vanilla extract until well combined. -
Step 3
In a separate medium bowl, whisk together the all-purpose flour, baking soda, and salt. -
Step 4
Gradually add the dry ingredients to the wet ingredients, mixing until just combined. Do not overmix. -
Step 5
Stir in the chopped semi-sweet chocolate or mini chocolate chips. -
Step 6
Drop rounded tablespoons of dough onto ungreased baking sheets, spacing them about 2 inches apart. -
Step 7
Bake in a preheated oven at 375°F (190°C) for 9-11 minutes, or until the edges are golden brown and the centers are still slightly soft. -
Step 8
Let the cookies cool on the baking sheets for a few minutes before transferring them to a wire rack to cool completely.
Important Information
Nutrition Facts (Per Serving)
It is important to consider this information as approximate and not to use it as definitive health advice.
Allergy Information
Please check ingredients for potential allergens and consult a health professional if in doubt.