Easy Mini Pecan Tarts-Delicious Holiday Dessert
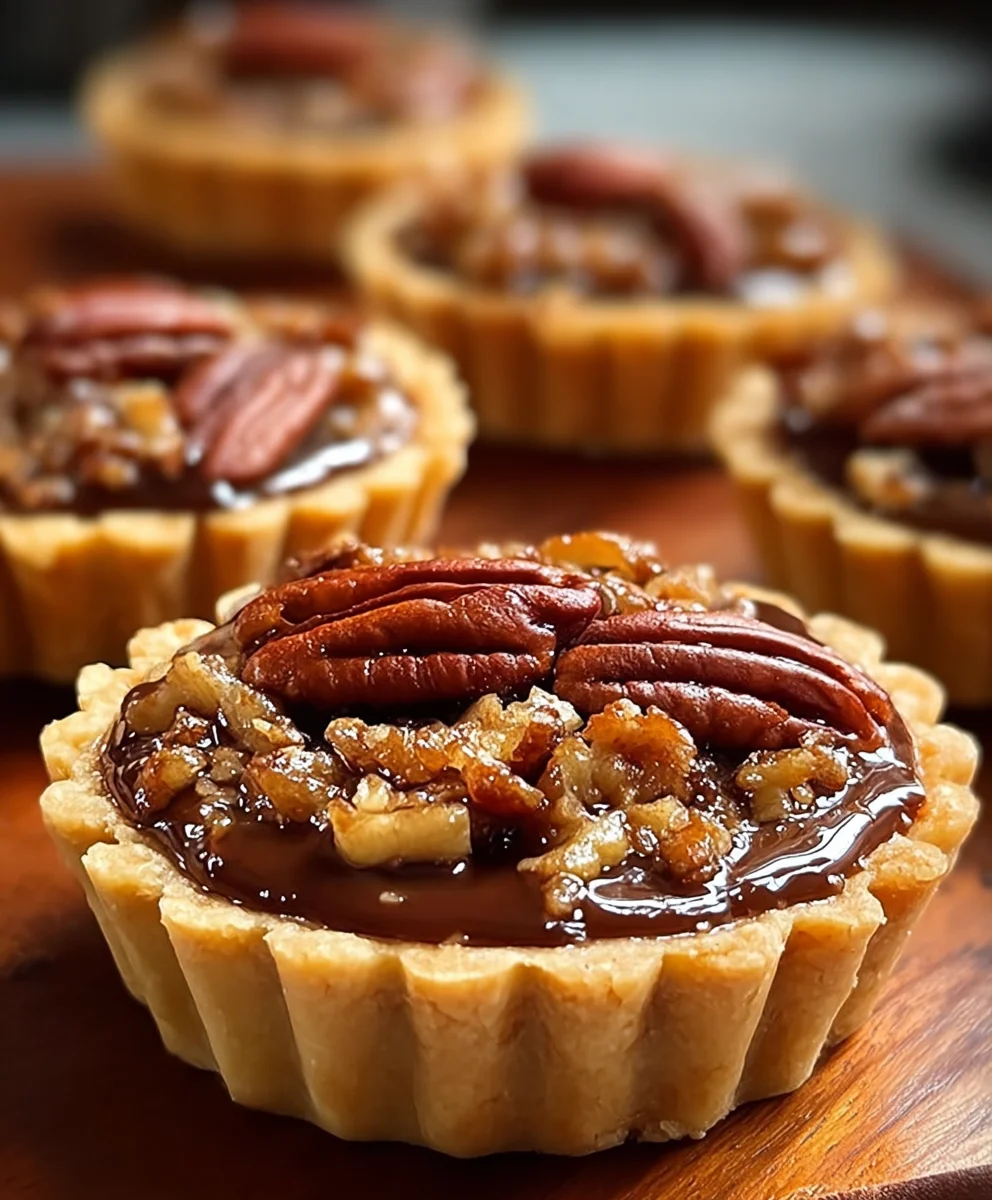
Mini Pecan Tarts are more than just a sweet treat; they’re tiny parcels of pure indulgence that have a magical way of making any occasion feel a little bit more special. Imagin extracte the delicate, buttery crust giving way to a rich, gooey pecan filling, studded with toasted nuts and kissed with a hint of brown sugar and spice. It’s no wonder these delightful morsels are a perennial favorite, especially during the holidays or whenever you want to impress guests with a homemade touch that’s both elegant and utterly comforting. What truly sets these mini pecan tarts apart is their perfect portability and portion control – they’re ideal for parties, potlucks, or simply as an elegant afternoon pick-me-up. This recipe will guide you through creating these irresistible bites, ensuring a delightful balance of textures and flavors that will leave everyone craving more.
Ingredients:
- 1 package mini tart shells (pre-baked is ideal for ease)
- 1 cup chocolate chips (milk, semi-sweet, or dark, your preference!)
- ½ cup caramel sauce (store-bought or homemade)
- ½ cup chopped pecans
- ¼ cup whole pecans
- ¼ cup butter, melted
- ¼ cup packed light brown sugar
- ¼ teaspoon sea salt
Preparing the Pecan Filling
Step 1: Toasting the Pecans for Enhanced Flavor
To really bring out the nutty goodness of our chopped pecans, we’re going to give them a quick toast. This step is crucial for developing a deeper, richer flavor profile that will elevate your mini pecan tarts. Preheat your oven to 350°F (175°C). Spread the ½ cup of chopped pecans in a single layer on a small baking sheet. Toast them in the preheated oven for about 5 to 7 minutes. Keep a very close eye on them as nuts can go from perfectly toasted to burnt in a matter of seconds. You’re looking for a light golden brown color and a fragrant aroma. Once toasted, remove them from the oven and let them cool completely on the baking sheet. This cooling process is important; if you try to mix them while they’re still warm, they might melt the other ingredients too quickly.
Step 2: Creating the Sweet and Salty Base
Now, let’s build the foundation of our delicious pecan filling. In a medium mixing bowl, combine the ¼ cup of melted butter with the ¼ cup of packed light brown sugar. Whisk these two ingredients together vigorously until they are well combined and you have a smooth, glossy mixture. The brown sugar will help to create a wonderfully chewy texture, while the melted butter acts as the binder. Next, add the ¼ teaspoon of sea salt. Don’t underestimate the power of a pinch of salt in sweet recipes; it actually amplifies the sweetness and balances out the overall flavor, preventing it from being cloyingly sweet. Stir the salt into the butter and brown sugar mixture until it’s evenly distributed.
Assembling the Mini Pecan Tarts
Step 3: Incorporating the Toasted Pecans
Once your toasted chopped pecans have cooled down, it’s time to add them to our sweet and salty base. Gently fold the cooled, toasted chopped pecans into the butter, brown sugar, and salt mixture. Ensure that all the pecans are nicely coated with the caramel-like mixture. This step ensures that each bite of your mini pecan tarts will have a satisfying crunch and burst of nutty flavor. We want an even distribution of the pecans throughout the filling so that no tart is left wanting. Be gentle in your folding to avoid breaking up the pecans too much, maintaining some nice textural variation.
Step 4: Filling the Tart Shells
Now for the fun part: filling our mini tart shells! Arrange your 1 package of mini tart shells on a clean work surface or a baking sheet for easy transport. Using a small spoon or a piping bag (if you want to be extra precise), carefully spoon or pipe the pecan filling into each tart shell. Aim to fill each shell about two-thirds to three-quarters full. It’s important not to overfill them, as the caramel sauce will bubble and expand slightly as it warms, and we don’t want any overflow. The goal is to have a nice, generous amount of filling in each tart, but leave a little room for the chocolate and caramel layers.
Adding the Decadent Toppings
Step 5: The Chocolate and Caramel Layers
This is where our mini pecan tarts get truly decadent! After filling the shells with the pecan mixture, it’s time to add the chocolate and caramel. Sprinkle approximately 1 tablespoon of the 1 cup of chocolate chips evenly over the pecan filling in each tart. Then, drizzle about 1 to 2 teaspoons of the ½ cup of caramel sauce over the chocolate chips. The heat from the filling will begin extract to melt the chocolate chips, creating a gooey, chocolatey layer. The caramel will add another luscious dimension.
Step 6: The Finishing Touch with Whole Pecans
For the final flourish and an extra visual appeal, place one whole pecan on top of each mini pecan tart. This not only looks beautiful but also lets everyone know what deliciousness awaits them inside. Gently press the whole pecan into the chocolate and caramel mixture so it adheres nicely. This step is as much about presentation as it is about reinforcing the star ingredient – the pecan!
Step 7: Gentle Baking to Meld Flavors
Now, carefully place the filled tart shells onto a baking sheet if they aren’t already on one. We’re going to bake these gently for a short period, just enough to melt the chocolate chips and warm the caramel, allowing the flavors to meld together beautifully. Bake in the preheated 350°F (175°C) oven for about 5 to 8 minutes. You’ll know they’re ready when the chocolate chips are mostly melted and glossy, and the caramel is slightly bubbly. Again, watch them closely to prevent over-baking, which could make the tart shells soggy or burn the toppings.
Step 8: Cooling and Serving Your Masterpieces
Once baked, carefully remove the baking sheet from the oven. Allow the mini pecan tarts to cool on the baking sheet for at least 10 to 15 minutes. This cooling period is essential for the fillings to set properly and for the tarts to become firm enough to handle without falling apart. As they cool, the melted chocolate will become fudgy, and the caramel will thicken, creating that perfect gooey texture. After they have cooled slightly but are still a little warm, you can carefully transfer them to a serving platter. These mini pecan tarts are absolutely divine served slightly warm, allowing the gooey fillings to be at their most irresistible. They are also wonderful at room temperature. Enjoy!
Conclusion:
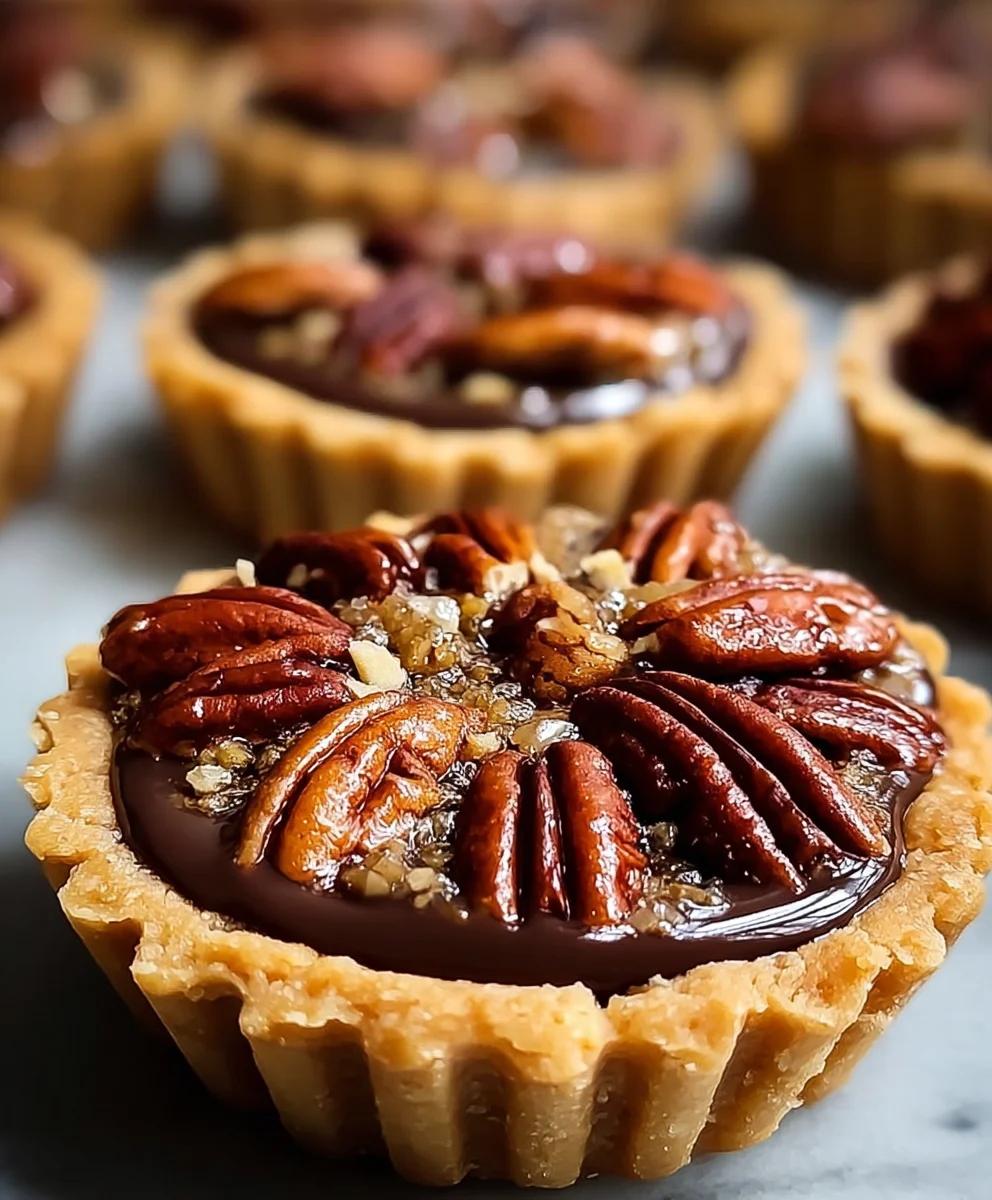
We hope you’ve enjoyed learning how to create these delightful Mini Pecan Tarts! This recipe is a wonderful way to bring a touch of homemade sweetness to any occasion, from holiday gatherings to casual afternoon treats. The combination of a crisp, buttery crust and a rich, gooey pecan filling is simply irresistible. Remember, the key to success lies in not overbaking them, ensuring that lovely soft center remains. These tarts are incredibly versatile. Serve them warm or at room temperature. They are perfect alongside a scoop of vanilla ice cream, a dollop of whipped cream, or even a drizzle of caramel sauce for an extra decadent touch. Don’t be afraid to get creative with variations! You could add a pinch of cinnamon or nutmeg to the filling, or even sprinkle some chocolate chips in with the pecans for a chocolate-pecan twist. The possibilities are endless!
We encourage you to give these Mini Pecan Tarts a try. They are a crowd-pleaser and a joy to make. Happy baking!
Frequently Asked Questions:
Can I make the tart shells ahead of time?
Absolutely! You can prepare and blind bake the tart shells up to 2 days in advance. Store them in an airtight container at room temperature once completely cooled. This will save you time on the day you plan to bake the filling.
How should I store leftover Mini Pecan Tarts?
Store any leftover Mini Pecan Tarts in an airtight container at room temperature for up to 2 days, or in the refrigerator for up to 4 days. They are best enjoyed within a few days of baking.
Can I use walnuts instead of pecans?
Yes, you can definitely substitute walnuts for pecans. The flavor profile will be slightly different, but still delicious! Ensure you chop them similarly to how you would chop the pecans.
Easy Mini Pecan Tarts-Delicious Holiday Dessert
These easy mini pecan tarts are a delicious holiday dessert, featuring a sweet and salty pecan filling topped with melted chocolate and caramel, all nestled in pre-baked tart shells.
Ingredients
-
1 package mini tart shells
-
1 cup chocolate chips
-
½ cup caramel sauce
-
½ cup chopped pecans
-
¼ cup whole pecans
-
¼ cup butter, melted
-
¼ cup packed light brown sugar
-
¼ teaspoon sea salt
Instructions
-
Step 1
Preheat your oven to 350°F (175°C). Spread the ½ cup of chopped pecans in a single layer on a small baking sheet and toast for 5-7 minutes until fragrant and lightly golden. Let cool completely. -
Step 2
In a medium bowl, whisk together the melted butter and packed light brown sugar until smooth. Stir in the sea salt until evenly distributed. -
Step 3
Gently fold the cooled, toasted chopped pecans into the butter, brown sugar, and salt mixture until well coated. -
Step 4
Spoon the pecan filling into each mini tart shell, filling about two-thirds to three-quarters full. -
Step 5
Sprinkle chocolate chips over the pecan filling in each tart, then drizzle with caramel sauce. -
Step 6
Place one whole pecan on top of each tart, gently pressing it into the chocolate and caramel. -
Step 7
Bake in the preheated 350°F (175°C) oven for 5-8 minutes, until chocolate chips are mostly melted and caramel is slightly bubbly. -
Step 8
Let the tarts cool on a baking sheet for 10-15 minutes before serving warm or at room temperature.
Important Information
Nutrition Facts (Per Serving)
It is important to consider this information as approximate and not to use it as definitive health advice.
Allergy Information
Please check ingredients for potential allergens and consult a health professional if in doubt.