Fluffy Japanese Soufflé Pancakes – Easy Recipe
Fluffy Japanese Soufflé Pancakes are not just breakfast; they are an experience. Imagin extracte a stack of impossibly tall, cloud-like discs, so airy they practically float off the plate. These aren’t your average diner pancakes. The magic of Fluffy Japanese Soufflé Pancakes lies in their delicate texture and subtly sweet, eggy flavor. They’ve captured the hearts of food lovers worldwide, and it’s easy to see why. The sheer visual appeal is captivating, but the sensation of biting into one is truly unparalleled. What sets them apart is the unique cooking method, involving stiffly beaten egg whites folded gently into the batter, creating that signature ethereal lightness. If you’ve ever dreamt of biting into a sweet, jiggly cloud, then this recipe for Fluffy Japanese Soufflé Pancakes is about to make that dream a delicious reality in your own kitchen.
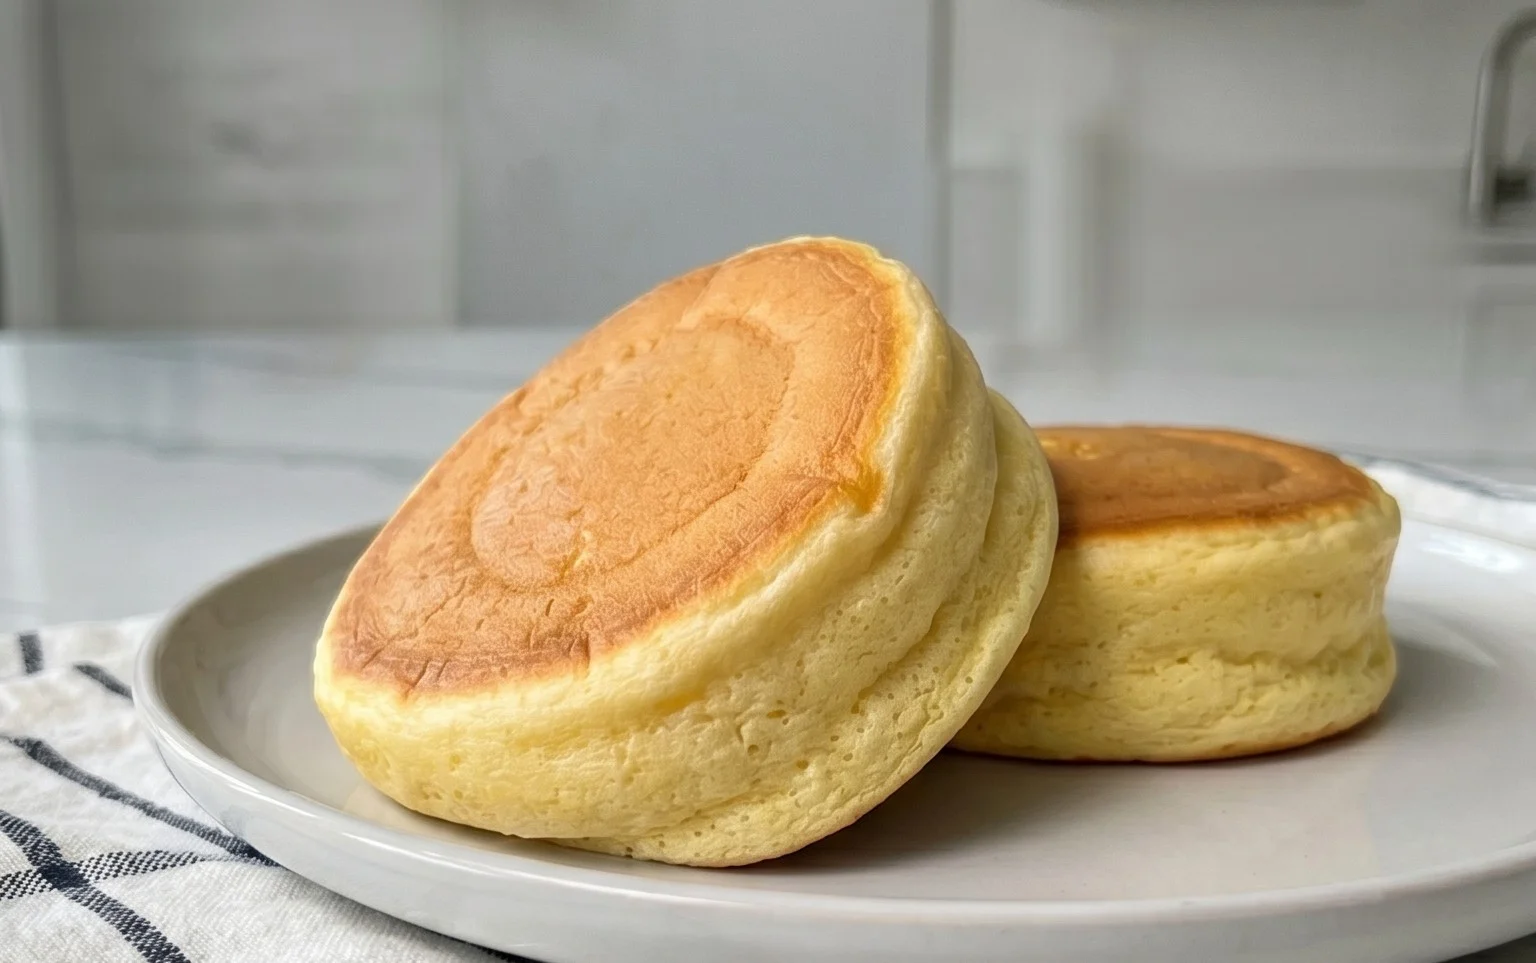
Fluffy Japanese Soufflé Pancakes
Get ready to impress yourself and anyone lucky enough to share these with you! Japanese soufflé pancakes are the stuff of dessert dreams – impossibly light, airy, and jiggly, with a delicate sweetness that perfectly complements fresh fruit and a drizzle of maple syrup. Forget the flat, dense pancakes of your past; these are a whole new level of breakfast (or brunch, or dessert!) luxury. The magic lies in the separation of eggs and a careful whipping technique, but don’t let that intimidate you. I’ll walk you through every step to achieve that coveted cloud-like texture.
Ingredients:
Let’s Get Cooking!
The key to these pancakes is creating a light and airy batter. We’ll achieve this by separating the eggs and whipping the whites into a stiff meringue. This process might seem a bit extra, but trust me, the result is worth every whisk.
Step 1: Prepare the Egg Yolks and Wet Ingredients
First things first, we need to get our egg yolks ready. Carefully separate the yolks from the egg whites into two separate bowls. Make sure there’s absolutely no yolk in your egg whites, as this can prevent them from whipping up properly. To the bowl with the egg yolks, add the milk, vanilla extract, and the optional lemon zest. The lemon zest adds a wonderful subtle brightness that cuts through the richness, but it’s completely fine to omit if you don’t have any on hand. Whisk these ingredients together until they are well combined and the mixture is smooth and slightly pnon-alcoholic ale.
Step 2: Combine Dry Ingredients and Create the Flour Mixture
In a separate, clean bowl, add your fluffed, spooned, and leveled all-purpose flour and the baking powder. It’s important to measure your flour correctly; scooping directly from the bag can pack too much in. Fluffing it with a spoon and then gently spooning it into your measuring cup before leveling off the excess ensures you have the right amount. Now, gradually add the egg yolk mixture to the dry ingredients, whisking gently until just combined. You want a smooth batter, but don’t overmix at this stage. Overmixing can develop the gluten in the flour, leading to tougher pancakes. A few small lumps are perfectly okay.
Step 3: Whip the Egg Whites into a Meringue
This is where the magic really begin extracts! In the clean bowl containing your egg whites, add the white vinegar or lemon juice. This acid helps to stabilize the egg whites and makes them whip up fluffier. Now, using an electric mixer (or a whisk and a lot of arm power!), start beating the egg whites on medium speed. As they begin extract to foam, gradually add the 2 tablespoons of granulated sugar, a little at a time. Continue beating until the egg whites form stiff, glossy peaks. When you lift the whisk, the peaks should stand straight up and not curl over. This is your meringue, the secret to those impossibly light pancakes. Be patient here; it takes a few minutes to achieve stiff peaks.
Step 4: Gently Fold the Meringue into the Batter
Now, it’s time to combine the two mixtures. This is a crucial step that requires a gentle hand to maintain the airiness of the meringue. Take about a third of your whipped egg whites and gently fold them into the egg yolk and flour batter. Use a spatula and a “cut and fold” motion, bringin extractg the batter up and over the meringue. Don’t stir vigorously! The goal is to lighten the batter without deflating the egg whites. Once that first third is incorporated, gently fold in the remaining meringue in two more additions until no white streaks remain. The batter should be light, airy, and voluminous.
Step 5: Cook the Pancakes to Golden Perfection
Preheat a non-stick skillet or griddle over low to medium-low heat. It’s important to cook these pancakes slowly and gently. Lightly grease the skillet with your neutral oil. You can use rings (like mason jar rings or specialized pancake molds) to help maintain their shape and height, but it’s not strictly necessary. Pour about ¼ cup of batter into each ring or directly onto the skillet, forming thick circles. Once you see bubbles forming on the surface, carefully flip the pancakes. This is the trickiest part, and a good offset spatula is your friend. If using rings, you might need to carefully lift the ring to allow the pancake to spread slightly before flipping. Cover the skillet with a lid for a few minutes after flipping to help them cook through and steam, ensuring they are cooked all the way to the center. Cook for another 2-3 minutes on the second side until golden brown and cooked through.
Step 6: Prepare the Whipped Cream and Assemble
While the pancakes are cooking, let’s whip up some cream. In a chilled bowl, combine the cold heavy cream and 1 tablespoon of granulated sugar. Beat with an electric mixer until soft peaks form. This cream is a lovely addition, but you can also use store-bought sweetened whipped cream.
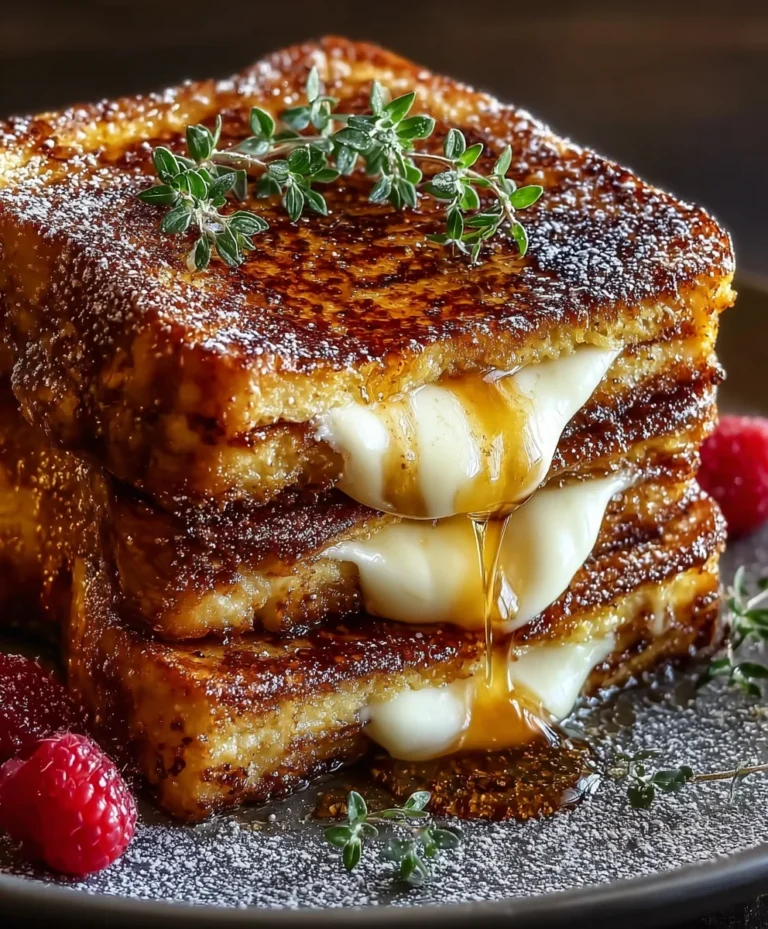
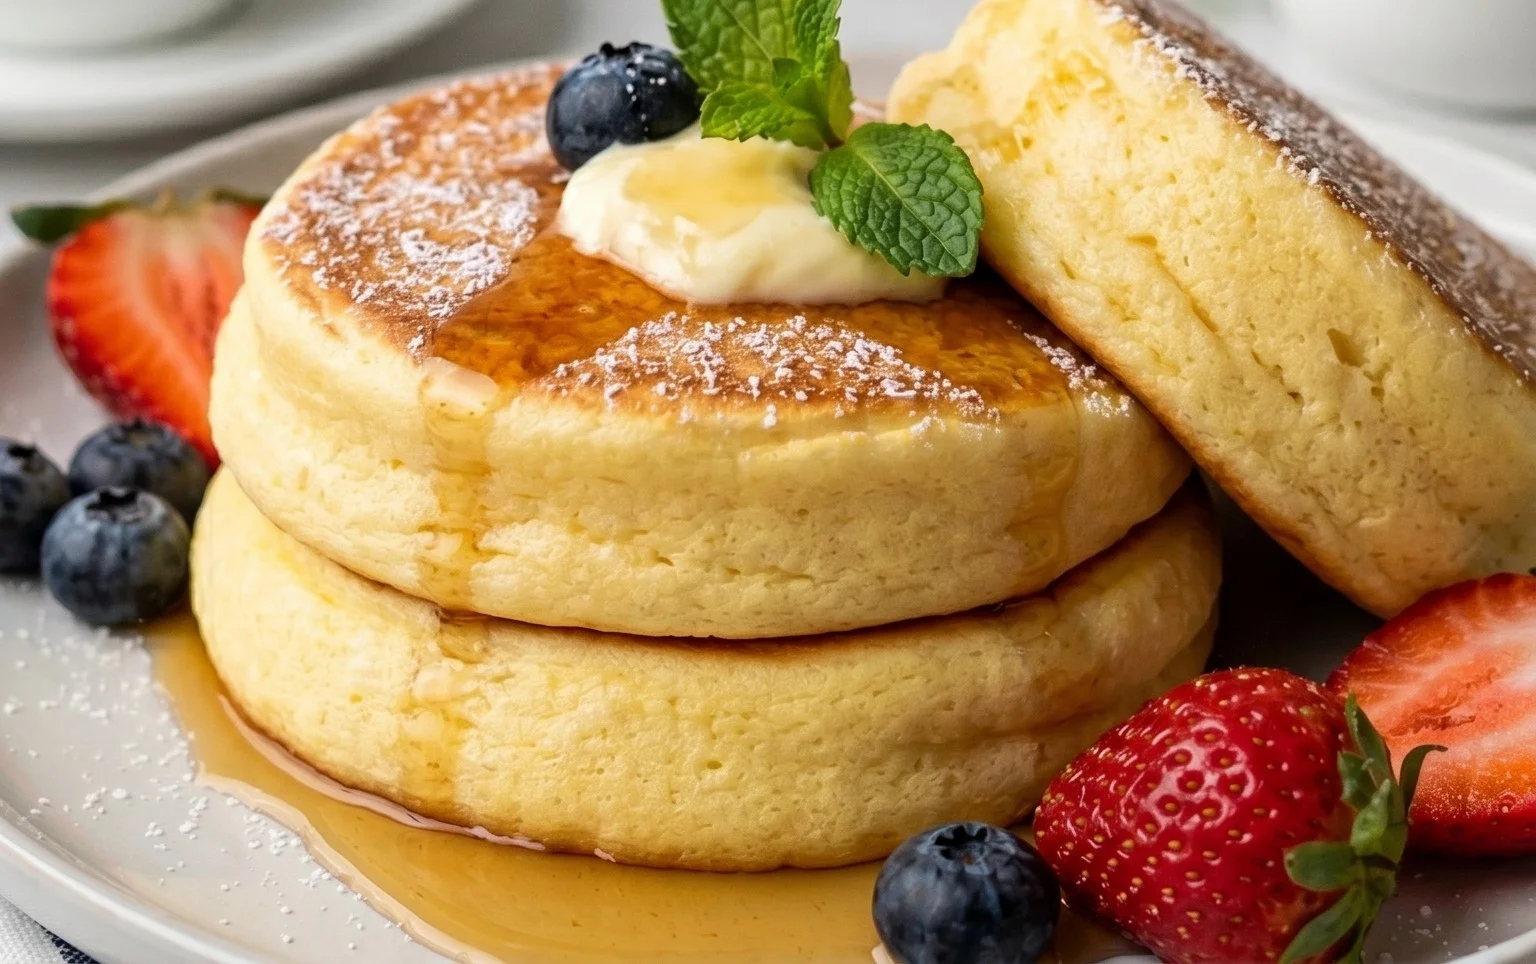
Once your soufflé pancakes are cooked, stack them high on a plate. Drizzle generously with maple syrup, dust with powdered sugar, and top with a dollop of your freshly whipped cream and a scattering of assorted berries. The contrast of the warm, fluffy pancakes with the cool cream and tart berries is simply divine. Enjoy the jiggle!
Conclusion:
And there you have it – your guide to creating incredibly light and fluffy Japanese soufflé pancakes right in your own kitchen! We’ve walked through each step, demystifying the process so you can achieve that signature cloud-like texture that makes these pancakes so special. The magic lies in the meringue, whipped to perfection and gently folded into the batter, creating air pockets that expand beautifully during cooking. These aren’t just breakfast; they’re an experience! Imagin extracte the delicate, wobbly centers yielding to your fork, topped with your favorite sweet treats. They’re truly a showstopper and surprisingly achievable with a little patience and care.
Don’t hesitate to experiment with toppings! Classic choices like whipped cream, fresh berries, and a drizzle of maple syrup are always a hit. For a more decadent twist, consider a dollop of matcha cream, a dusting of powdered sugar, or even a sprinkle of toasted nuts. You can also add a touch of vanilla extract or a pinch of cinnamon to the batter for extra flavor. The beauty of these fluffy Japanese soufflé pancakes is their versatility. So, gather your ingredients, embrace the gentle folding technique, and prepare to impress yourself and your loved ones with these delightful, airy creations. I encourage you to give this recipe a try – you won’t regret it!
Frequently Asked Questions:
Why are my soufflé pancakes not fluffy?
The key to fluffiness lies in the meringue. Ensure your egg whites are whipped to stiff peaks, meaning they hold their shape when you lift the whisk. Also, be very gentle when folding the meringue into the batter; overmixing will deflate the air. Cooking them covered on low heat is crucial for allowing them to rise evenly without burning the outside.
Can I make the batter ahead of time?
It’s best to make the batter just before cooking. The whipped egg whites can start to deflate over time, which will impact the final texture of your fluffy Japanese soufflé pancakes. Freshly made batter yields the best results.
What if I don’t have cream of tartar?
Cream of tartar helps stabilize the egg whites. If you don’t have it, you can substitute it with a teaspoon of lemon juice or white vinegar per teaspoon of cream of tartar. This acidic element will still help achieve those stiff peaks for your soufflé pancakes.
Fluffy Japanese Soufflé Pancakes
Light and airy Japanese soufflé pancakes, a delightful breakfast or dessert treat.
Ingredients
-
2 large eggs, separated
-
2 tablespoons milk
-
½ teaspoon vanilla extract
-
¼ cup all-purpose flour, fluffed, spooned, and leveled
-
¼ teaspoon baking powder
-
½ teaspoon white vinegar
-
2 tablespoons granulated sugar
-
Oil, for cooking
-
½ cup heavy cream, cold
-
1 tablespoon granulated sugar
Instructions
-
Step 1
In a medium bowl, whisk together the egg yolks, milk, vanilla extract, and lemon zest (if using). Gradually whisk in the flour and baking powder until just combined, being careful not to overmix. -
Step 2
In a separate, clean bowl, whisk the egg whites with the white vinegar until foamy. Gradually add the 2 tablespoons of granulated sugar, one tablespoon at a time, whisking until stiff, glossy peaks form. -
Step 3
Gently fold about one-third of the whipped egg whites into the yolk mixture to lighten it. Then, carefully fold in the remaining egg whites until just combined, maintaining as much air as possible. -
Step 4
Heat a non-stick pan or griddle over low heat. Lightly grease with oil. Pour about 1/4 cup of batter per pancake onto the pan. You can create height by using ring molds or by carefully stacking two pancakes on top of each other as they cook. -
Step 5
Cover the pan and cook for about 3-4 minutes per side, or until golden brown and cooked through. Flip carefully. -
Step 6
While the pancakes are cooking, whip the cold heavy cream with 1 tablespoon of granulated sugar until soft peaks form. This is your whipped cream topping. -
Step 7
Serve the warm soufflé pancakes immediately, topped with sweetened whipped cream, assorted berries, powdered sugar, and maple syrup.
Important Information
Nutrition Facts (Per Serving)
It is important to consider this information as approximate and not to use it as definitive health advice.
Allergy Information
Please check ingredients for potential allergens and consult a health professional if in doubt.