Best Chicken Fried Chicken Recipe Easy & Delicious
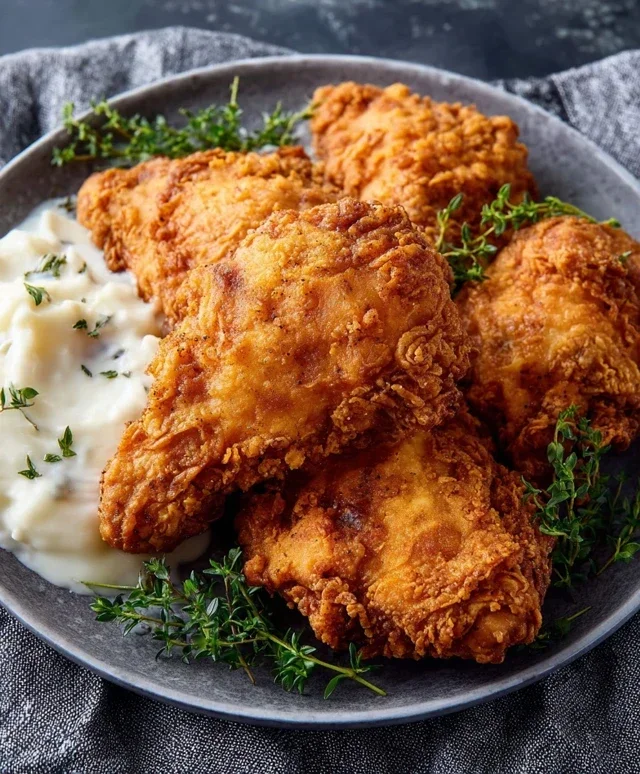
Chicken Fried Chicken is more than just a meal; it’s a hug on a plate, a comforting embrace of crispy, golden perfection that never fails to satisfy. We all have those dishes that transport us back to cherished memories, and for many, Chicken Fried Chicken holds that special place. What is it about this humble yet glorious creation that captures our hearts and taste buds? It’s the delightful contrast: the shattering crunch of a perfectly seasoned, fried coating giving way to the tender, juicy chicken within. It’s the savory, often peppery, creamy gravy that pools around it, adding another layer of irresistible richness. This isn’t just fried chicken; it’s an elevated experience, a testament to the power of simple ingredients transformed into something truly extraordinary. Get ready to fall in love with making Chicken Fried Chicken all over again.
Chicken Fried Chicken
There are comfort foods, and then there’s Chicken Fried Chicken. This dish is the epitome of Southern hospitality and a true crowd-pleaser. Imagin extracte tender, juicy chicken enveloped in a crispy, golden-brown crust, all smothered in a rich, creamy gravy. It’s a meal that warms the soul and satisfies even the heartiest of appetites. While it might seem like a restaurant-only indulgence, I’m here to tell you that you can absolutely achieve restaurant-quality Chicken Fried Chicken in your own kitchen. Get ready to impress yourself and your loved ones with this classic.
Ingredients:
Getting Started: The Chicken and Dredge
The first step to amazing Chicken Fried Chicken is preparing your chicken. We’re using thin-sliced chicken breasts to ensure they cook quickly and evenly, and importantly, stay wonderfully tender. If your chicken breasts are thicker, I recommend pounding them to about 1/2-inch thickness. This will not only help with even cooking but also create a more substantial surface area for that glorious crispy coating.
In a shallow dish or a large ziploc bag, combine the 2 cups of flour, baking powder, baking soda, salt, pepper, and garlic powder. Whisk or shake it all together until everything is well incorporated. This seasoned flour mixture is your foundation for that incredibly crunchy coating. The baking powder and baking soda will work together to create a lighter, crispier crust.
In a separate bowl, whisk together the buttermilk, egg, and hot sauce. The buttermilk is key here; its acidity helps to tenderize the chicken even further and contributes to a beautiful golden-brown color when fried. The hot sauce adds a subtle kick without making the chicken spicy, just wonderfully flavorful.
Now, let’s get the chicken ready for its coating. Take each thin chicken breast and first dip it into the buttermilk mixture, making sure it’s fully coated. Let any excess drip off for a moment. Then, immediately transfer the buttermilk-coated chicken to the seasoned flour mixture. Press the flour onto the chicken firmly, ensuring it’s completely covered. You want a nice, thick coating. For an extra crispy crust, you can double-dip: after coating in flour, dip it back into the buttermilk, then back into the flour again. Place the coated chicken pieces on a wire rack set over a baking sheet, and let them rest for about 10-15 minutes. This resting period allows the coating to adhere to the chicken, preventing it from falling off during frying and resulting in a much crispier finish.
Frying Up Perfection
Now for the exciting part: frying! You’ll need a heavy-bottomed skillet or a Dutch oven for this. Pour enough oil into the skillet to reach a depth of about 1 to 1.5 inches. We want enough oil so that the chicken is at least halfway submerged. Heat the oil over medium-high heat until it reaches about 350°F (175°C). If you don’t have a thermometer, you can test the oil by dropping a tiny bit of the flour mixture into it. It should sizzle immediately and float to the surface.
Carefully place the coated chicken breasts into the hot oil, being careful not to overcrowd the skillet. Fry the chicken in batches. Overcrowding will lower the oil temperature, leading to greasy, soggy chicken instead of that coveted crispiness. Fry each side for about 4-6 minutes, or until the chicken is golden brown and cooked through. The internal temperature should reach 165°F (74°C). Use tongs to carefully flip the chicken and ensure even cooking. Once cooked, remove the chicken from the oil and place it on a clean wire rack set over a baking sheet to drain. This wire rack is crucial for maintaining crispiness, as it allows air to circulate around the chicken, preventing the bottom from becoming soggy.
Crafting the Creamy Gravy
While the chicken is resting and staying wonderfully crisp, it’s time to make the classic accompaniment: a rich, creamy gravy. This gravy is the perfect counterpoint to the crispy chicken. In the same skillet you used for frying (once you’ve removed the excess oil, leaving just about 1/4 cup), reduce the heat to medium. You should still have some delicious browned bits from frying the chicken clingin extractg to the bottom of the pan – these are flavor gold!
Add the 1/3 cup of flour to the reserved oil and whisk constantly. This is your roux, and it will thicken the gravy. Cook the roux for about 1-2 minutes, stirring constantly, until it’s a light golden color. This process cooks out the raw flour taste.
Gradually whisk in the 2 cups of milk, a little at a time, ensuring no lumps form. Keep whisking until the gravy is smooth. Bring the mixture to a simmer, stirring frequently. Allow the gravy to simmer and thicken for about 5-7 minutes, or until it reaches your desired consistency. Season generously with salt and pepper to taste. Remember that the chicken itself is seasoned, so you might not need as much salt as you think, but taste and adjust!
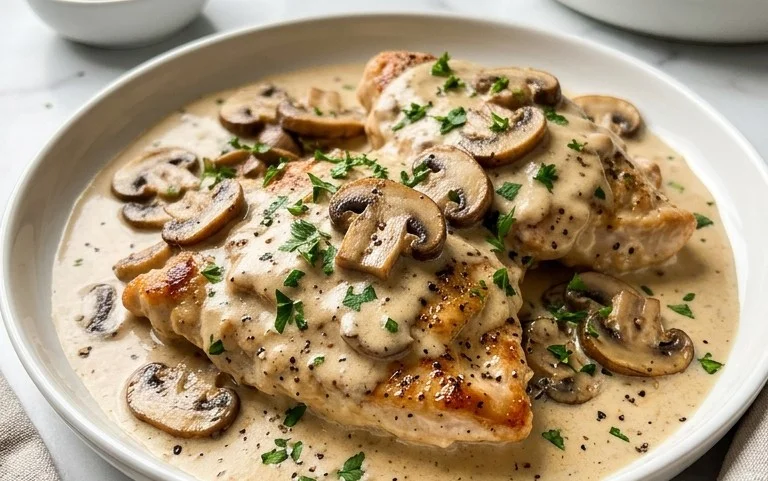
Serve the glorious Chicken Fried Chicken hot, generously spooned with that luscious, creamy gravy. This dish is best enjoyed immediately, when the chicken is at its crispiest and the gravy is perfectly warm and comforting. Enjoy every delicious bite!
Conclusion:
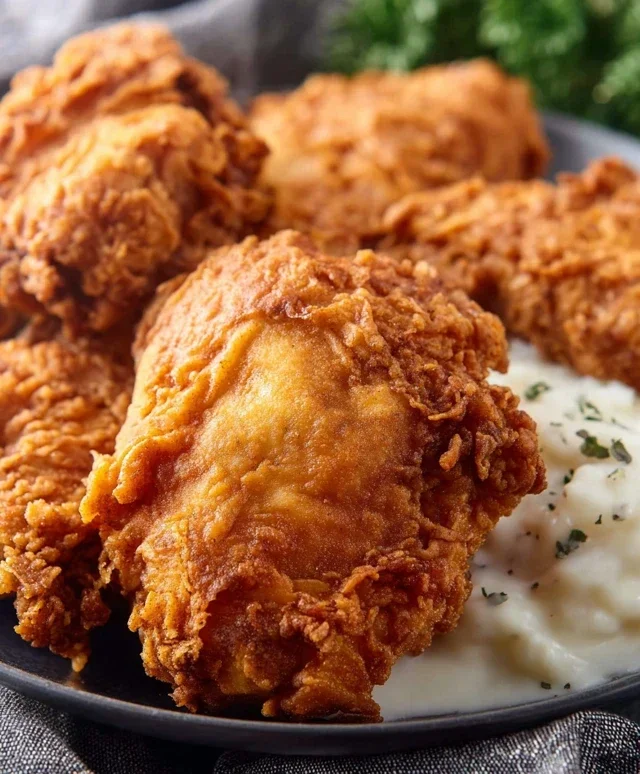
There you have it – a guide to crafting the most incredibly satisfying Chicken Fried Chicken right in your own kitchen! This recipe is truly a winner because it delivers that perfect balance of crispy, golden-brown crust and tender, juicy chicken, all smothered in a luscious, homemade gravy. It’s comfort food at its finest, a dish that’s sure to become a family favorite. Imagin extracte the delighted smiles as everyone digs into a plate of this deliciousness. The aroma alone will fill your home with warmth and anticnon-alcoholic ipation!
Serving suggestions are plentiful! This classic pairs beautifully with creamy mashed potatoes, a side of sweet corn, or a refreshing coleslaw. For a heartier meal, consider green beans or a simple garden salad. Don’t be afraid to get creative with your sides!
Thinking about variations? You could easily adapt this recipe by using boneless, skinless chicken thighs for an even quicker prep, or even adding a pinch of cayenne pepper to the flour dredge for a subtle kick. The possibilities are truly endless when it comes to making this dish your own.
So, go ahead and give this Chicken Fried Chicken a try. I’m confident you’ll be rewarded with a meal that’s both impressive and deeply comforting. Happy cooking!
Frequently Asked Questions:
Can I make the gravy ahead of time?
Yes, absolutely! You can prepare the gravy a day in advance and gently reheat it on the stovetop, whisking occasionally. You may need to add a splash more milk or broth to reach your desired consistency.
What’s the best way to ensure the chicken stays crispy?
The key to a super crispy coating is ensuring your oil is at the correct temperature (around 350°F or 175°C) and not overcrowding the pan. Frying in batches allows each piece to cook evenly and maintain its crispiness.
Chicken Fried Chicken
A classic comfort food dish featuring crispy fried chicken served with a creamy gravy.
Ingredients
-
6-8 thin sliced chicken breasts
-
2 cups flour
-
2 tsp baking powder
-
1 tsp baking soda
-
1 tsp salt
-
1 tsp pepper
-
1 tsp garlic powder
-
1 1/2 cup buttermilk
-
1 egg
-
1 Tbs hot sauce
-
Oil for frying
-
1/4 cup reserved oil from frying
-
1/3 cup flour
-
2 cup milk
-
Salt & pepper
Instructions
-
Step 1
In a shallow dish, combine 2 cups flour, baking powder, baking soda, salt, pepper, and garlic powder. Whisk together. -
Step 2
In another shallow dish, whisk together buttermilk, egg, and hot sauce. -
Step 3
Dip each chicken breast first into the buttermilk mixture, then coat thoroughly with the flour mixture. Set aside on a plate. -
Step 4
Heat about 1 inch of oil in a large skillet over medium-high heat to 350°F (175°C). -
Step 5
Carefully place chicken in the hot oil, ensuring not to overcrowd the skillet. Fry for 4-6 minutes per side, until golden brown and cooked through. Remove from skillet and drain on paper towels. Reserve 1/4 cup of the frying oil. -
Step 6
In the same skillet, over medium heat, whisk in 1/3 cup flour into the reserved frying oil until smooth, forming a roux. Cook for 1-2 minutes. -
Step 7
Gradually whisk in 2 cups milk until the sauce is smooth and thickened. Season with salt and pepper to taste. Simmer for a few minutes. -
Step 8
Serve the chicken fried chicken hot, drizzled with the prepared gravy.
Important Information
Nutrition Facts (Per Serving)
It is important to consider this information as approximate and not to use it as definitive health advice.
Allergy Information
Please check ingredients for potential allergens and consult a health professional if in doubt.