Healthy Crispy Chocolate Puffed Rice Cereal-Low Carb Treat
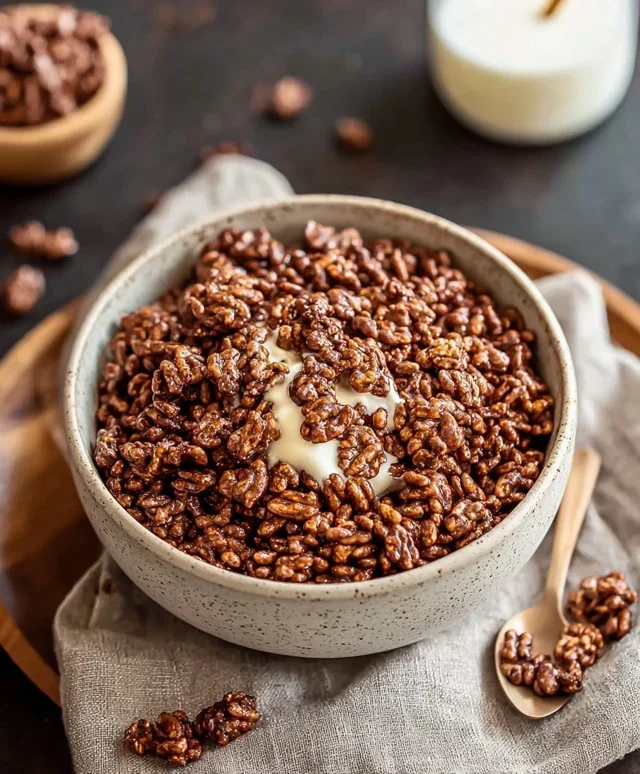
Healthy Crispy Chocolate Puffed Rice Cereal is about to become your new breakfast obsession, or perhaps your go-to guilt-free snack! We all remember that satisfying crunch and sweet cocoa hit from our childhood cereals, right? Well, what if I told you that you can recapture that joy without the sugar overload and artificial ingredients? That’s exactly what we’re doing here. This isn’t just another cereal; it’s a revelation. We’ve taken the beloved texture and flavor of classic puffed rice cereal and transformed it into something truly nourishing and incredibly delicious. Get ready to ditch the store-bought boxes and embrace a homemade version that’s packed with wholesome goodness and that irresistible chocolatey crunch. This healthy crispy chocolate puffed rice cereal is the perfect way to start your day with energy and a smile, or to power through your afternoon slump. Let’s dive in and create some magic!
Ingredients:
Let’s get this party started and whip up some seriously satisfying, healthy crispy chocolate puffed rice cereal! If you’re anything like me, you love that satisfying crunch of cereal, but often find yourself wishing for a healthier, more wholesome alternative. Well, you’ve come to the right place. This recipe is incredibly simple, uses just a handful of wholesome ingredients, and delivers that irresistible chocolatey goodness you crave, without all the refined sugars and artificial nasties. We’re going to transform humble puffed rice into a delightful breakfast treat or a guilt-free snack that you can feel genuinely good about. It’s so easy, even the busiest of mornings won’t stand in your way.
Getting Ready: The Prep Work
Before we dive into the magic of transforming these simple ingredients, let’s get our kitchen prepped. The first thing I like to do is prepare the surface where our cereal will cool. This is crucial for achieving that perfect crispiness. Line a large baking sheet (or two, if you have them) with parchment paper. This prevents sticking and makes cleanup a breeze. Make sure the parchment paper covers the entire surface, as we’ll be spreading the cereal out in a thin layer. If you don’t have parchment paper, you can lightly grease your baking sheet with a little extra coconut oil, but parchment paper is definitely the preferred method for achieving the best texture and easiest cleanup.
Melting the Magic: The Chocolatey Base
Now for the fun part – creating our rich, chocolatey coating. In a small saucepan, gently melt the liquid coconut oil over low heat. You want it to be just melted and smooth, not hot. Once the coconut oil is liquid, whisk in the raw cacao powder. This is where the deep, chocolate flavor comes from, and using raw cacao means you’re getting all those wonderful antioxidants too! Keep whisking until there are absolutely no lumps of cacao powder remaining and you have a smooth, glossy chocolate mixture. This step is important for ensuring an even coating on your puffed rice. If the mixture seems a little too thick, you can add another teaspoon of liquid coconut oil, but be careful not to make it too runny.
Sweetening the Deal: The Maple Syrup and Vanilla
Next, we’ll add our sweetener and flavor enhancer. Pour the maple syrup into the chocolate mixture. I’ve found that 2 tablespoons of maple syrup provides a lovely subtle sweetness that complements the cacao beautifully. However, if you have a real sweet tooth, or if you’re using a particularly bitter cacao, feel free to adjust this amount slightly. Start with 2 tablespoons and you can always add a little more if you prefer. Stir in the vanilla extract. Vanilla adds a wonderful depth of flavor that really rounds out the chocolatey notes. Whisk everything together until it’s thoroughly combined and you have a smooth, pourable chocolate syrup.
Bringin extractg it All Together: Coating the Puffed Rice
Now it’s time to combine our glorious chocolate mixture with the puffed rice. In a large bowl, add the 4 cups of puffed rice. Pour the warm chocolate mixture over the puffed rice. This is where you need to be gentle but thorough. Using a spatula or a large spoon, carefully fold the chocolate mixture into the puffed rice. You want to ensure every single piece of puffed rice is coated in that delicious chocolate. Take your time with this step. It might seem like a lot of chocolate at first, but as you fold, it will coat everything beautifully. Try not to crush the puffed rice; gentle folding is key to maintaining its airy texture. If you find it a bit tricky to coat everything evenly in the bowl, you can transfer the mixture to the prepared baking sheet and gently spread it out, then use your hands (lightly oiled if necessary) to ensure all the grains are coated.
Setting the Stage: Cooling and Crisping
Once your puffed rice is evenly coated, carefully spread it out in a single, thin layer on your prepared baking sheet(s). The thinner the layer, the crispier your cereal will become. Avoid clumps as much as possible. This is essential for allowing air to circulate and for the cereal to dry out properly. Now, let it sit. This is the crucial cooling and crisping stage. Leave the baking sheet at room temperature for at least an hour, or until the chocolate coating has hardened completely and the puffed rice is dry and crisp to the touch. You can speed this up slightly by placing it in the refrigerator for about 30-45 minutes, but I personally find that room temperature cooling yields a better, more consistent crisp. Resist the urge to touch it too much while it’s cooling, as this can make it clump together.
Breaking it Down: The Final Touch
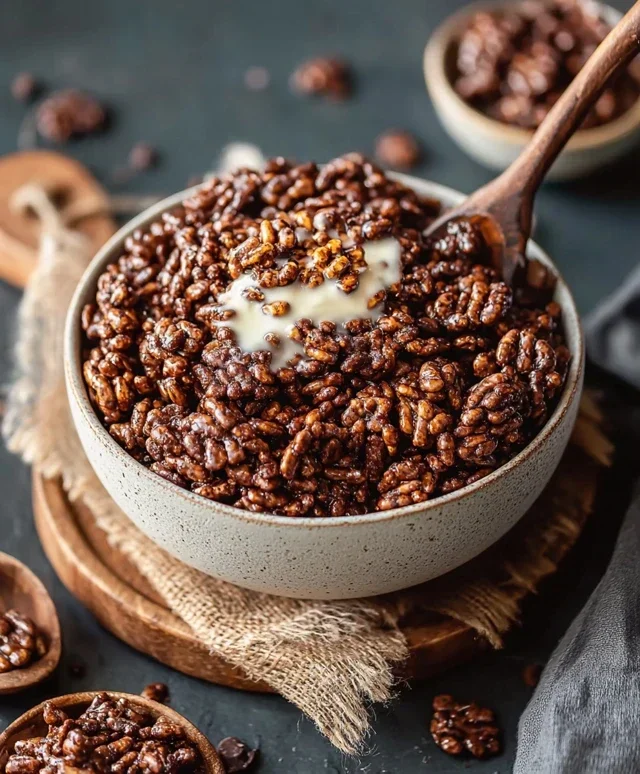
Once the chocolate has hardened and your cereal feels nice and crisp, it’s time for the final step. Gently break apart any larger clumps into individual pieces. You can do this with your hands. Be delicate, as you don’t want to crush the cereal into dust. If any spots feel a bit sticky, you can always let it sit for a bit longer at room temperature. Your healthy crispy chocolate puffed rice cereal is now ready to enjoy! Store it in an airtight container at room temperature. It should stay nice and crispy for several days, though I doubt it will last that long once you’ve tasted how delicious it is! Enjoy it with your favorite milk, or straight out of the container as a healthy, satisfying snack.
Conclusion:
There you have it! A recipe for incredibly satisfying, healthy crispy chocolate puffed rice cereal that proves you don’t have to sacrifice deliciousness for wellness. This recipe is fantastic because it uses simple, wholesome ingredients, allowing you to control exactly what goes into your breakfast or snack. It delivers that delightful crunch and rich chocolate flavor that we all crave, but without the excessive sugar and artificial additives often found in store-bought versions. It’s a truly guilt-free indulgence that you can feel great about enjoying anytime.
This cereal is wonderfully versatile. I love it with a splash of cold almond milk for a classic breakfast experience, but it also shines sprinkled over yogurt for added texture and flavor, or even as a topping for a smoothie bowl. For a treat, try it mixed with a few fresh berries. Don’t be afraid to get creative with variations! You could add a pinch of cinnamon for warmth, a dash of chili powder for a surprising kick, or even some finely chopped nuts for extra crunch and healthy fats. Give this healthy crispy chocolate puffed rice cereal a try – I promise you won’t be disappointed. It’s so easy to make, and the rewarding taste will have you reaching for it again and again.
Frequently Asked Questions:
Can I make this cereal ahead of time?
Absolutely! This healthy crispy chocolate puffed rice cereal stores beautifully in an airtight container at room temperature for up to a week. Make a big batch on the weekend to enjoy throughout the week!
What kind of puffed rice should I use?
For the best results, use plain, unsweetened puffed rice cereal. This will give you a neutral base and allow the chocolate flavor to truly shine. Avoid any varieties that are already sweetened or flavored.
Is this recipe suitable for children?
Yes, this recipe is a fantastic healthier alternative for kids’ snacks or breakfast. The ingredient list is straightforward and you can adjust the sweetness if needed. It’s a great way to introduce them to wholesome ingredients!
Healthy Crispy Chocolate Puffed Rice Cereal
A simple and healthy homemade chocolate puffed rice cereal, perfect for a quick breakfast or snack.
Ingredients
-
4 cups puffed rice
-
4 tbsp coconut oil, liquid
-
3 tbsp raw cacao
-
2 tbsp maple syrup
-
1/4 tsp vanilla extract
Instructions
-
Step 1
In a large bowl, combine the liquid coconut oil, raw cacao, maple syrup, and vanilla extract. Whisk until well combined and smooth. -
Step 2
Add the puffed rice to the bowl with the chocolate mixture. -
Step 3
Gently fold the puffed rice into the chocolate mixture until evenly coated. Be careful not to crush the puffed rice. -
Step 4
Spread the coated puffed rice in a single layer onto a baking sheet lined with parchment paper. -
Step 5
Bake at 300°F (150°C) for 10-15 minutes, stirring gently halfway through, until lightly toasted and crispy. Watch closely to prevent burning. -
Step 6
Let cool completely on the baking sheet. The cereal will crisp up as it cools. -
Step 7
Break apart any clumps and store in an airtight container at room temperature.
Important Information
Nutrition Facts (Per Serving)
It is important to consider this information as approximate and not to use it as definitive health advice.
Allergy Information
Please check ingredients for potential allergens and consult a health professional if in doubt.