Blackberry Hand Pies-Sweet & Tart Dessert Recipe
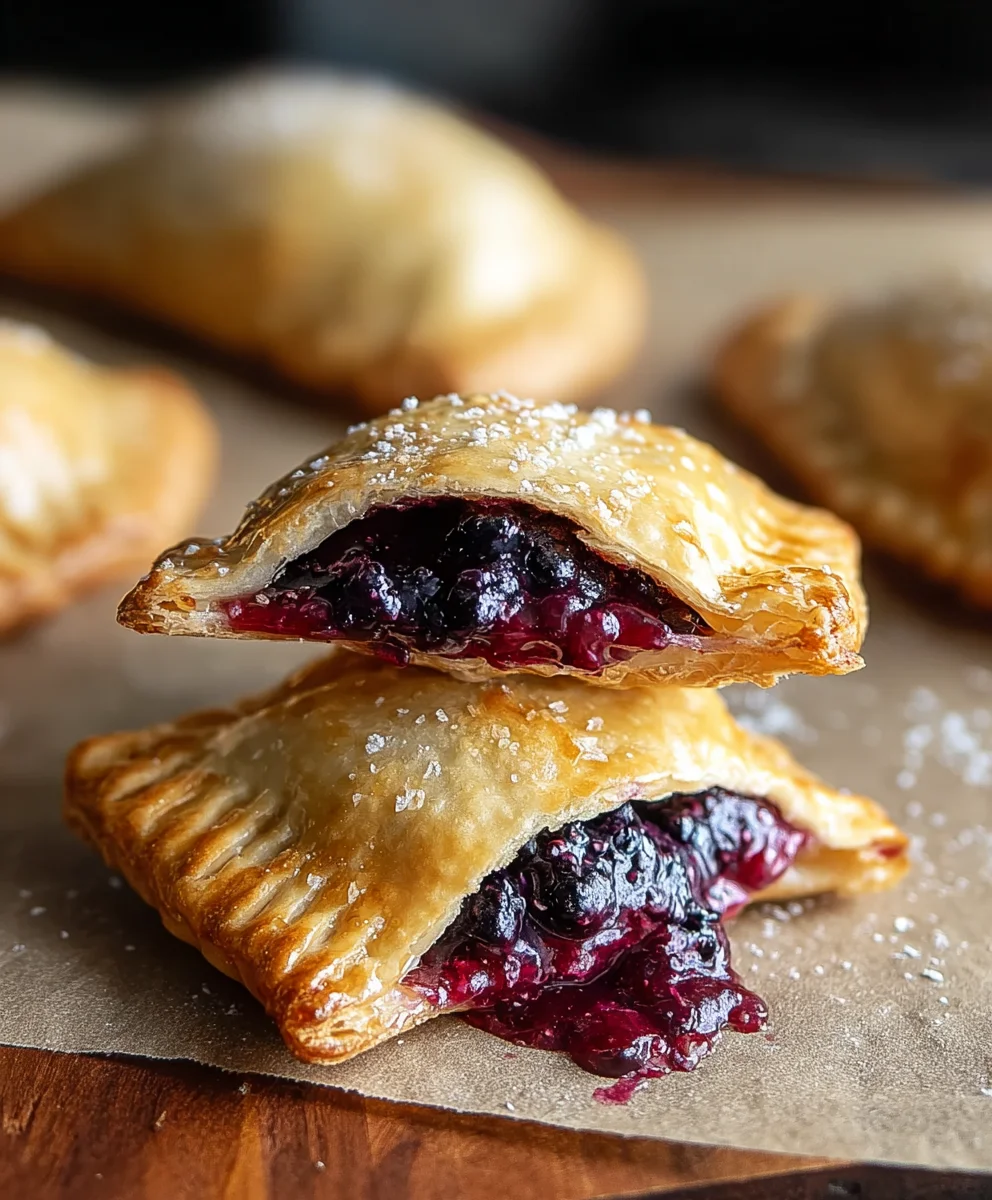
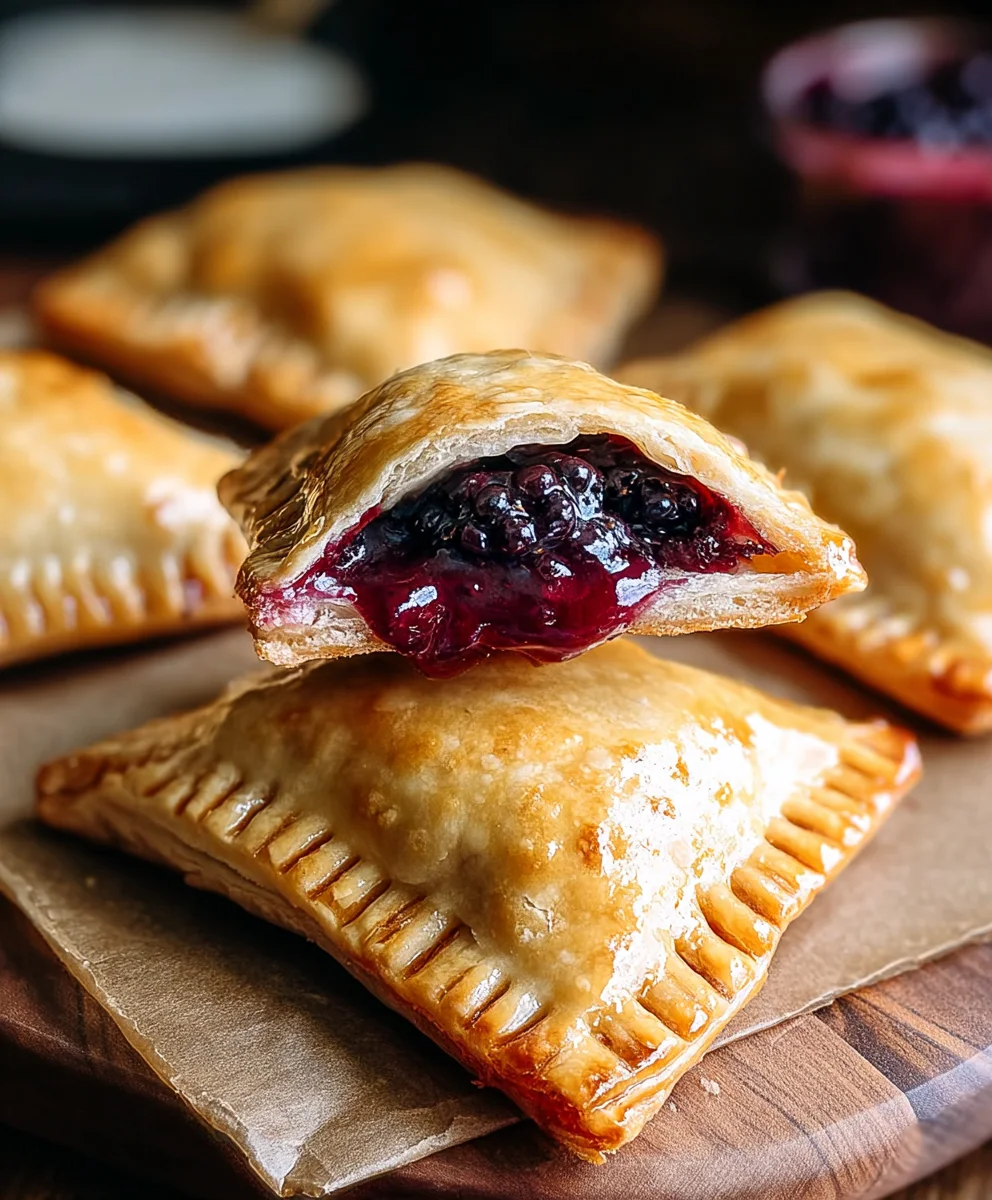
Blackberry Hand Pies are more than just a dessert; they’re tiny pockets of pure joy, bursting with sweet and tart summer flavors encased in a buttery, flaky crust. Imagin extracte biting into one of these delightful treats – the warm, slightly caramelized blackberry filling oozing out, a perfect contrast to the crisp, golden-brown pastry. It’s no wonder why these individual pastries have captured the hearts (and taste buds!) of so many. Their charm lies in their portability and their personal-sized appeal, making them ideal for picnics, potlucks, or simply a satisfying afternoon snack. What truly makes these Blackberry Hand Pies special is the ability to customize the sweetness and tartness to your exact preference, ensuring every bite is an explosion of fresh berry goodness. This recipe elevates the classic hand pie with simple, yet impactful techniques that result in a truly unforgettable dessert experience.
Why You’ll Love This Recipe
The Perfect Balance of Sweet and Tart
This recipe achieves that magical balance between the inherent sweetness of ripe blackberries and a touch of vibrant tartness that keeps you coming back for more. We’ll explore how to coax out the best flavors from your berries, ensuring they aren’t too mushy or too sharp, but just right.
Ingredients:
- 1 (21 ounce) can blackberry pie filling
- 2 refrigerated pie crusts
- 1/2 cup powdered sugar
- 1 teaspoon corn syrup
- 1 tablespoon water
- Vegetable oil, for frying
Preparing the Pie Crusts
The beauty of using refrigerated pie crusts is the sheer convenience they offer. You’ll want to let them sit at room temperature for about 15 minutes before you start working with them. This softens them just enough to be pliable and prevents them from cracking when you cut or fold them. Once they’re ready, carefully unroll each crust onto a lightly floured surface. You’re looking for a nice, even thickness, so avoid stretching them too much. With a round cookie cutter or the rim of a glass, cut out circles from each crust. Aim for a diameter of about 4 to 5 inches. This will give you perfectly sized hand pies. You should get roughly 4 to 6 circles from each crust, depending on the size of your cutter. Don’t worry if there are some scraps; you can re-roll them gently once to get a few more circles, but try not to overwork the dough, as this can make the crust tough. Set these circles aside on a baking sheet lined with parchment paper.
Assembling the Blackberry Hand Pies
Now comes the fun part – filling these little pastry pockets! For each hand pie, you’ll be using one pie crust circle as the base. Spoon a generous tablespoon of the canned blackberry pie filling onto one half of each circle, leaving a small border around the edge. This border is crucial; it’s what will seal your pies. Think about it like building a tiny envelope! Make sure not to overfill them, as the filling can ooze out during cooking, which is messy and can lead to burnt bits. Once filled, take a second pie crust circle and gently place it over the filling, aligning the edges as best you can. Now, it’s time to seal them securely. You can use the tines of a fork to crimp the edges all the way around. This not only looks attractive but also creates a strong seal, preventing any of that delicious blackberry filling from escaping during the frying process. If the dough feels a bit sticky, you can lightly dust your fingers with flour.
Preparing for Frying
Before we introduce these delicate hand pies to the hot oil, there are a couple of important steps to ensure a perfect golden-brown finish. Once you’ve assembled all your hand pies, place them back onto your parchment-lined baking sheet. Using a small sharp knife or a toothpick, gently prick the top of each hand pie a couple of times. This is known as “venting.” These small slits allow steam to escape as the pies cook, preventing them from puffing up too much and potentially bursting. It also helps the filling cook evenly. If you have extra pie crust scraps, you can get creative and cut out small decorative shapes like leaves or swirls to place on top of your pies for a more whimsical touch. Just remember to secure these decorative pieces with a tiny bit of water or egg wash if you have it (though not strictly necessary for this recipe). It’s also a good idea to pop the assembled hand pies into the refrigerator for about 15-20 minutes before frying. This chills the dough and helps it hold its shape better in the hot oil, resulting in a crispier crust.
Frying the Blackberry Hand Pies
The key to perfectly fried hand pies is controlling the oil temperature. Pour enough vegetable oil into a deep, heavy-bottomed pot or Dutch oven to reach a depth of about 2 to 3 inches. Heat the oil over medium heat until it reaches approximately 350°F (175°C). You can test the temperature by dropping a tiny piece of pie crust into the oil; if it sizzles immediately and floats to the surface, the oil is ready. Carefully slide 2 or 3 hand pies into the hot oil at a time, making sure not to overcrowd the pot. Overcrowding will lower the oil temperature, leading to greasy, soggy pies instead of perfectly crisp ones. Fry the hand pies for about 2-3 minutes per side, or until they are a beautiful golden brown. Use a slotted spoon or spider strainer to gently turn them over to ensure even cooking. Keep an eye on them, as they can go from perfectly golden to burnt very quickly.
Finishing with a Sweet Glaze
Once your blackberry hand pies are a glorious golden brown on both sides, carefully remove them from the hot oil using your slotted spoon and place them onto a wire rack set over a baking sheet. This allows any excess oil to drip away, keeping your pies from being greasy. While they are still warm, it’s time to prepare the simple yet elegant glaze. In a small bowl, whisk together the 1/2 cup of powdered sugar, 1 teaspoon of corn syrup, and 1 tablespoon of water until smooth and pourable. The corn syrup adds a lovely subtle sheen and helps the glaze set slightly. Drizzle this glaze generously over the warm hand pies. You can use a spoon for a rustic look or a piping bag for more precision. The warmth of the pies will help the glaze melt slightly and coat them beautifully. Allow the glaze to set for a few minutes before serving. These Blackberry Hand Pies are best enjoyed while still warm, when the crust is incredibly flaky and the blackberry filling is delightfully gooey.
Conclusion:
And there you have it – your guide to creating delicious Blackberry Hand Pies! We’ve walked through each step, from crafting the perfect flaky pastry to achieving that burst of sweet-tart blackberry filling. These delightful little pies are more than just a dessert; they’re a charming treat that’s perfect for picnics, potlucks, or simply enjoying with a cup of tea. Don’t be afraid to get creative with your presentation; a dusting of powdered sugar or a simple lattice top can elevate these already wonderful creations.
For serving, I love enjoying my Blackberry Hand Pies warm, perhaps with a scoop of vanilla bean ice cream or a dollop of fresh whipped cream. They are also fantastic at room temperature, making them ideal for packed lunches or on-the-go snacks. Don’t hesitate to experiment with different berry combinations – a mix of blackberries and raspberries, or even a touch of apple, can offer a delightful twist.
The beauty of these Blackberry Hand Pies lies in their adaptability. Feel free to adjust the sweetness of the filling to your preference, and consider adding a pinch of cinnamon or nutmeg for extra warmth. Most importantly, have fun with the process! Baking should be an enjoyable experience, and the results of these Blackberry Hand Pies are sure to bring smiles all around.
Frequently Asked Questions:
Can I make the pastry ahead of time for my Blackberry Hand Pies?
Absolutely! The pastry dough for your Blackberry Hand Pies can be made up to two days in advance and stored, tightly wrapped, in the refrigerator. You can even freeze the dough for up to a month. Just be sure to let it thaw in the refrigerator overnight before rolling it out.
What if I don’t have fresh blackberries for my Blackberry Hand Pies? Can I use frozen?
Yes, you can definitely use frozen blackberries for your Blackberry Hand Pies. If using frozen berries, do not thaw them completely before mixing them with the sugar and cornstarch. You might need to bake them a few minutes longer to ensure the filling is cooked through and thickened.
Blackberry Hand Pies – Sweet & Tart Dessert Recipe
Easy and delicious blackberry hand pies made with store-bought pie crust and canned pie filling. Perfect for a sweet and tart dessert.
Ingredients
-
1 (21 ounce) can blackberry pie filling
-
2 refrigerated pie crusts
-
1/2 cup powdered sugar
-
1 teaspoon corn syrup
-
1 tablespoon water
-
Vegetable oil, for frying
Instructions
-
Step 1
Prepare the pie crusts by letting them sit at room temperature for 15 minutes. Lightly flour a surface, unroll each crust, and cut out 4-5 inch circles. Aim for 4-6 circles per crust and set aside on a parchment-lined baking sheet. -
Step 2
Assemble the hand pies by spooning about 1 tablespoon of blackberry pie filling onto one half of each crust circle, leaving a small border. Place a second crust circle over the filling, aligning the edges, and crimp with a fork to seal. -
Step 3
Prepare for frying by pricking the top of each hand pie a couple of times with a sharp knife or toothpick to allow steam to escape. For extra decoration, you can add small shapes cut from scraps. Chill the assembled hand pies in the refrigerator for 15-20 minutes. -
Step 4
Heat vegetable oil in a deep pot to 350°F (175°C). Carefully fry 2-3 hand pies at a time for 2-3 minutes per side, or until golden brown. Use a slotted spoon to turn and remove the pies. -
Step 5
Finish with a glaze by whisking together powdered sugar, corn syrup, and water until smooth. Drizzle generously over the warm hand pies. Let the glaze set for a few minutes before serving. Best enjoyed warm.
Important Information
Nutrition Facts (Per Serving)
It is important to consider this information as approximate and not to use it as definitive health advice.
Allergy Information
Please check ingredients for potential allergens and consult a health professional if in doubt.